Our world is covered in (undesirable) paint: woodwork, walls and hardware. Sometimes it seems that all we do is remove paint – and yet, we haven’t made a dent!
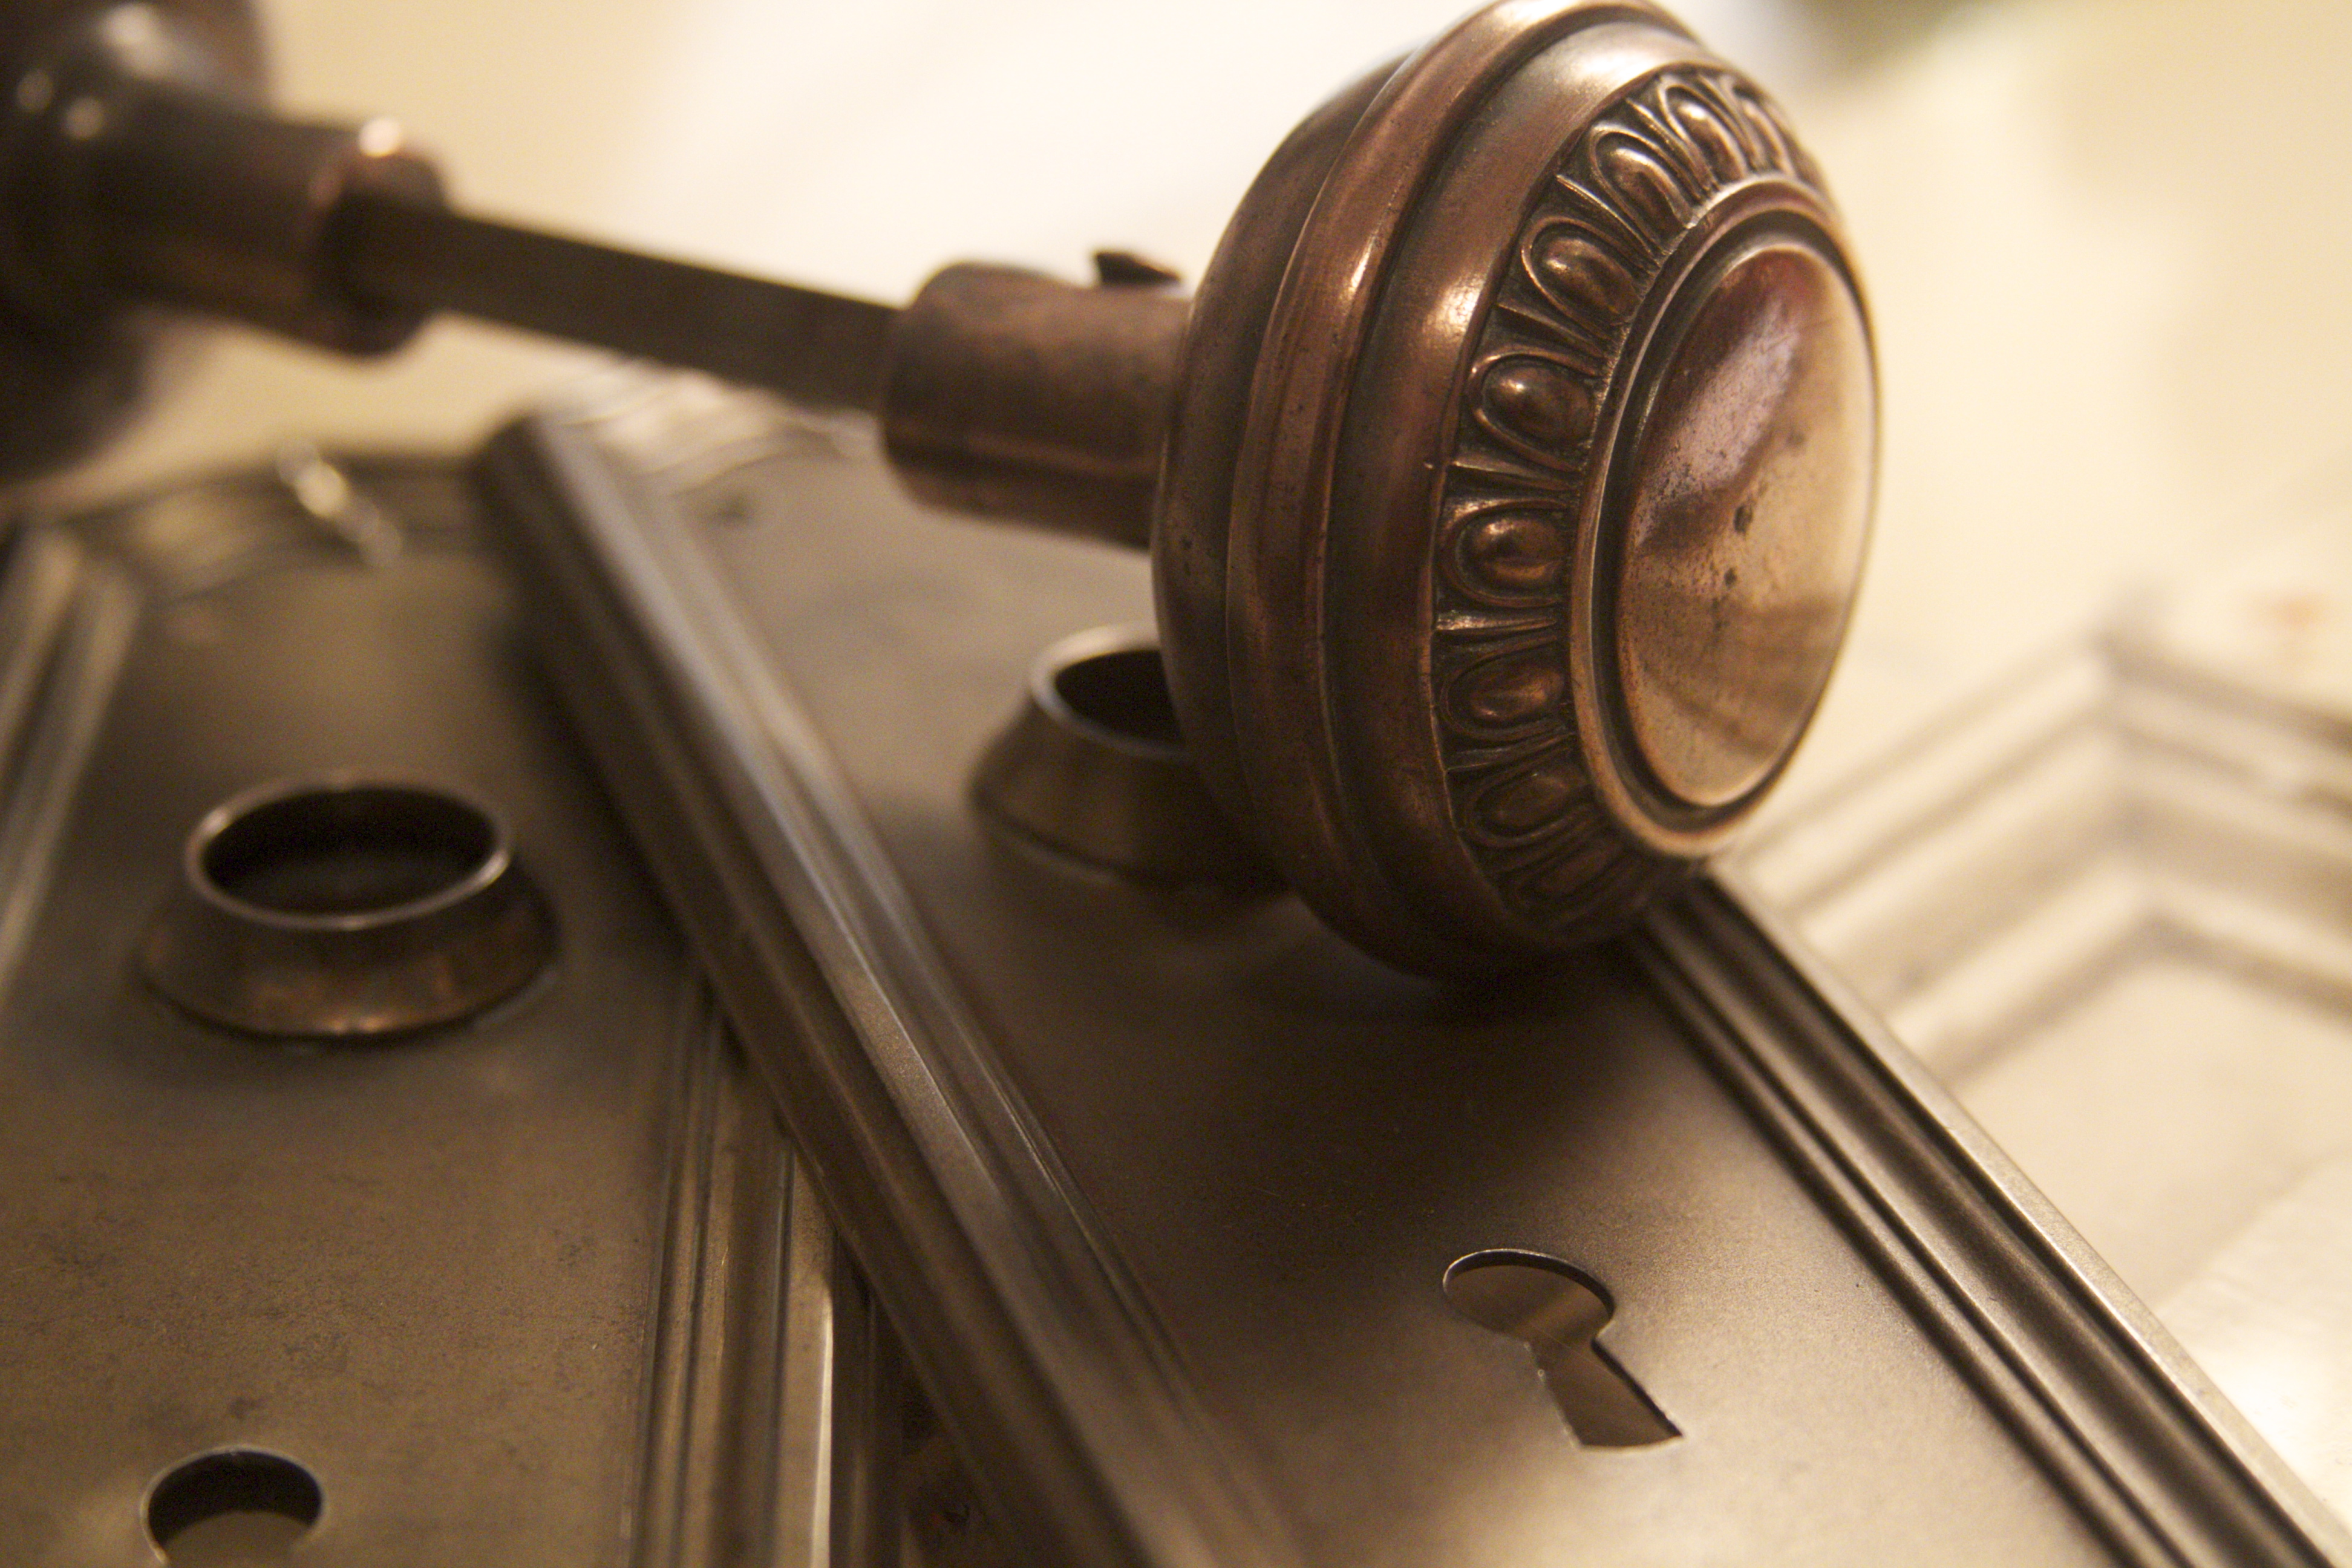
Egg and Dart patterned door knob.
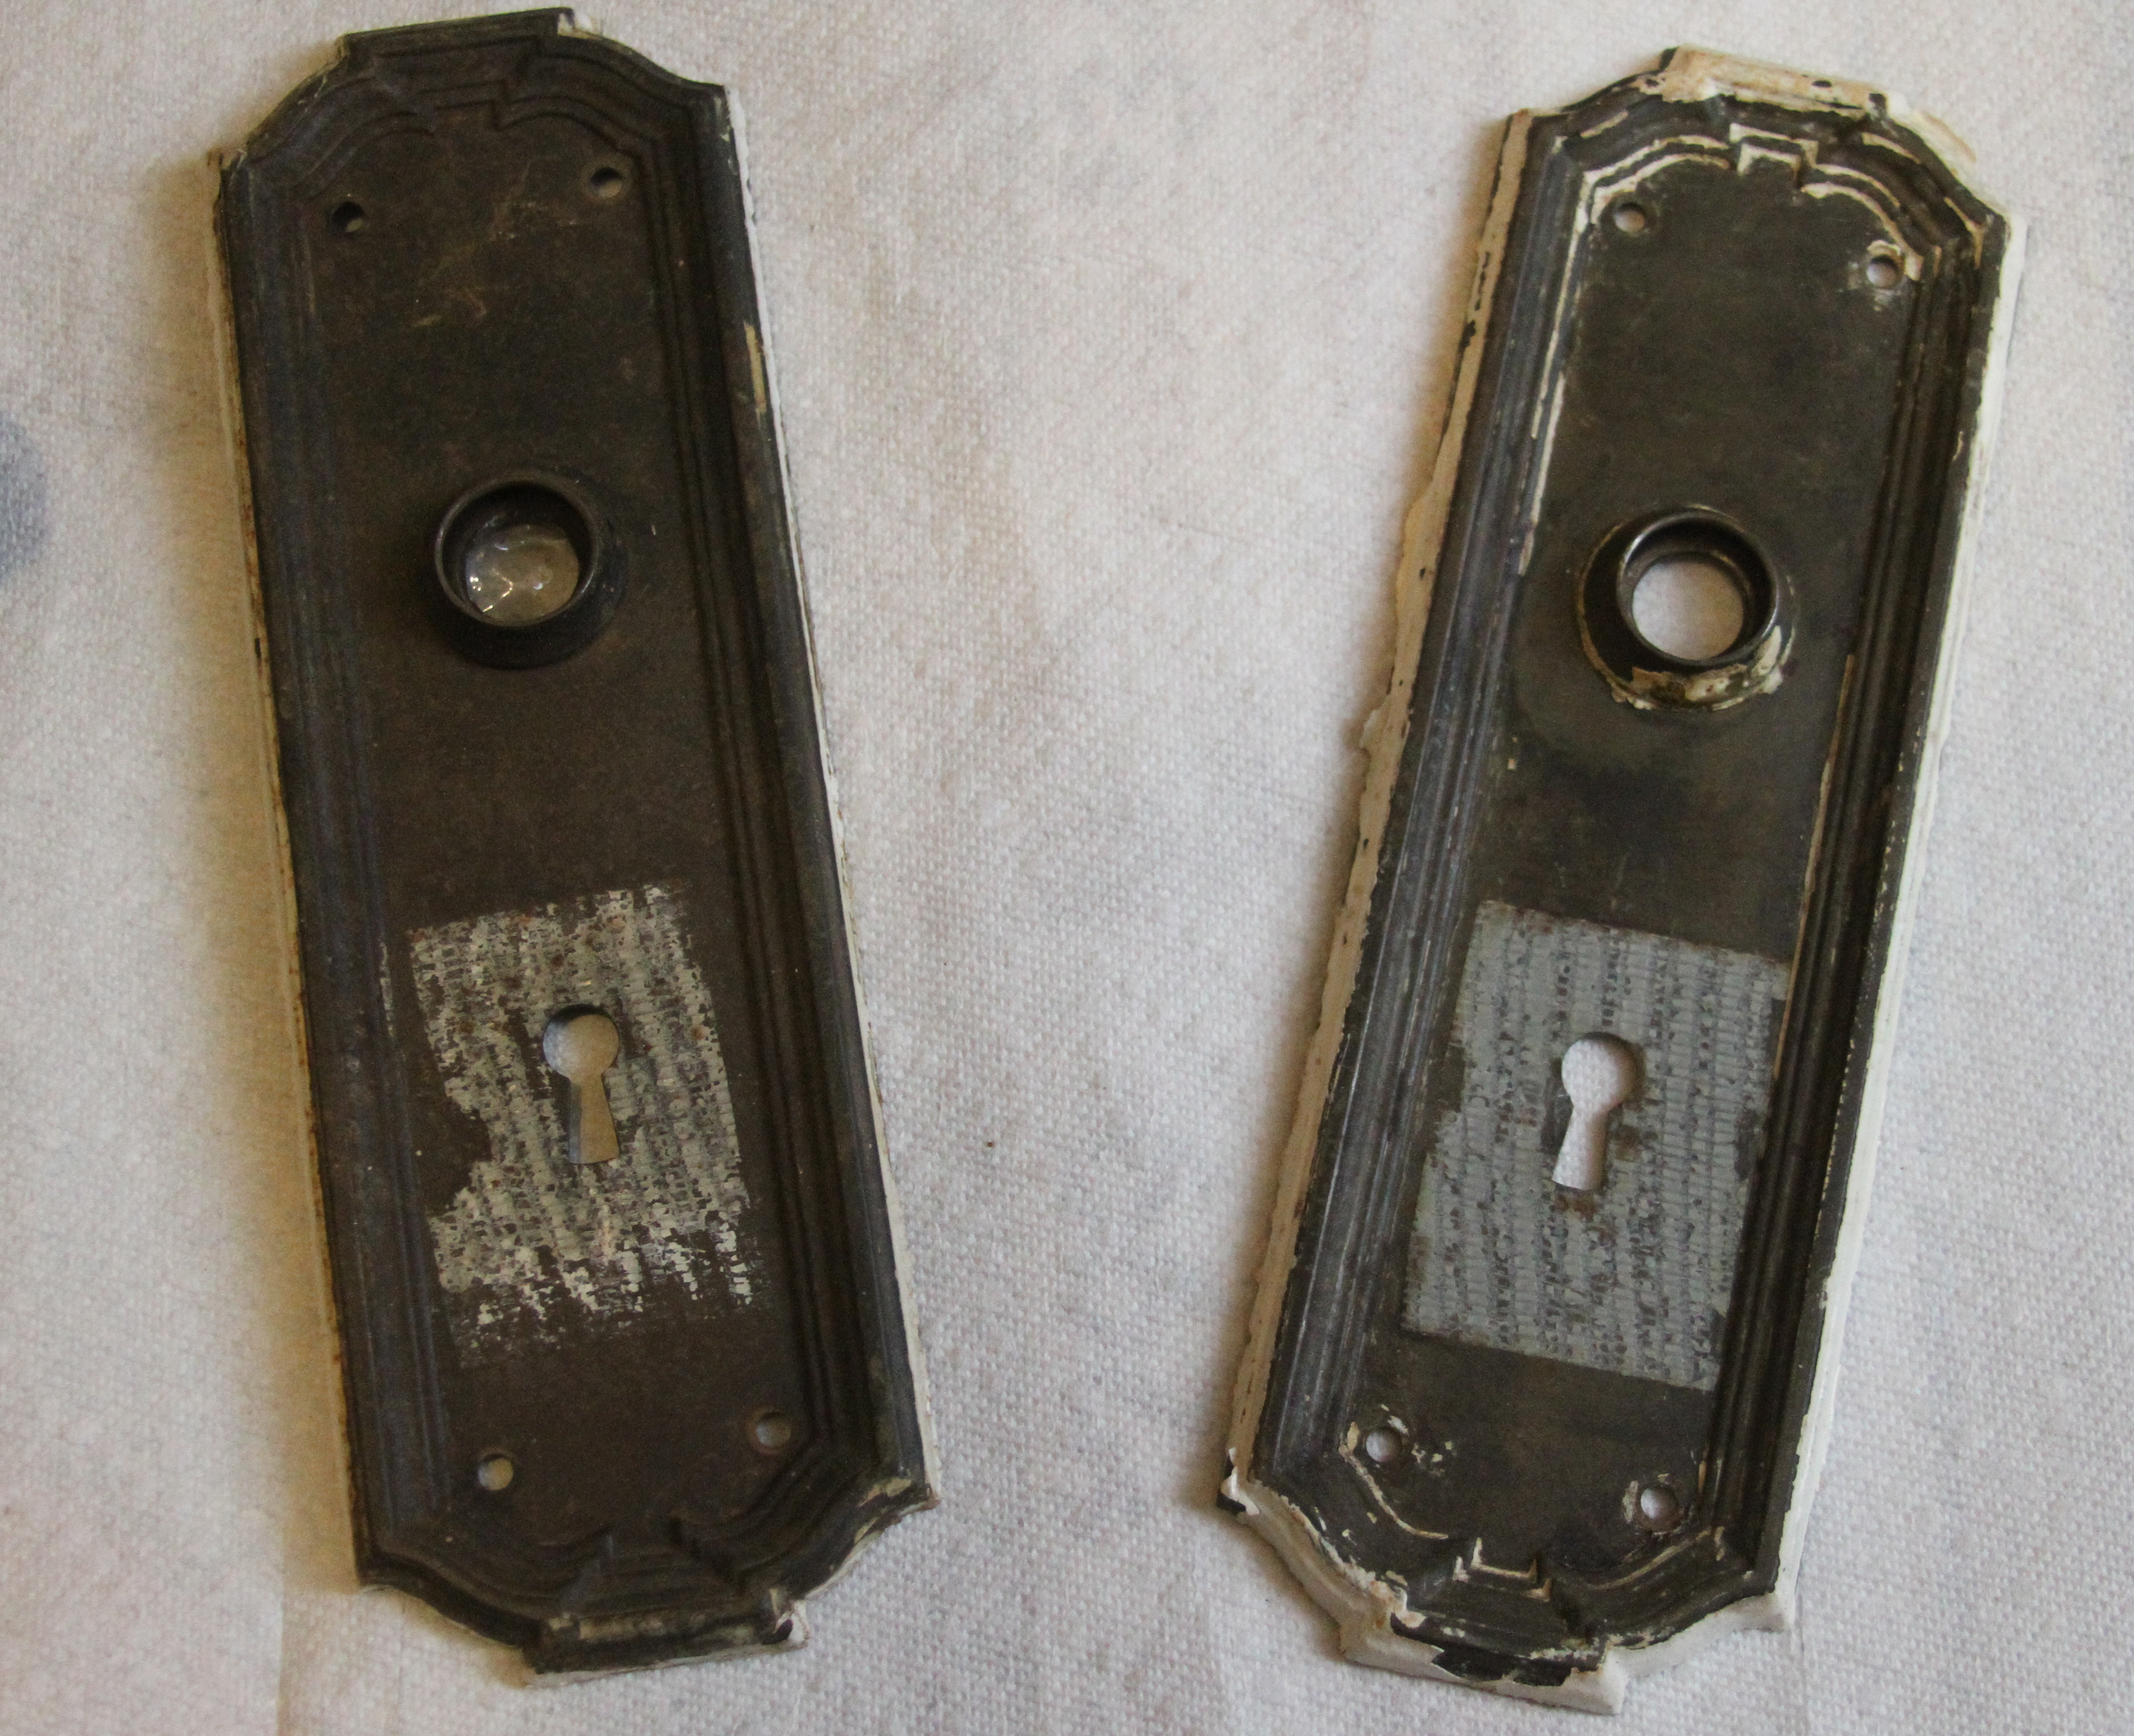
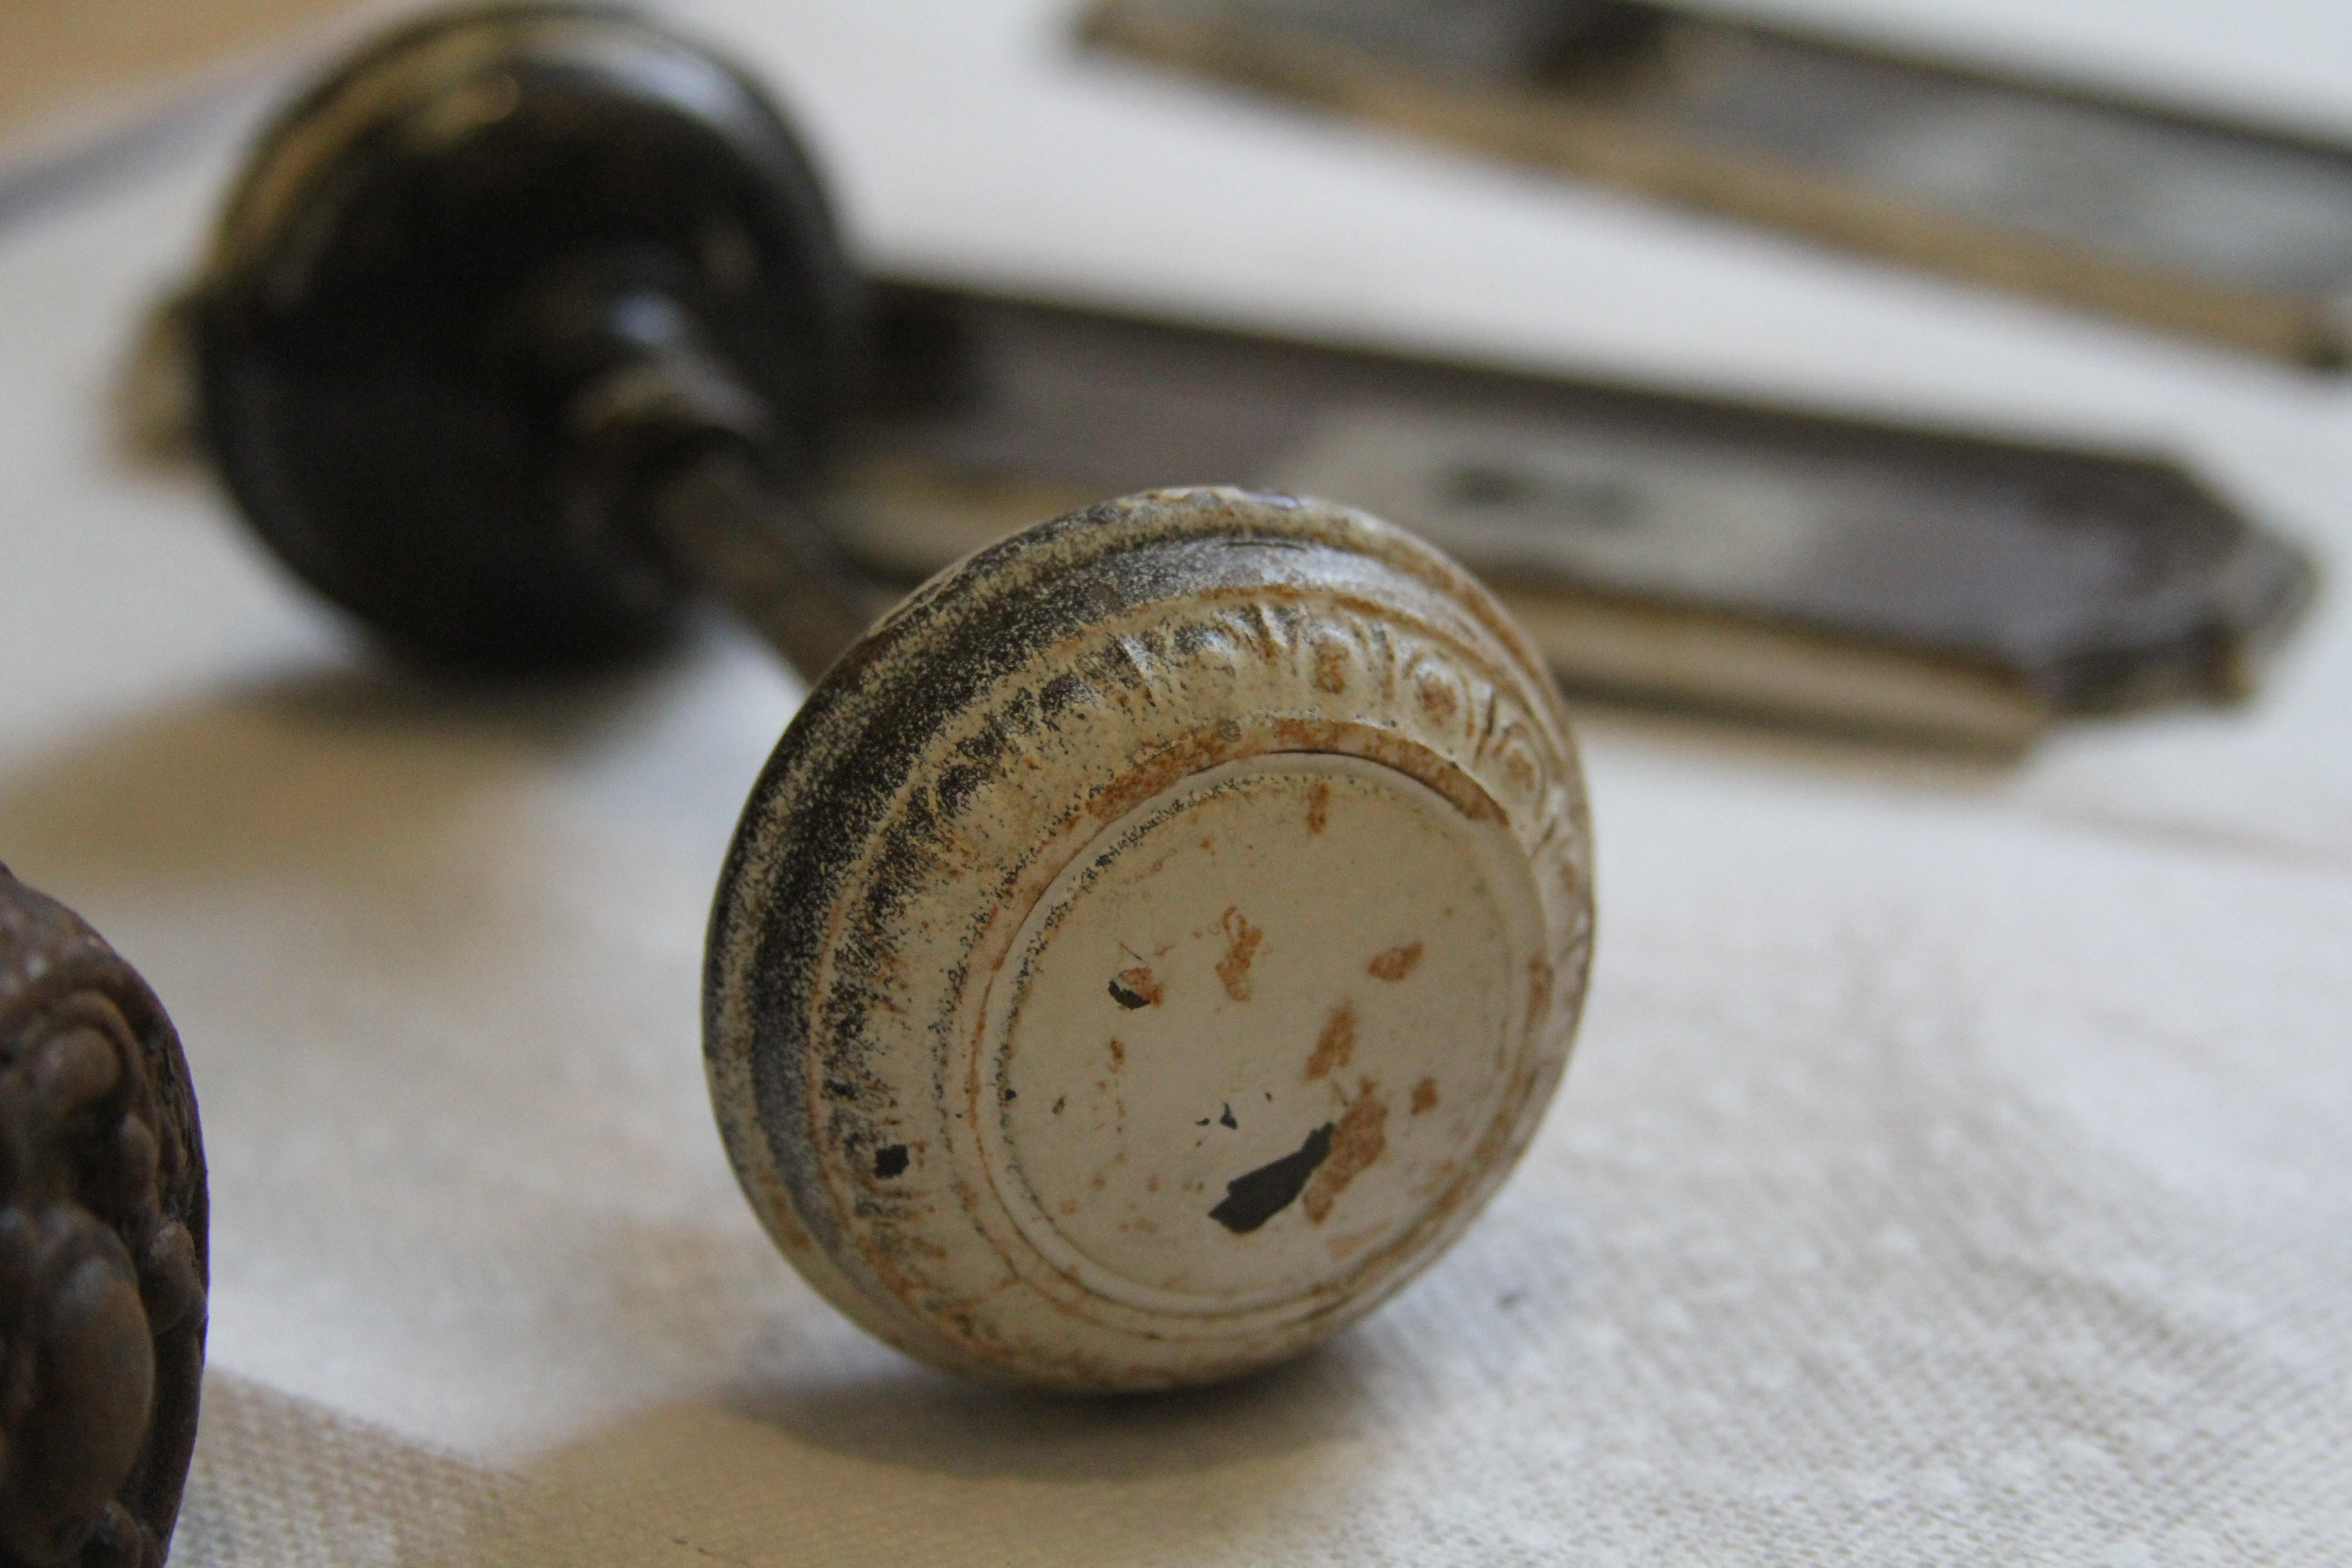
Back plates with tape residue
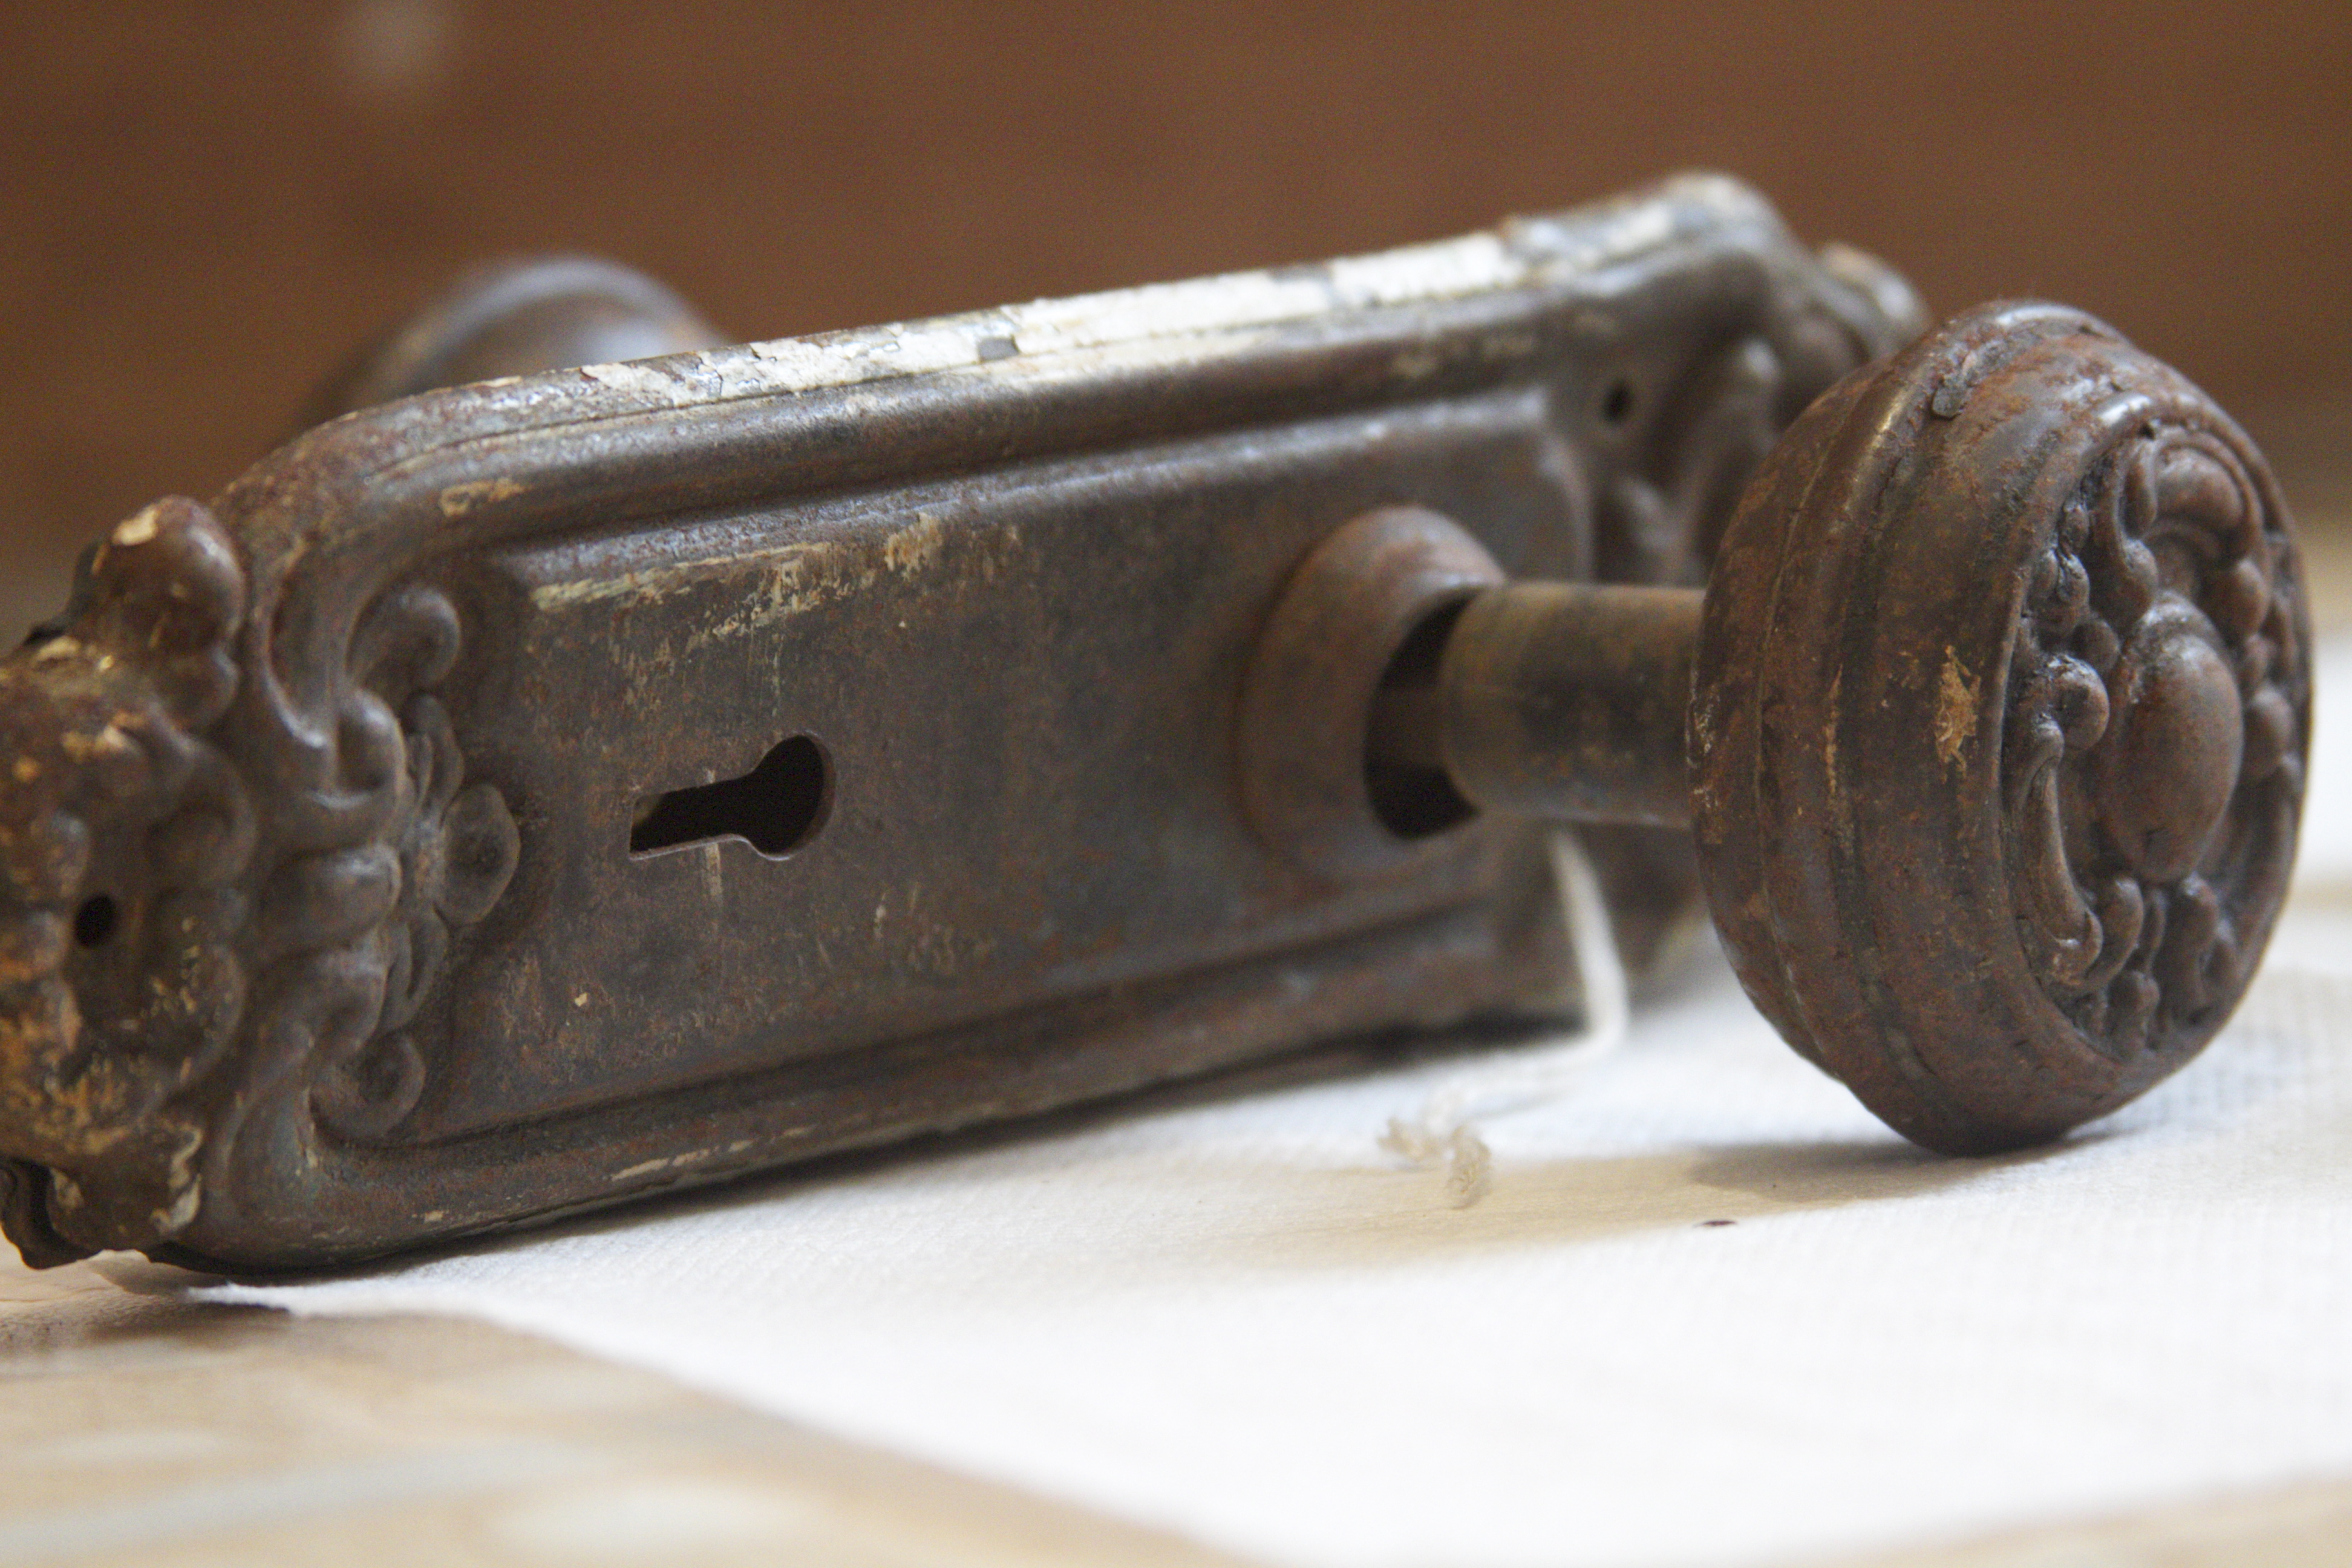
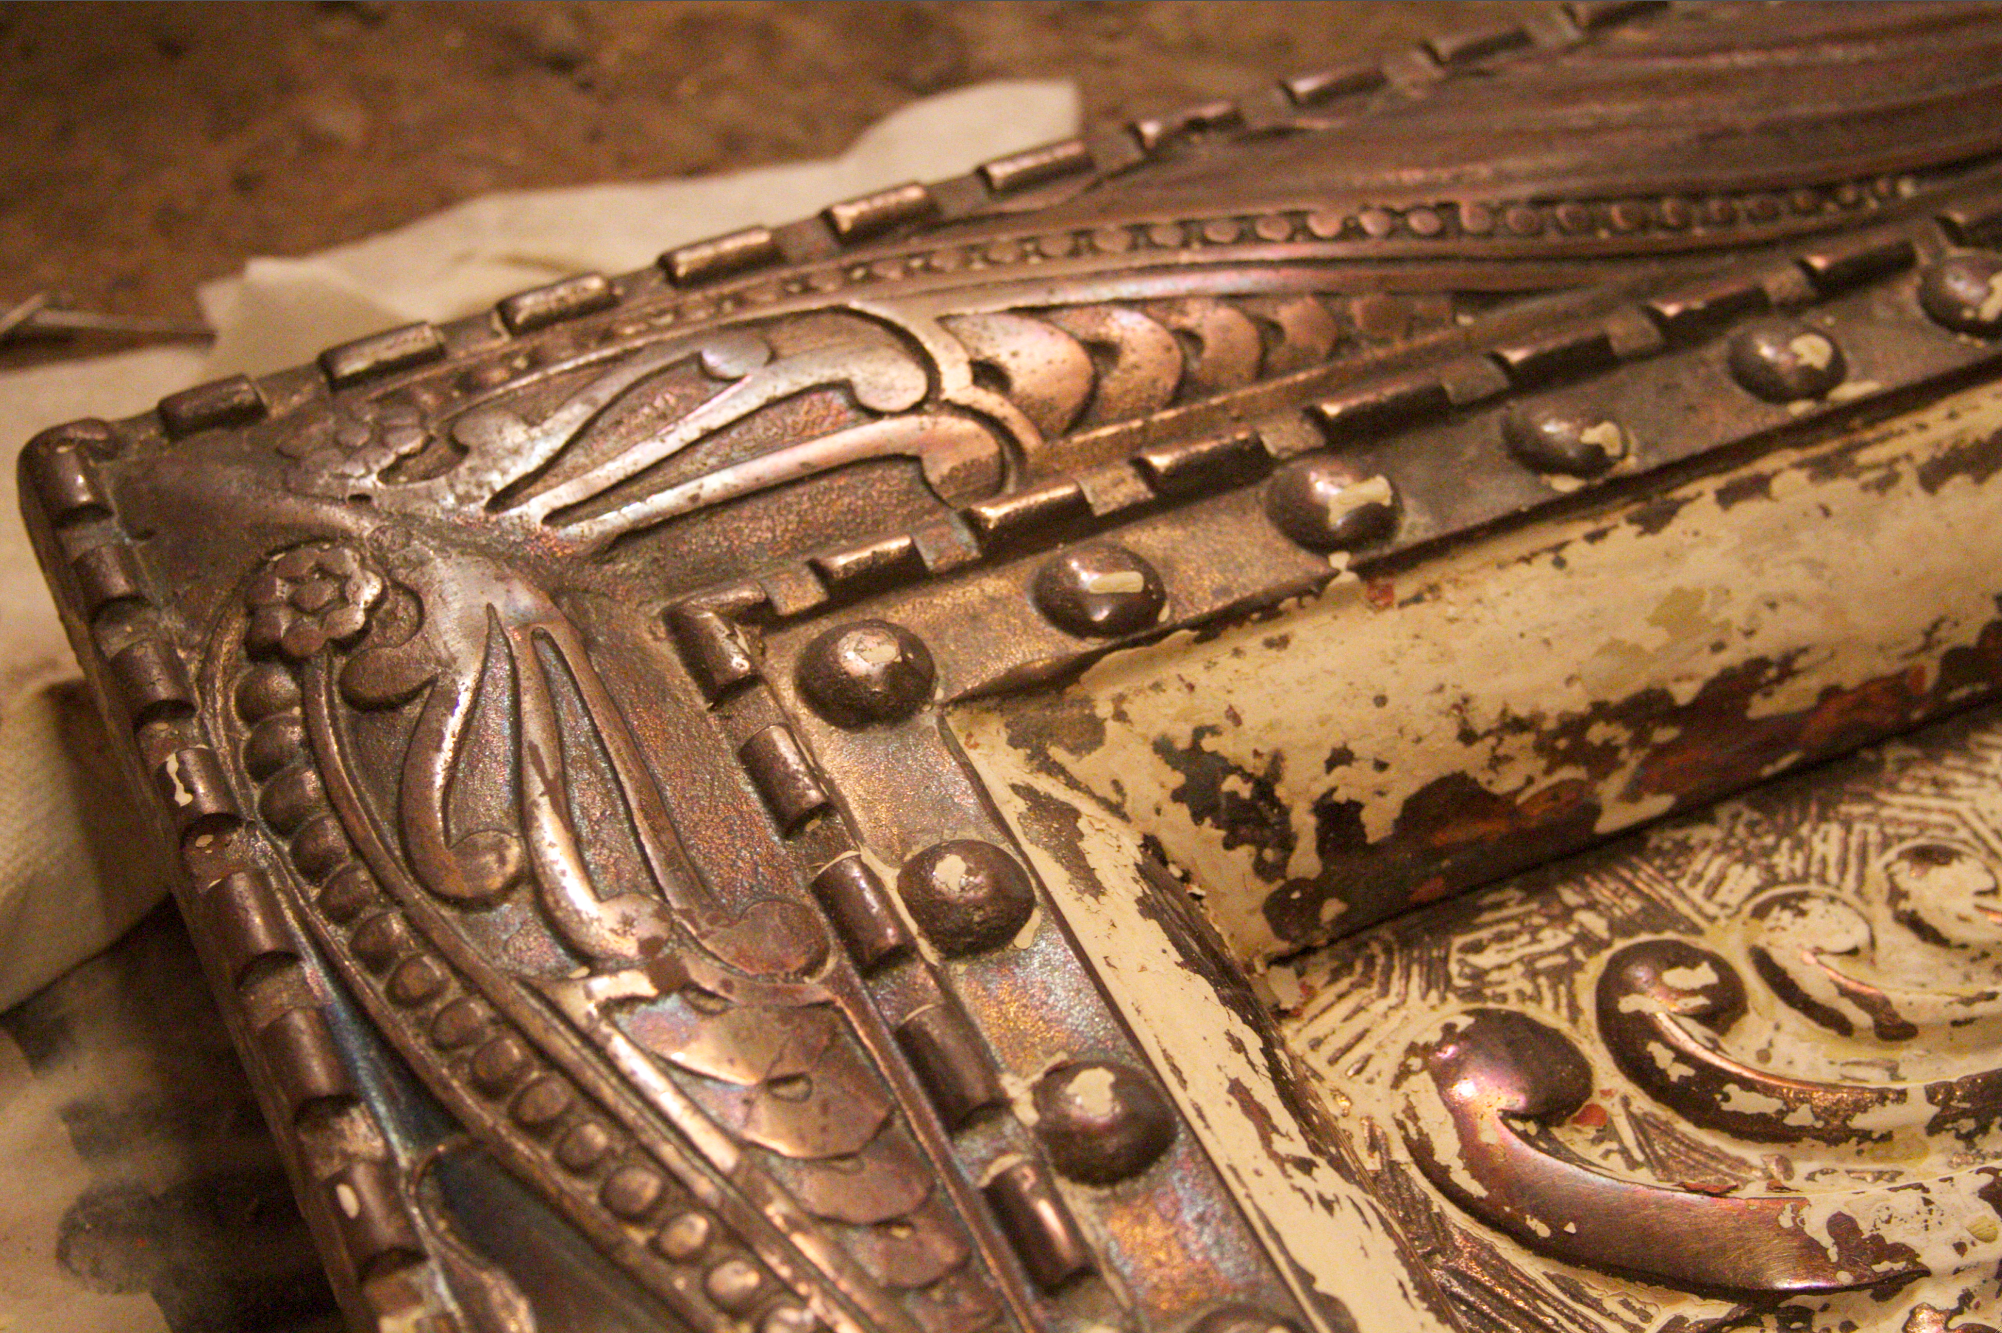
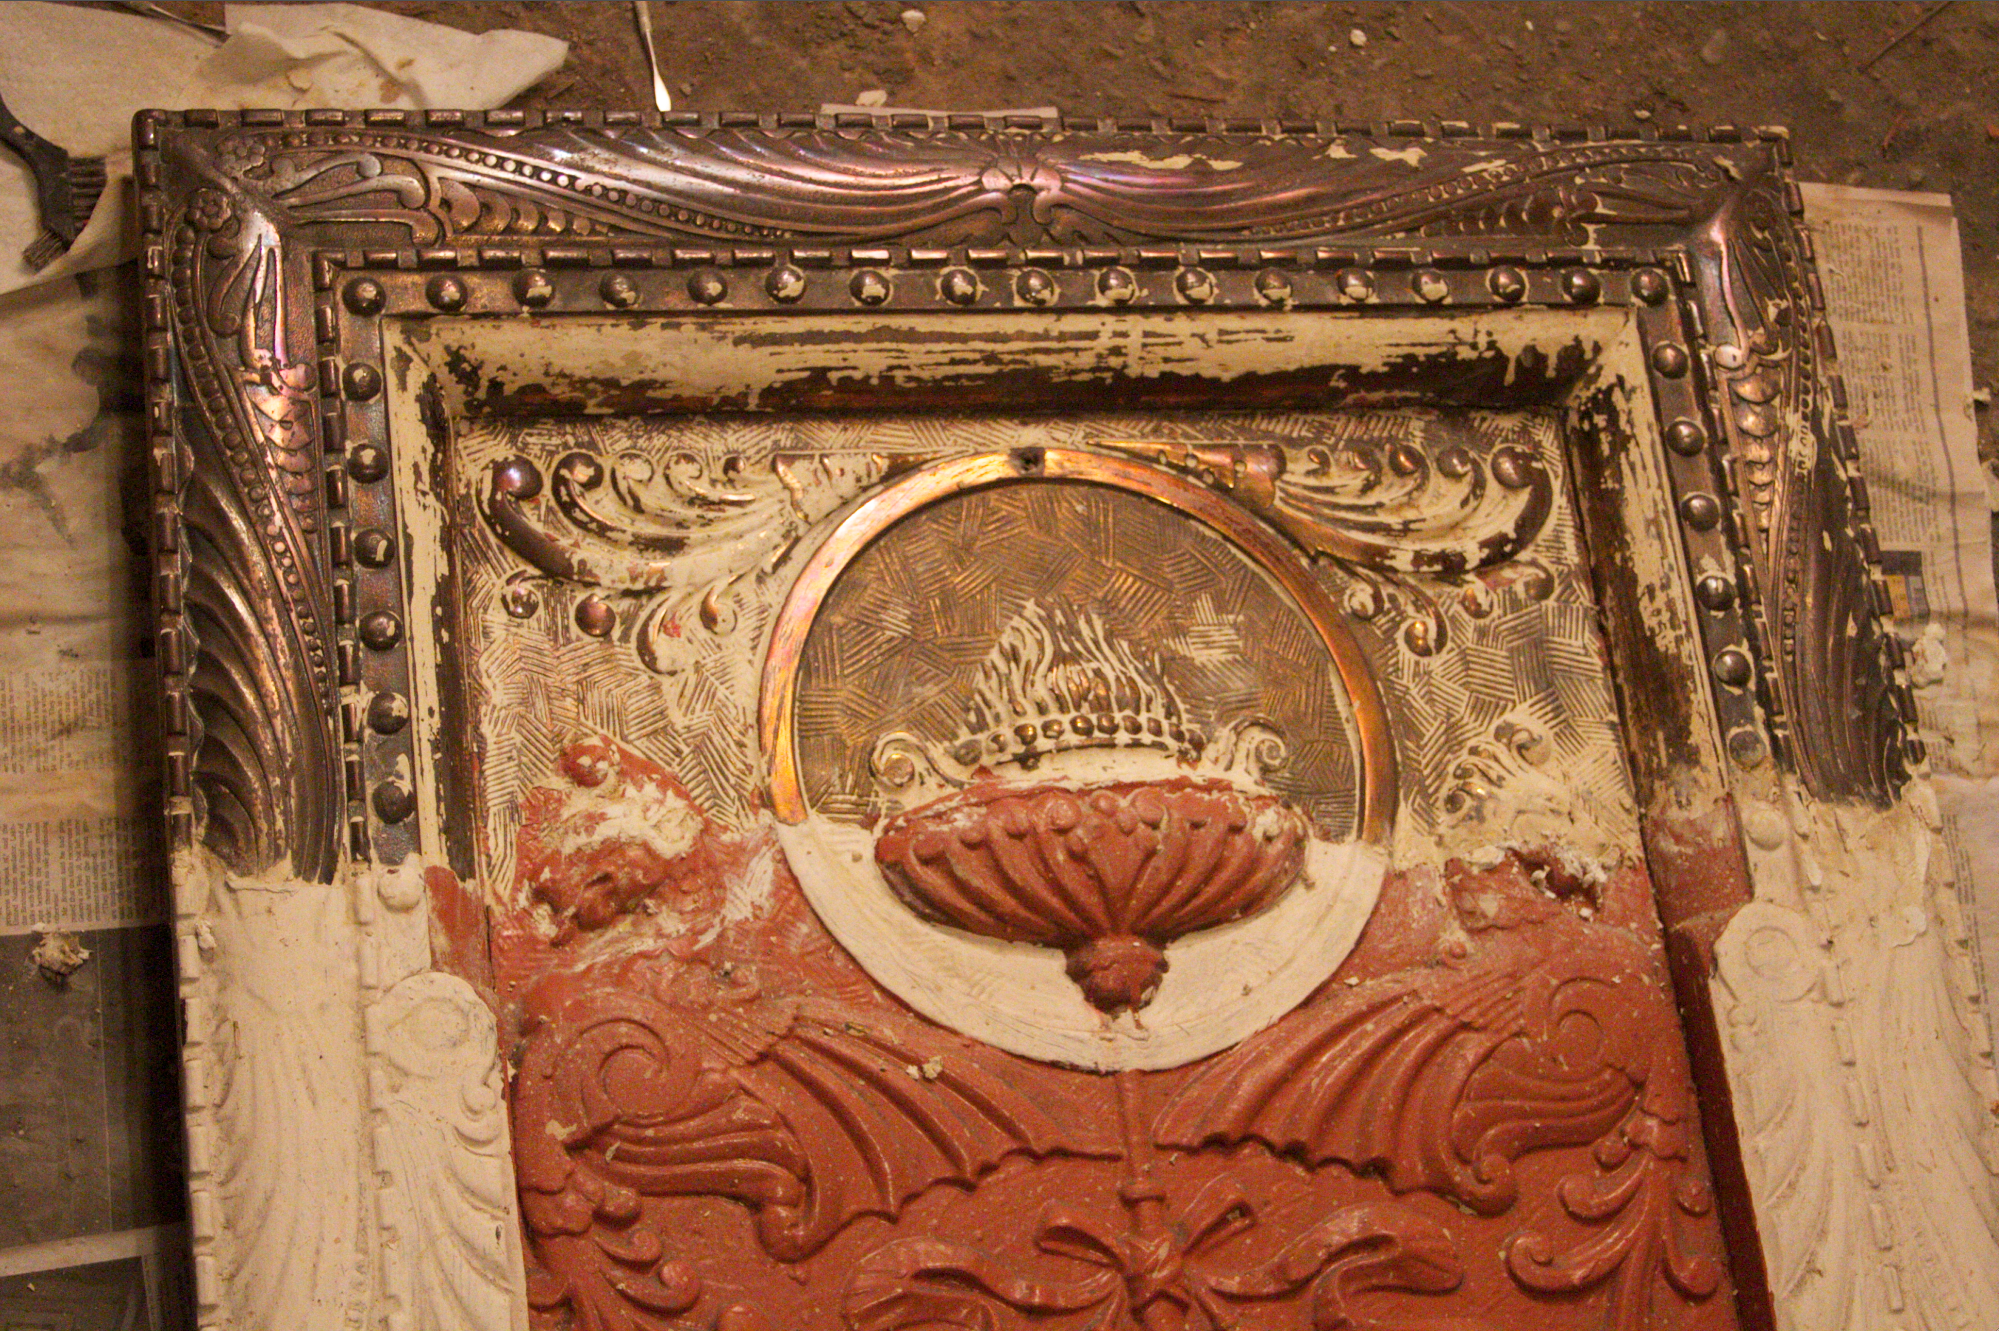
Intricate (and rusty) door set
The door knobs and plates we picked up on our trip to the Historic Albany Foundation’s Parts Warehouse were no exception. Luckily, removing paint and grime from hardware is actually pretty easy. It just requires water, baking soda and a little time. Using a stainless steel pot (once you use it for this, you can’t use it for food anymore, so make sure it’s marked accordingly).

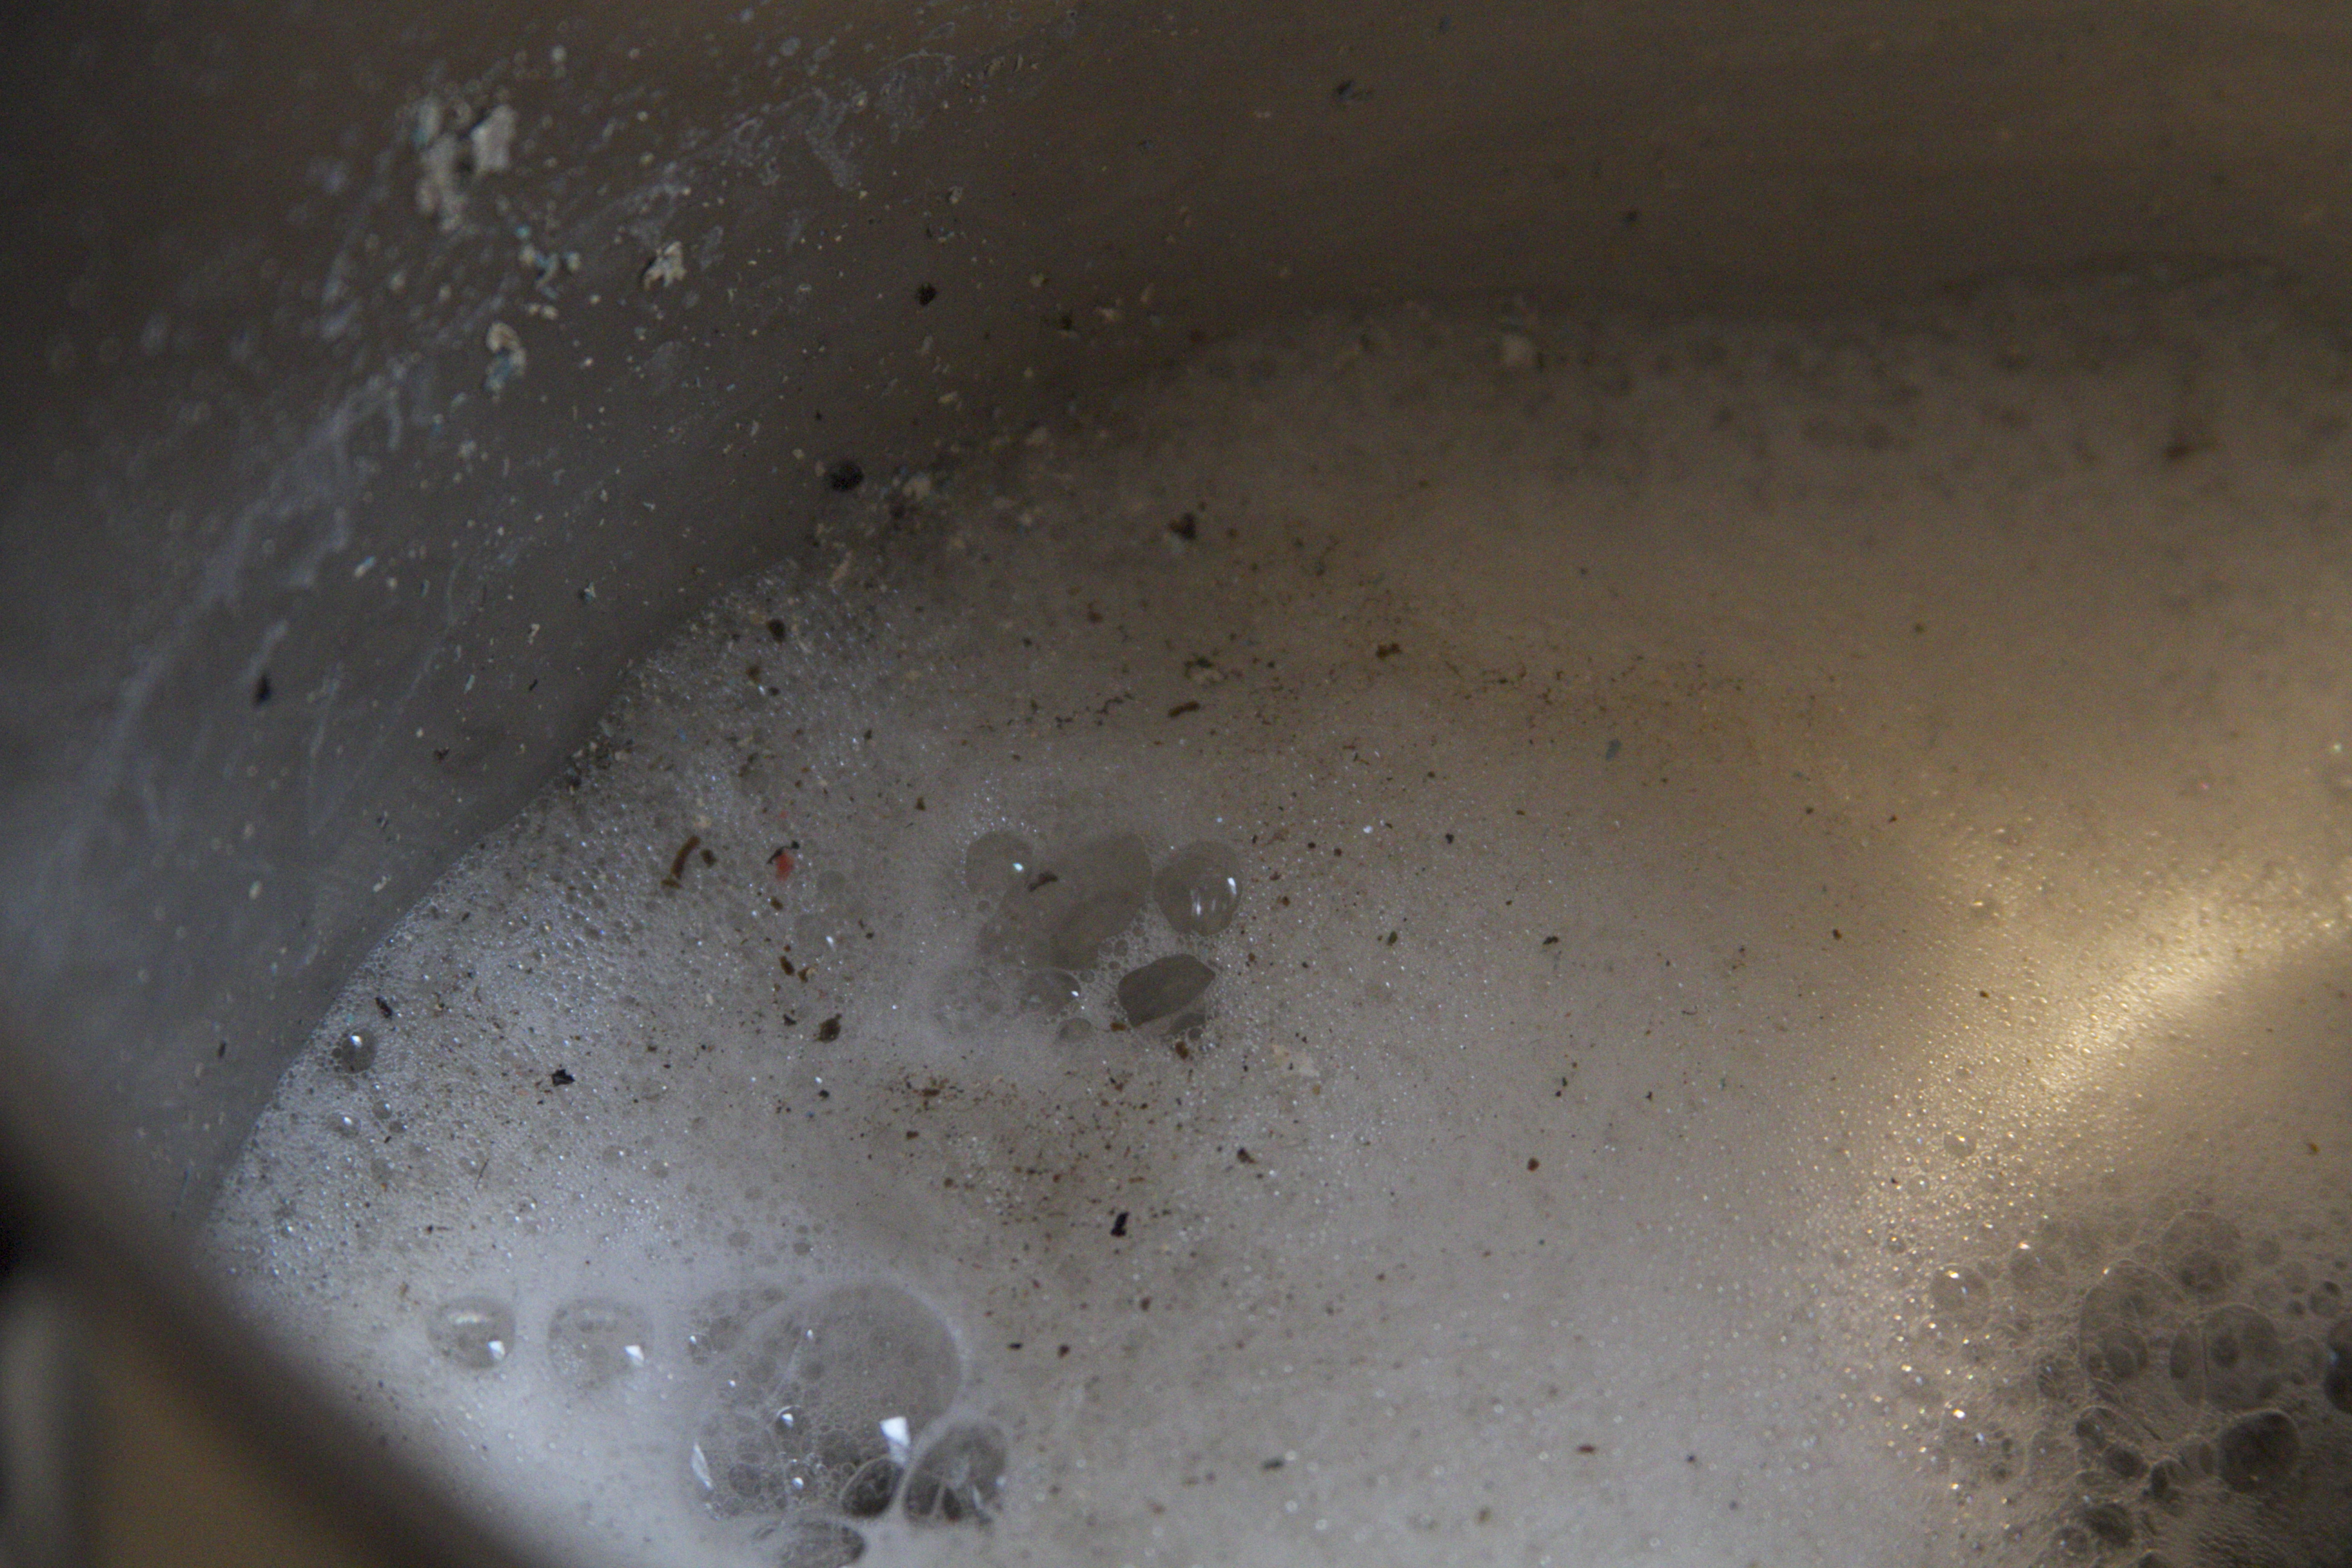
Boil up water with baking soda. How much baking soda, you ask? Uh… a bunch? Some? I’d say pretend you’re boiling pasta and add about 4 or 5 times more baking soda than you’d add salt (you can also substitute the baking soda for dish soap, just be careful not to let it boil over, as things will get very sudsy). Once the water comes to a boil, toss in your hardware. You’ll see the gunk come off in the foam.
Let it boil for a little while, then check to see how your door knobs are doing.
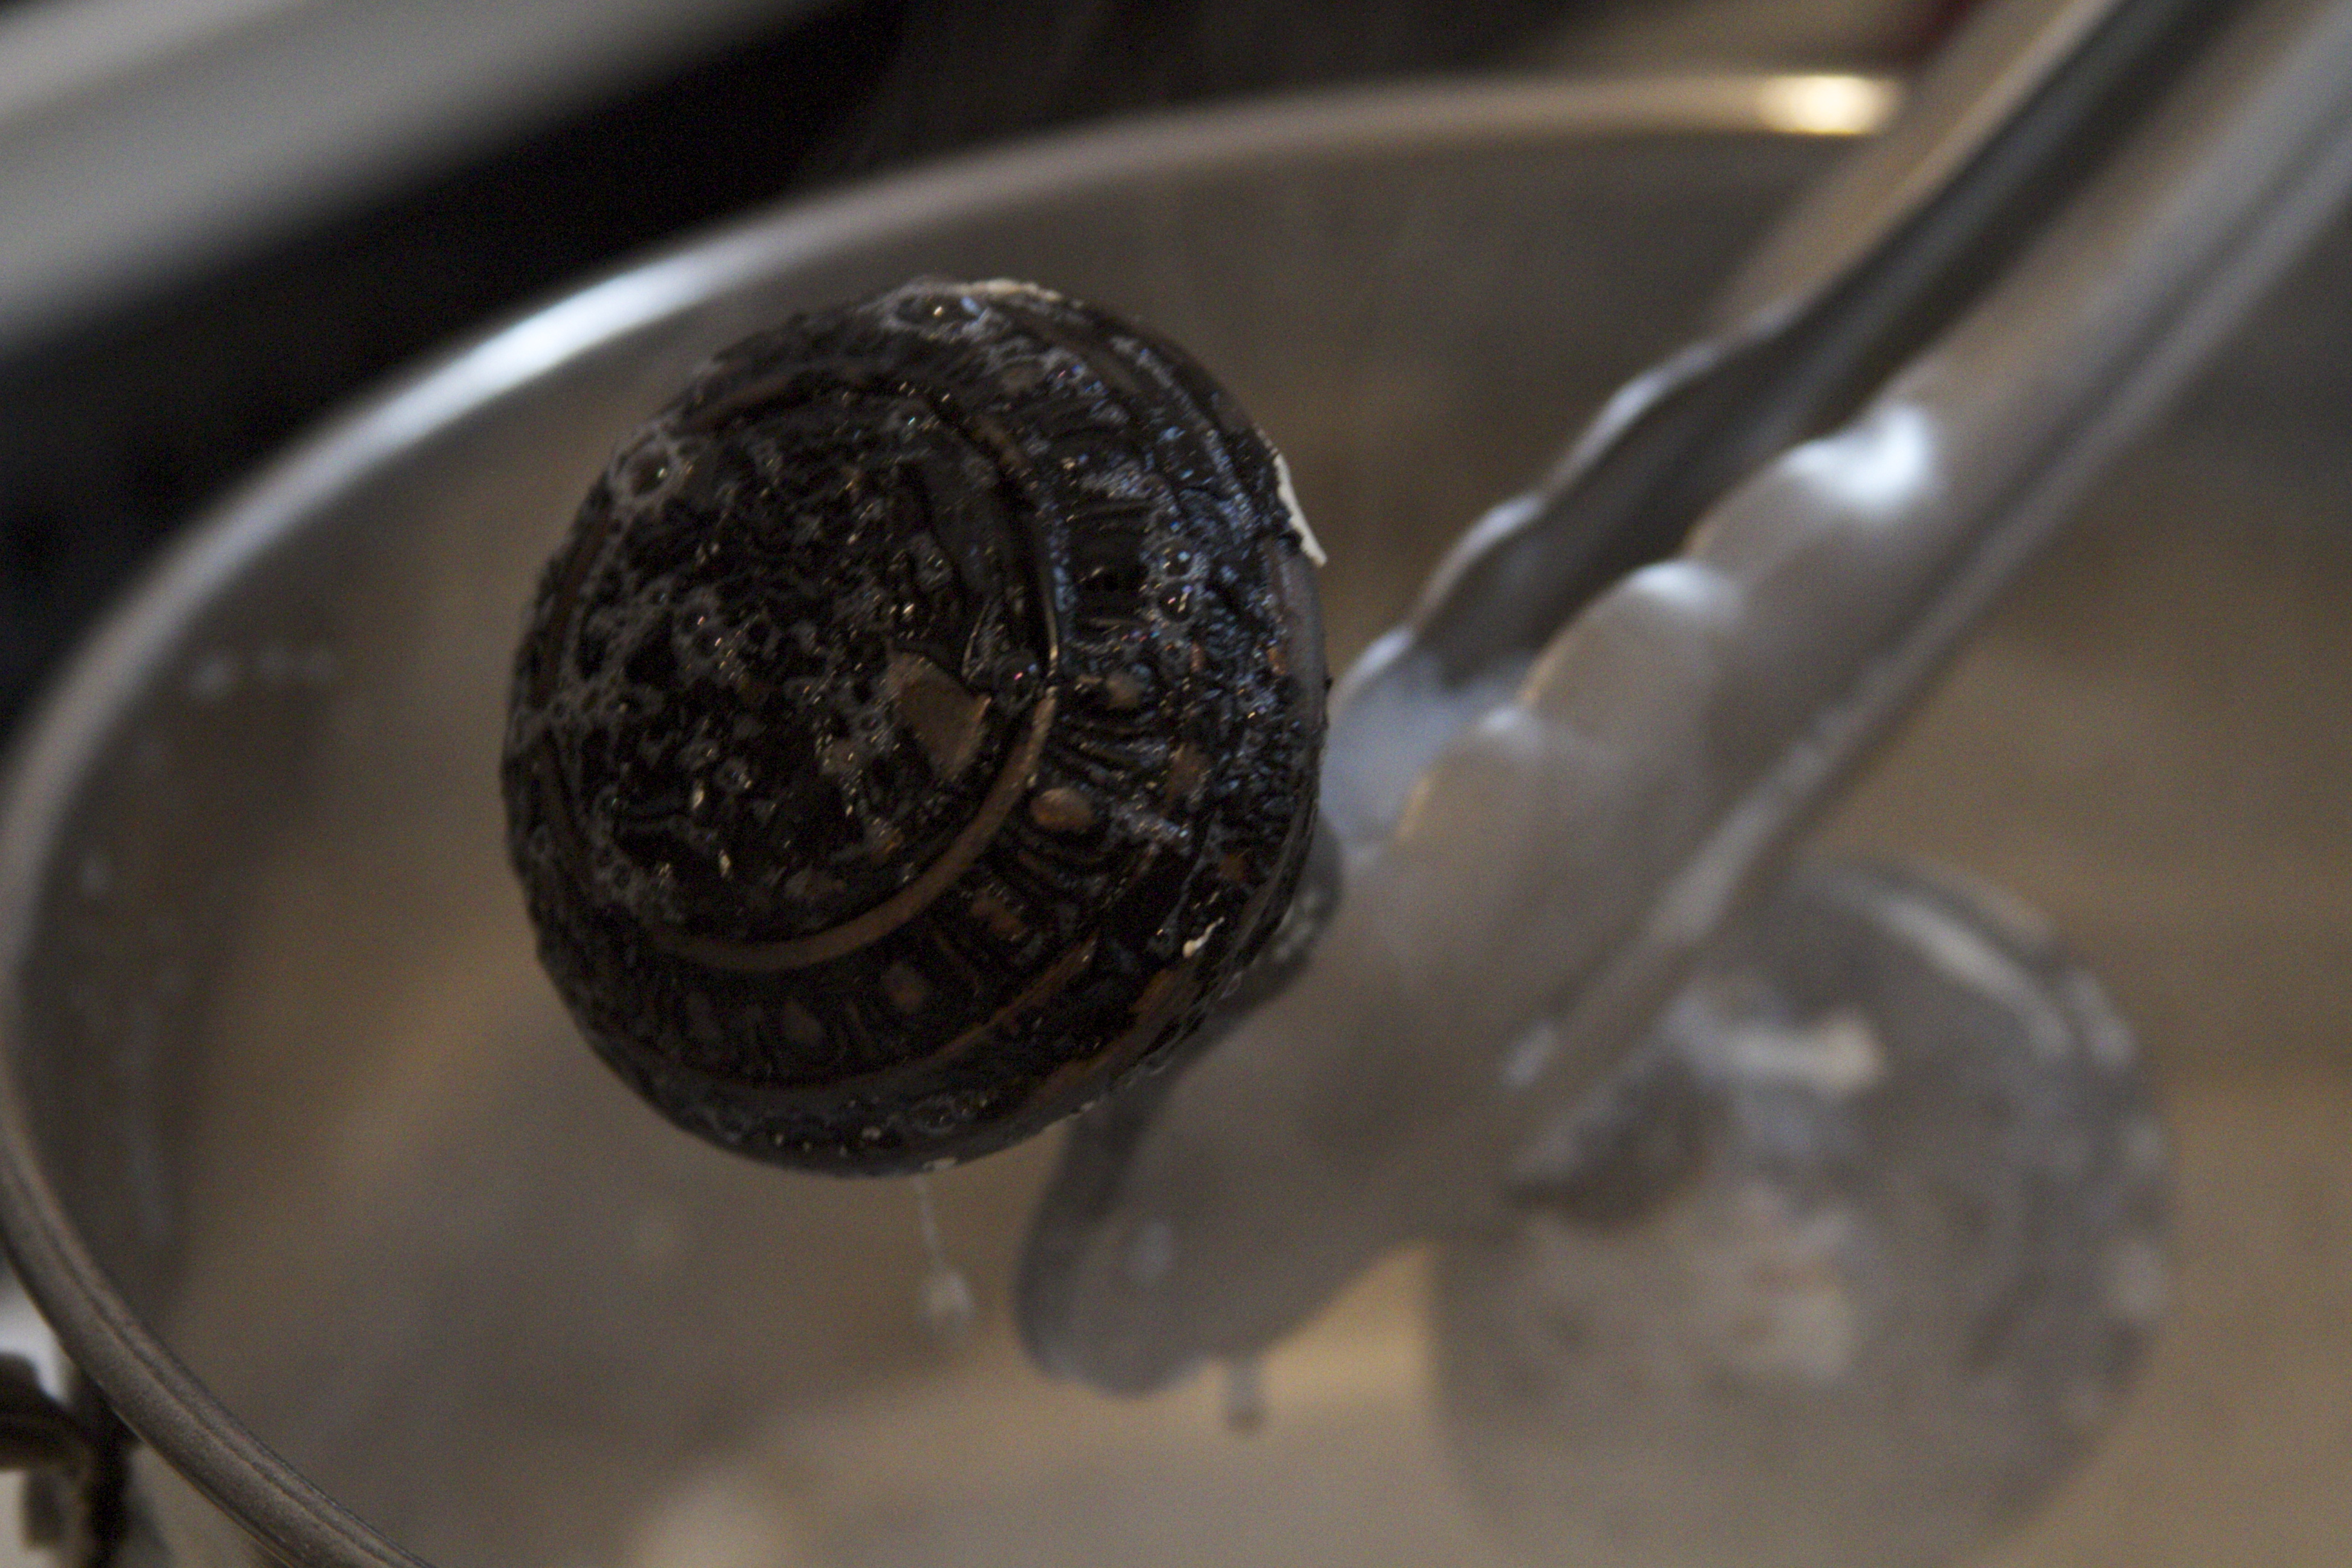 Some of the items may need a bit of scrubbing. The paint will be soft and bubbly and will pretty much wipe off. It goes without saying that they will be very hot, so curb your wild enthusiasm as you grab the searing metal to admire your handy work.
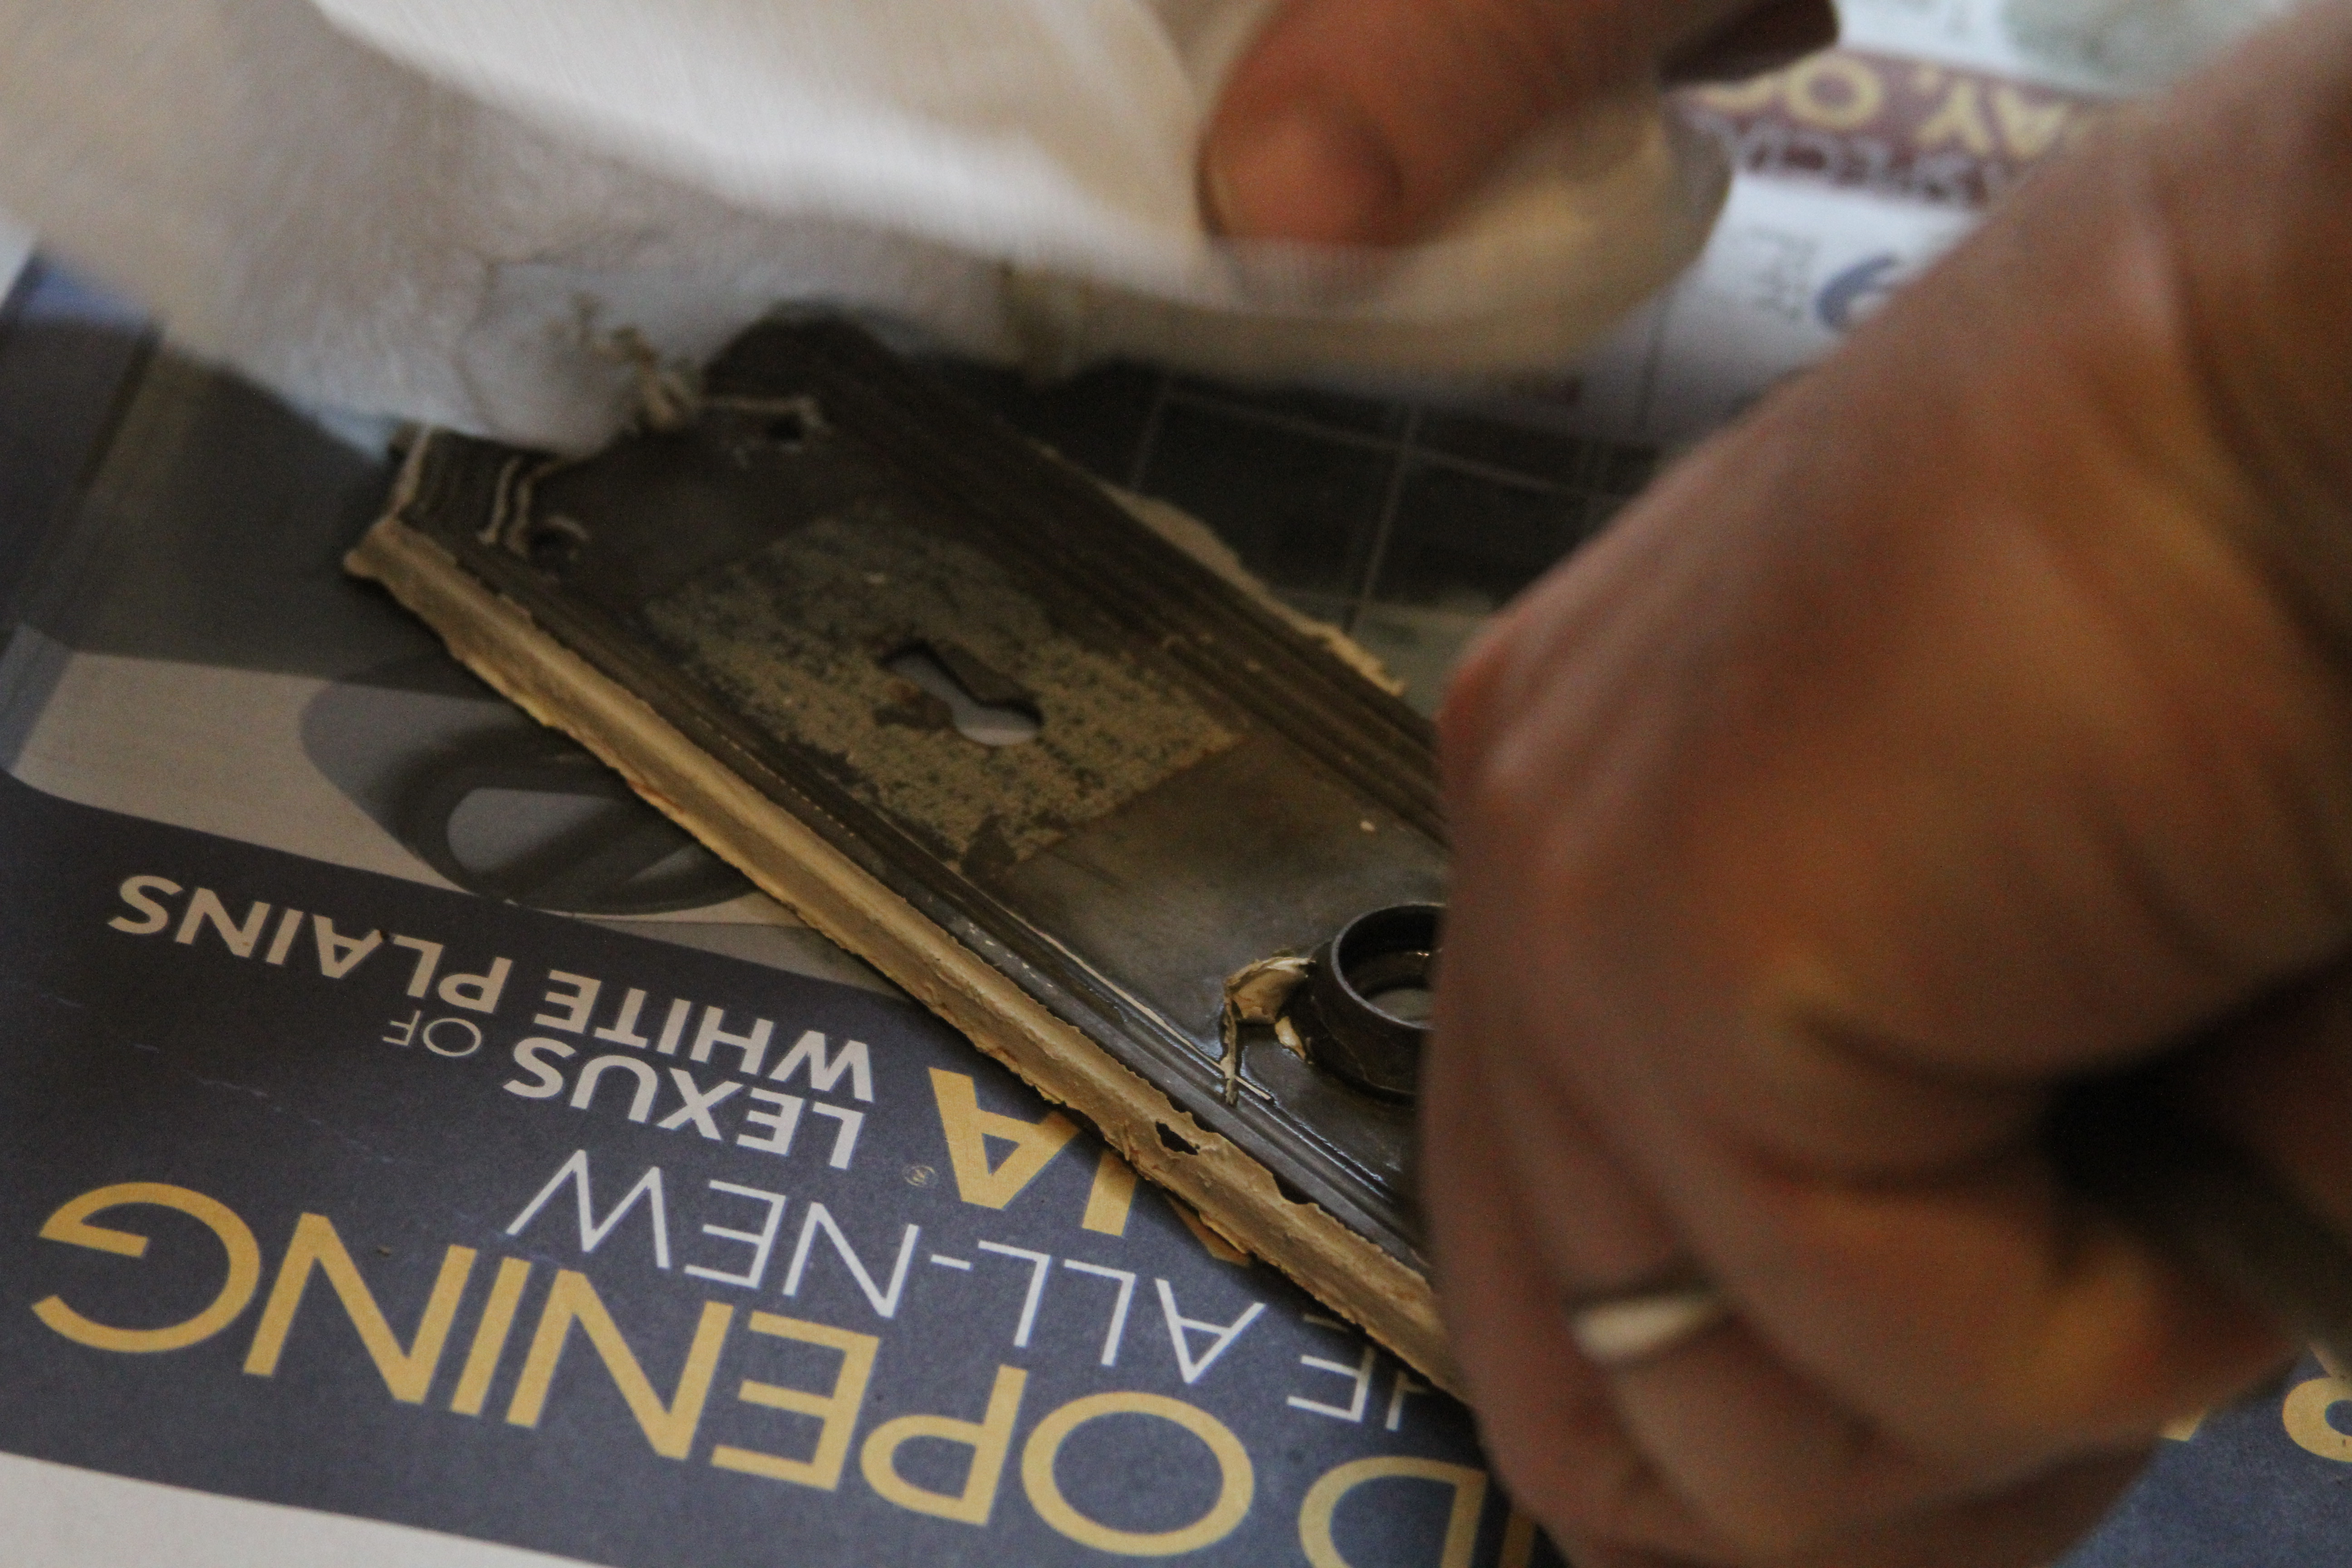

Back plates free of paint, but still looking a little sad
Once your hardware is free of paint, you may find that it’s still looking a bit shabby. Sometimes items get rusty after their bicarbonate bath, but it’s all temporary – because you’ll buff the living daylights out of it.
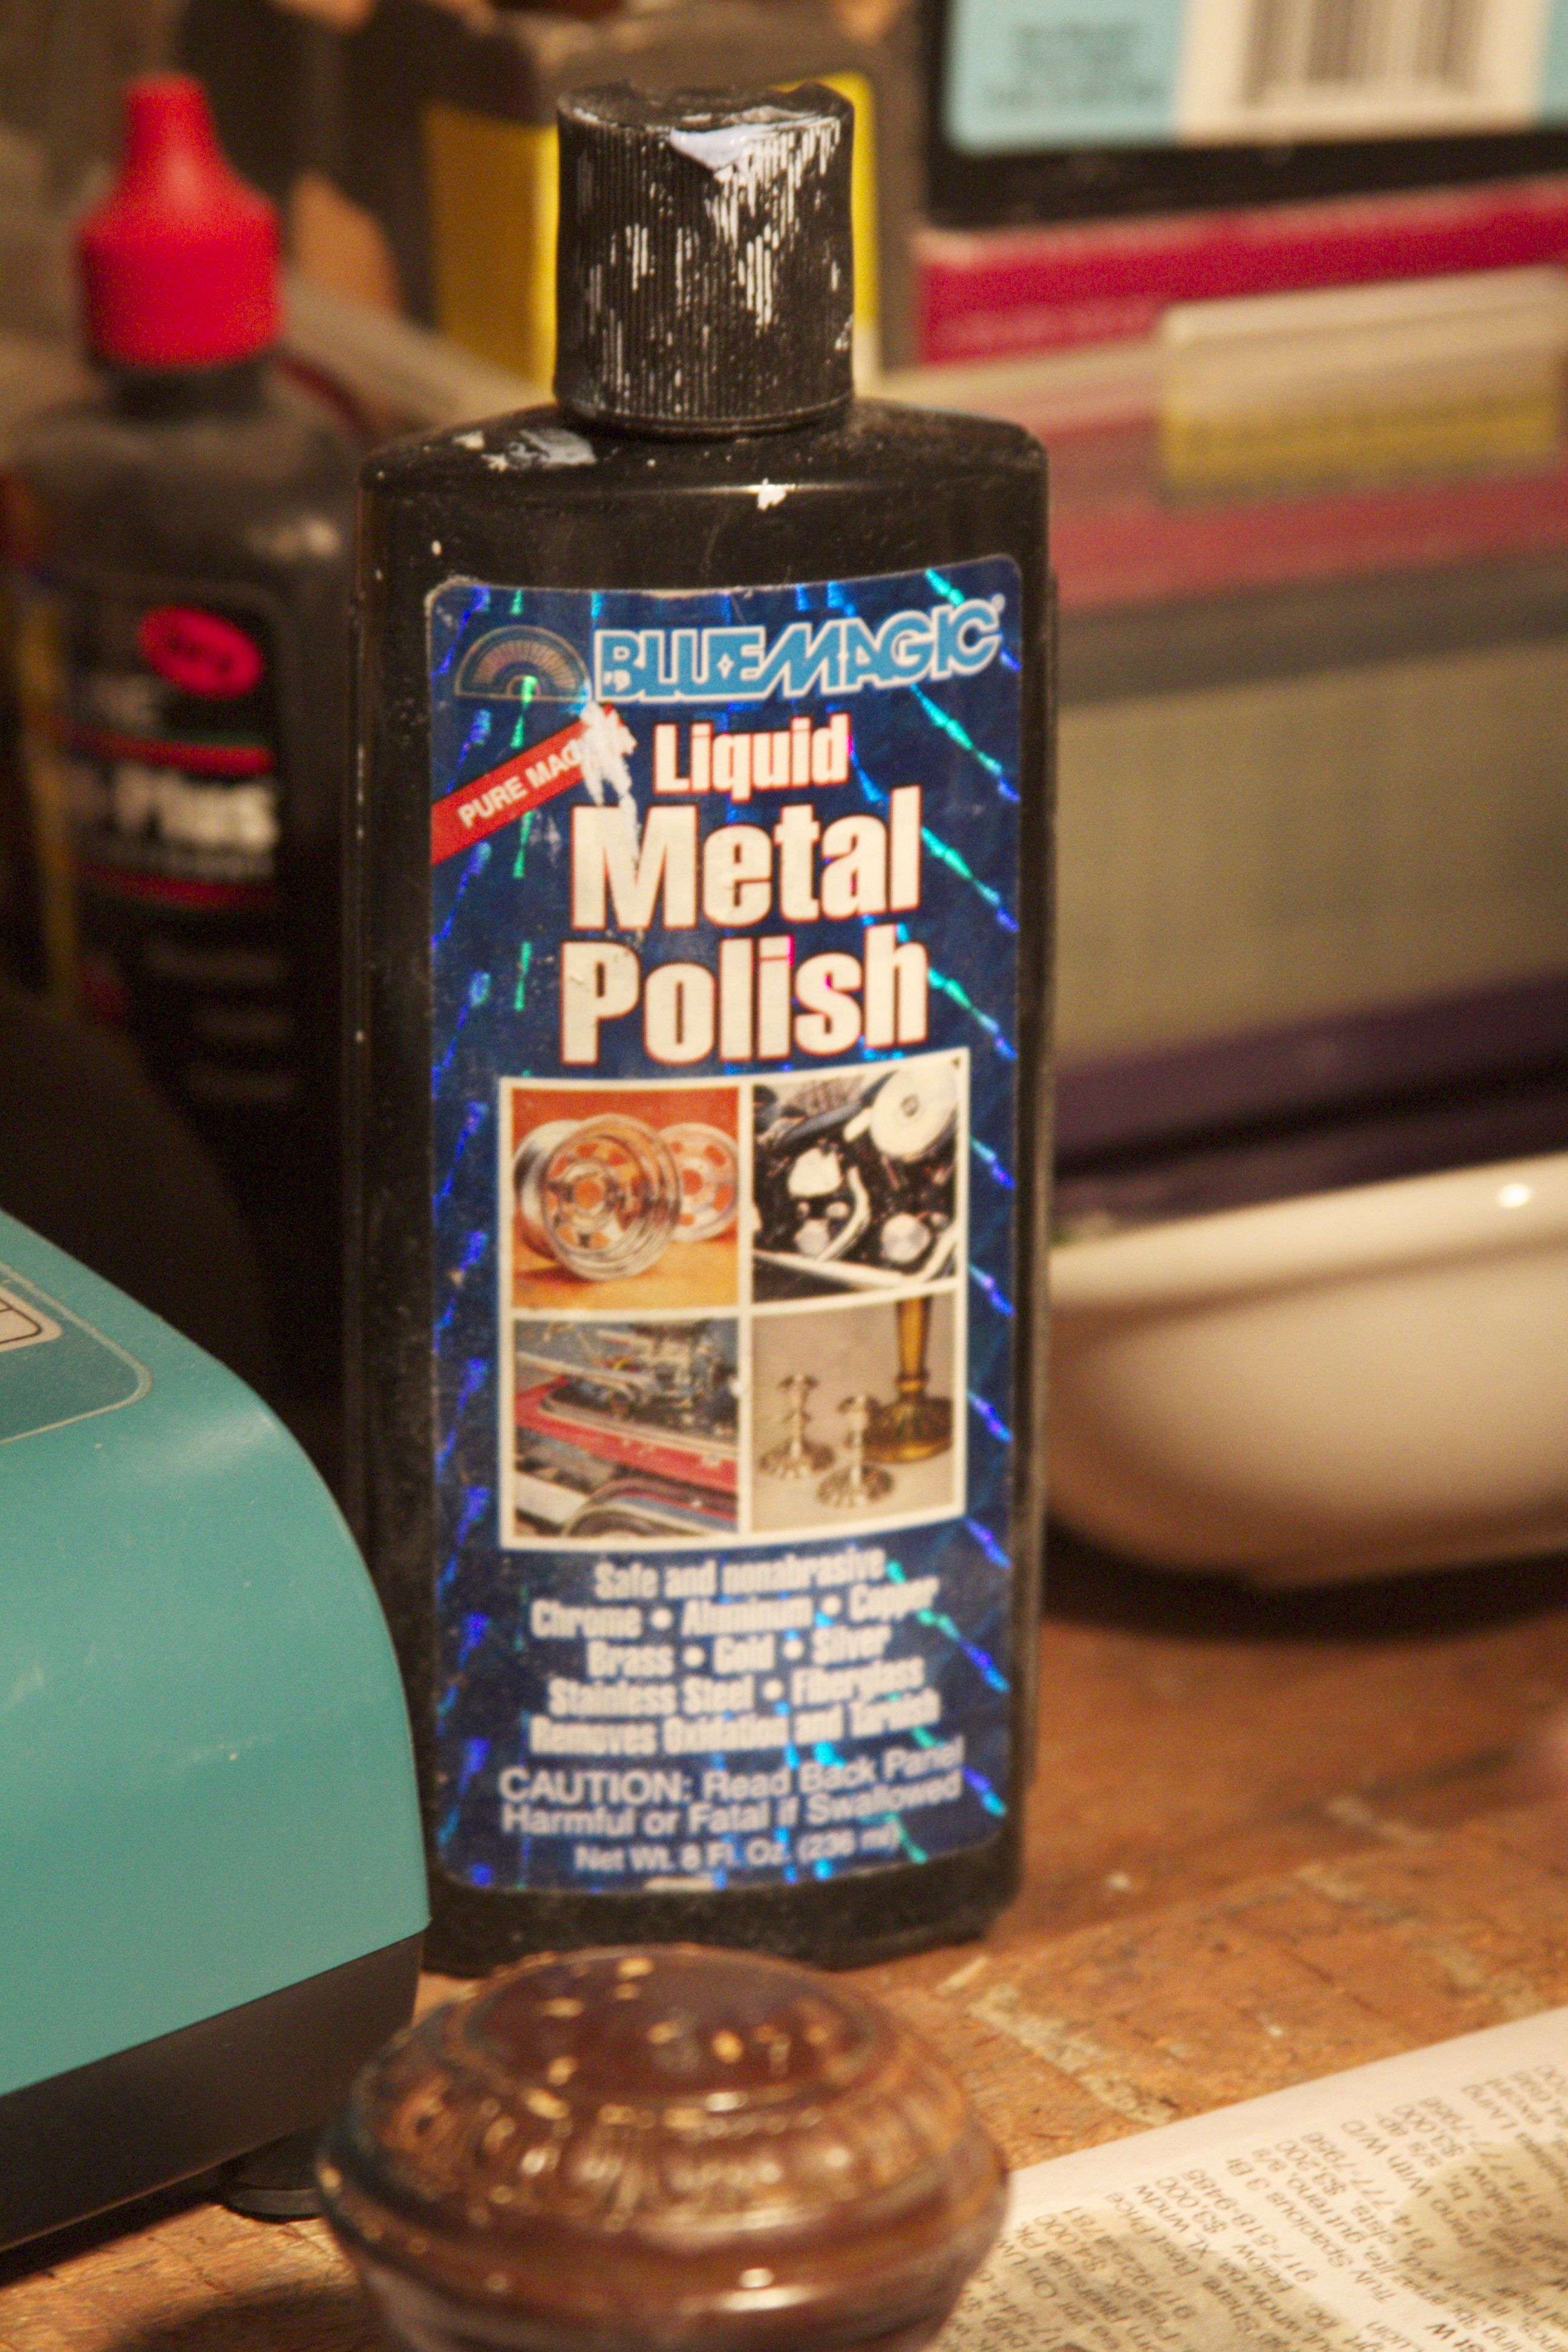
If it’s good for rims and candle stick holders, it sure is good enough for our door knobs
Some metal polish, a little steel wool and an old T-shirt will get you this:

Before elbow grease and after
After it was all said and done, our door hardware looked like this: