An itsy bitsy bathroom

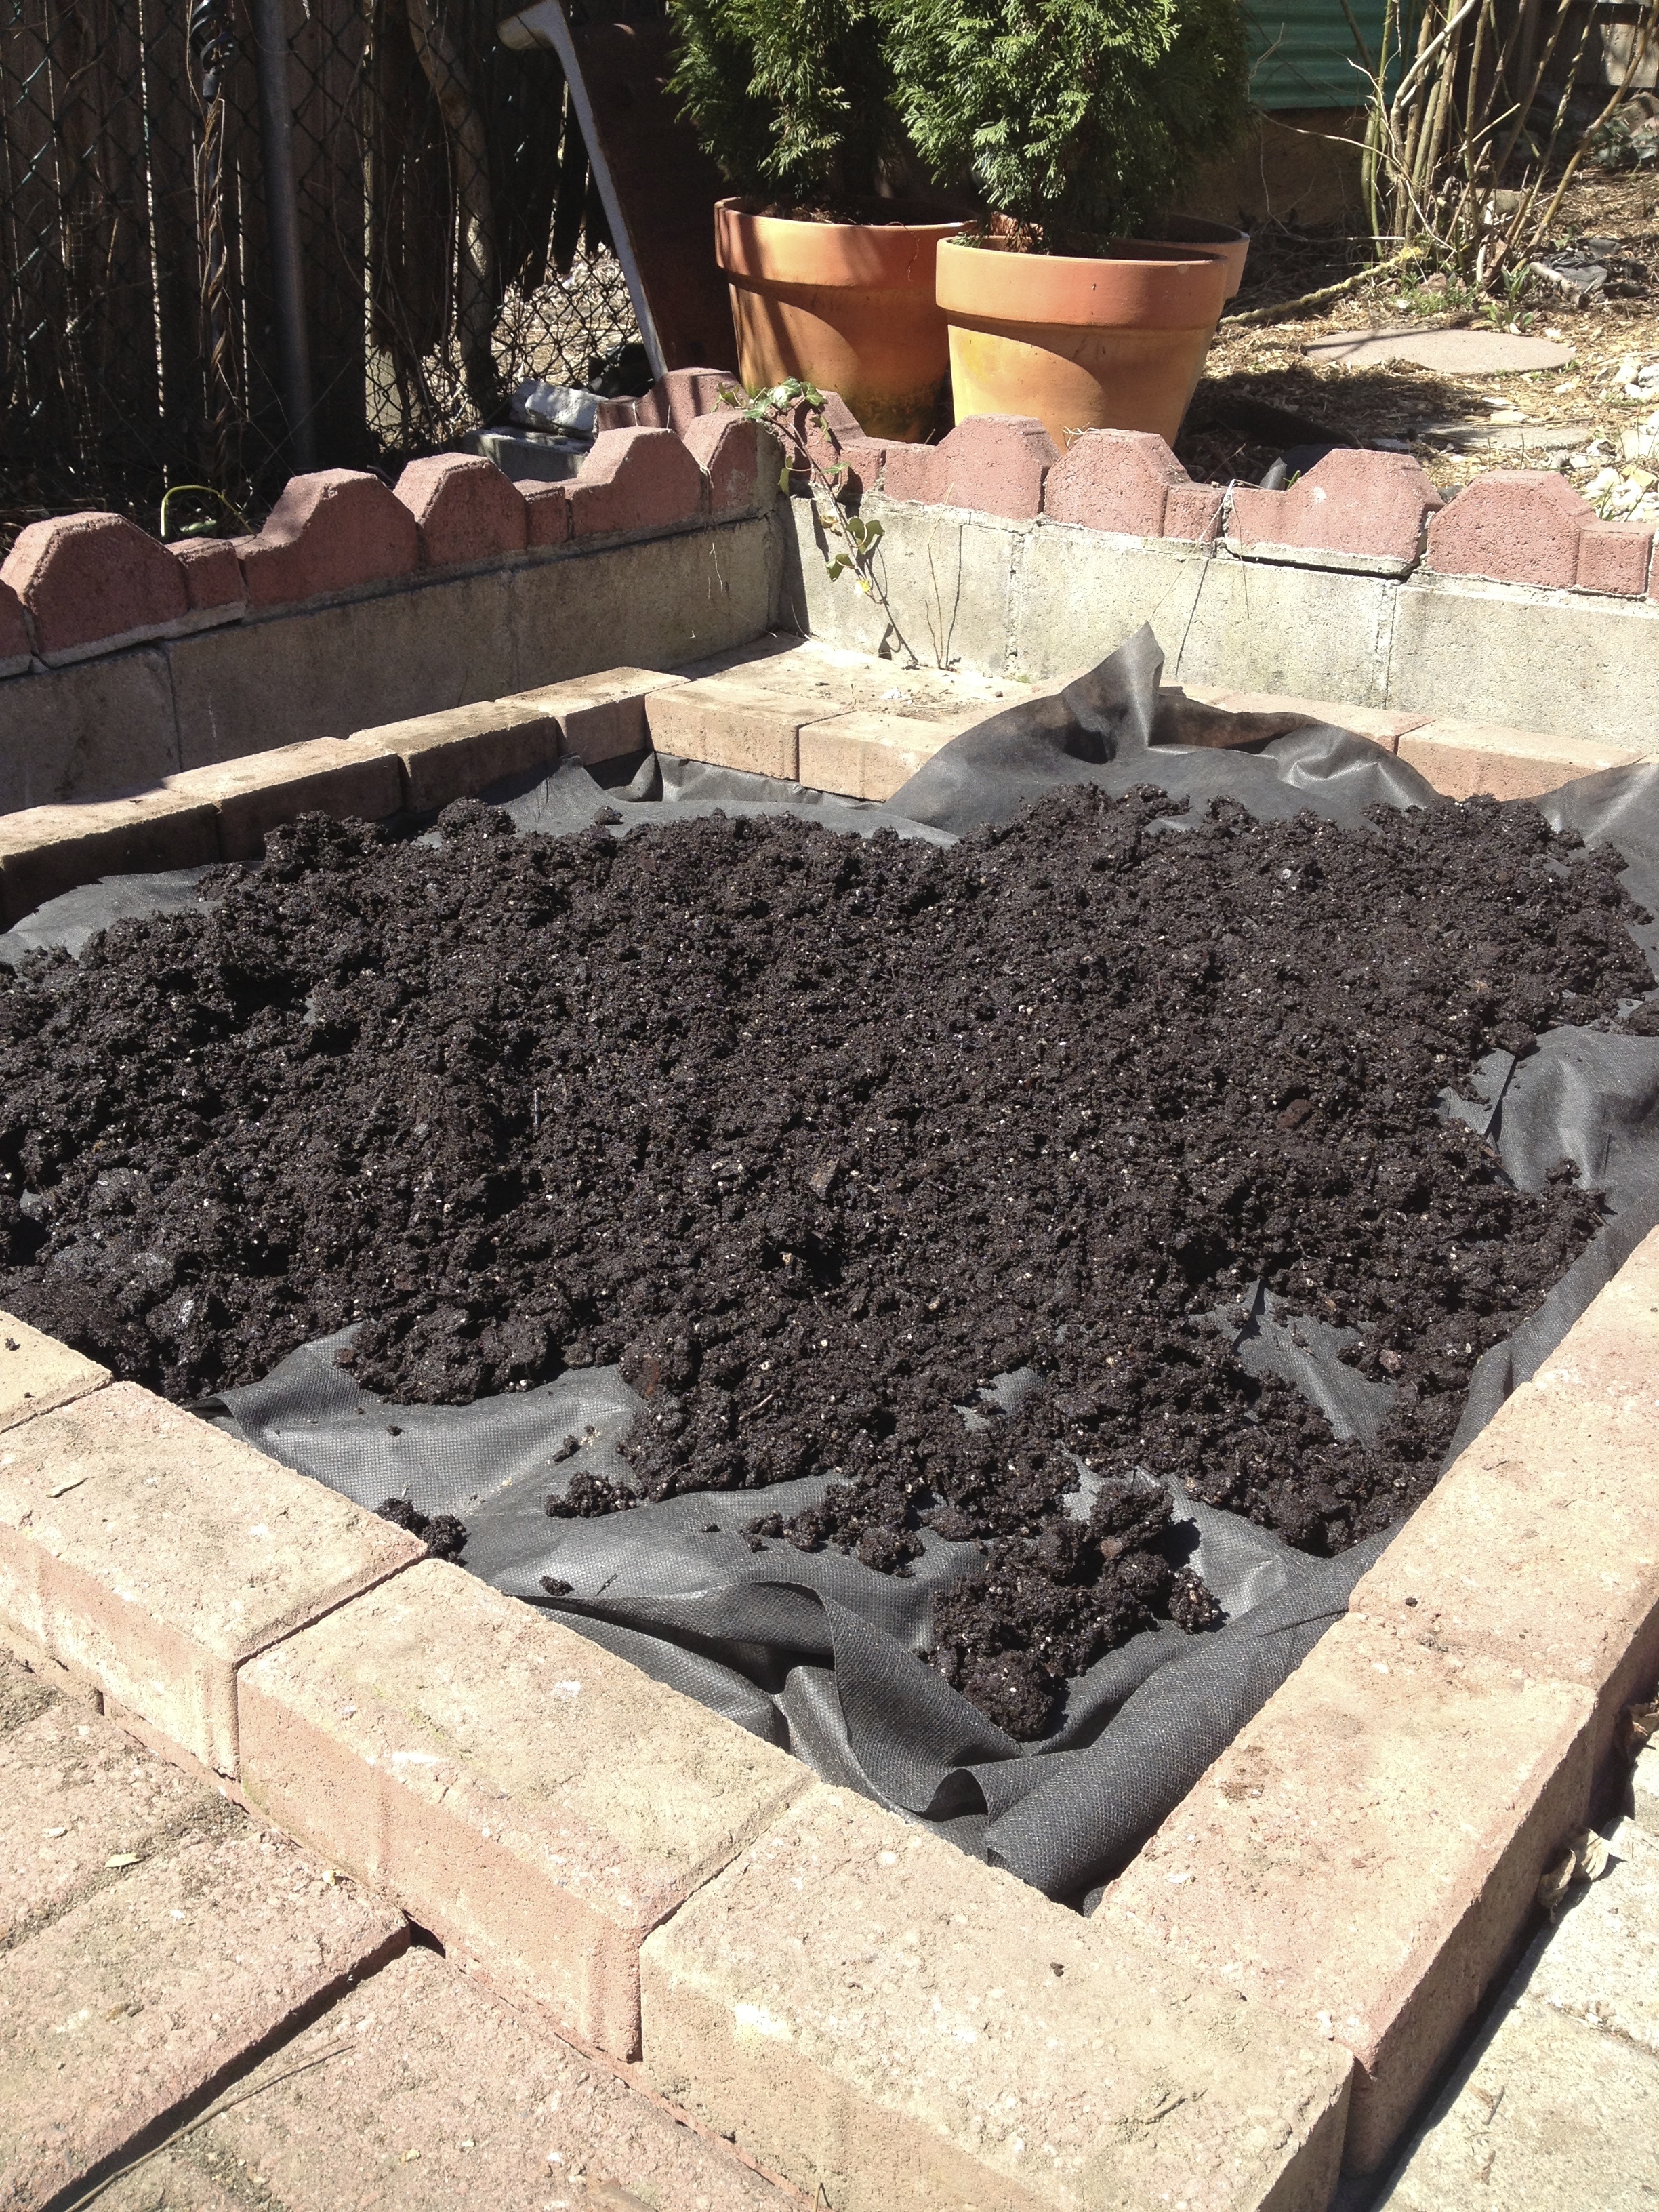
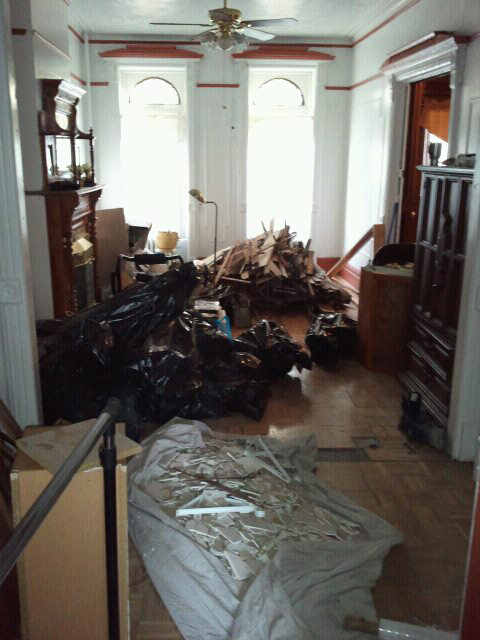
Our house is a work in progress. It’s livable, depending of course of what your living standards are (in this case, a notch better than camping).  We knew going in that it would be a lot of work and we were OK with that. There was electrical and plumbing work that needed to be done. Asbestos that needed to be removed. Rotting floors, crumbling plaster and leaky skylights. Whatever was a safety issue was addressed.  And yet, the thing that gave me nightmares was this:

SAMSUNG
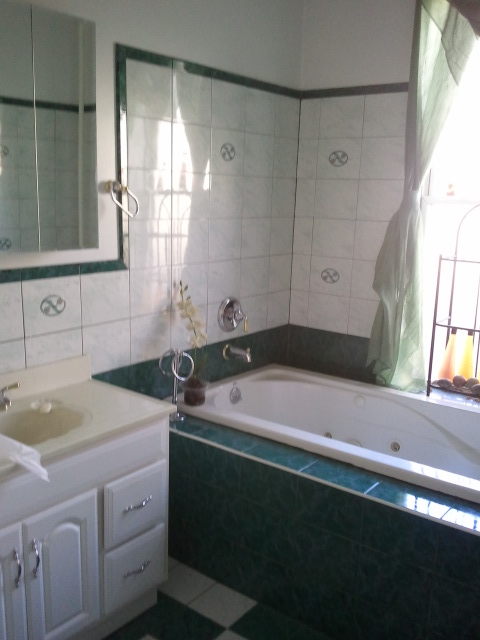
The green bathroom of doom. I don’t know why I obsessed so much about this room, given everything else that needed (and still needs) fixing in our house.  I hate this room to the core of my being. It occupies the side of the parlor floor, a room that one day will be our kitchen. To make that happen, the bathroom will move back to its original location, the glorious 27 square feet of space wedged between the staircase and the green bathroom.

Our first thought was to make it a powder room, since for a toilet and sink, 27 square feet is quite spacious. But then we got to thinking… if we are going to redo a bathroom, why not put a tub in there, too? We both feel strongly it should be a period appropriate bathroom, which means a claw foot tub. We played around with potential layouts:

With tubWith tub is a tight squeeze – similar to what we have upstairs in the shower of sadness.

No tub
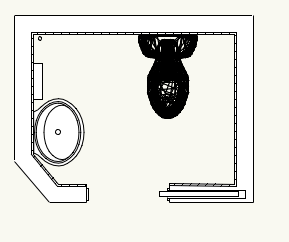
Removing the tub would make the room feel luxuriously large, by comparison.

We could add two additional feet to the room if we closed the hallway which leads to the rear parlor (current site of the green bathroom, future location of our kitchen), but removing the hallway access will make our parlor floor very railroad-y. We’re not huge fans of  the no walls/open concept HGTV nonsense, and we want to respect the history of the house – thus the hallway stays.

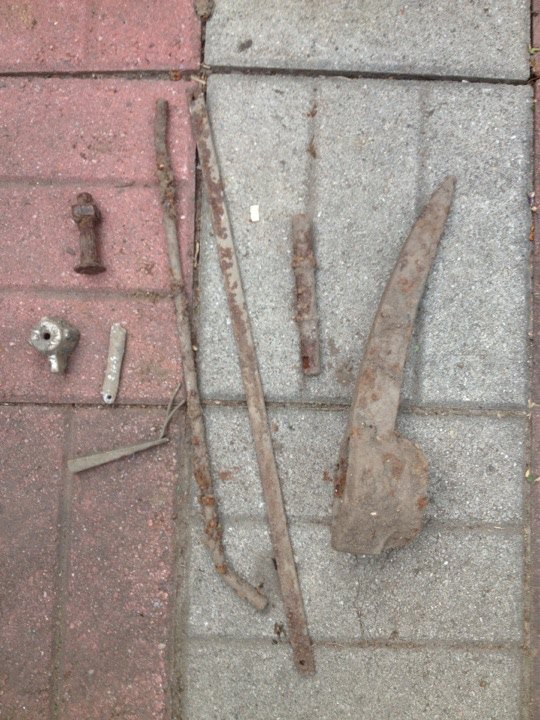
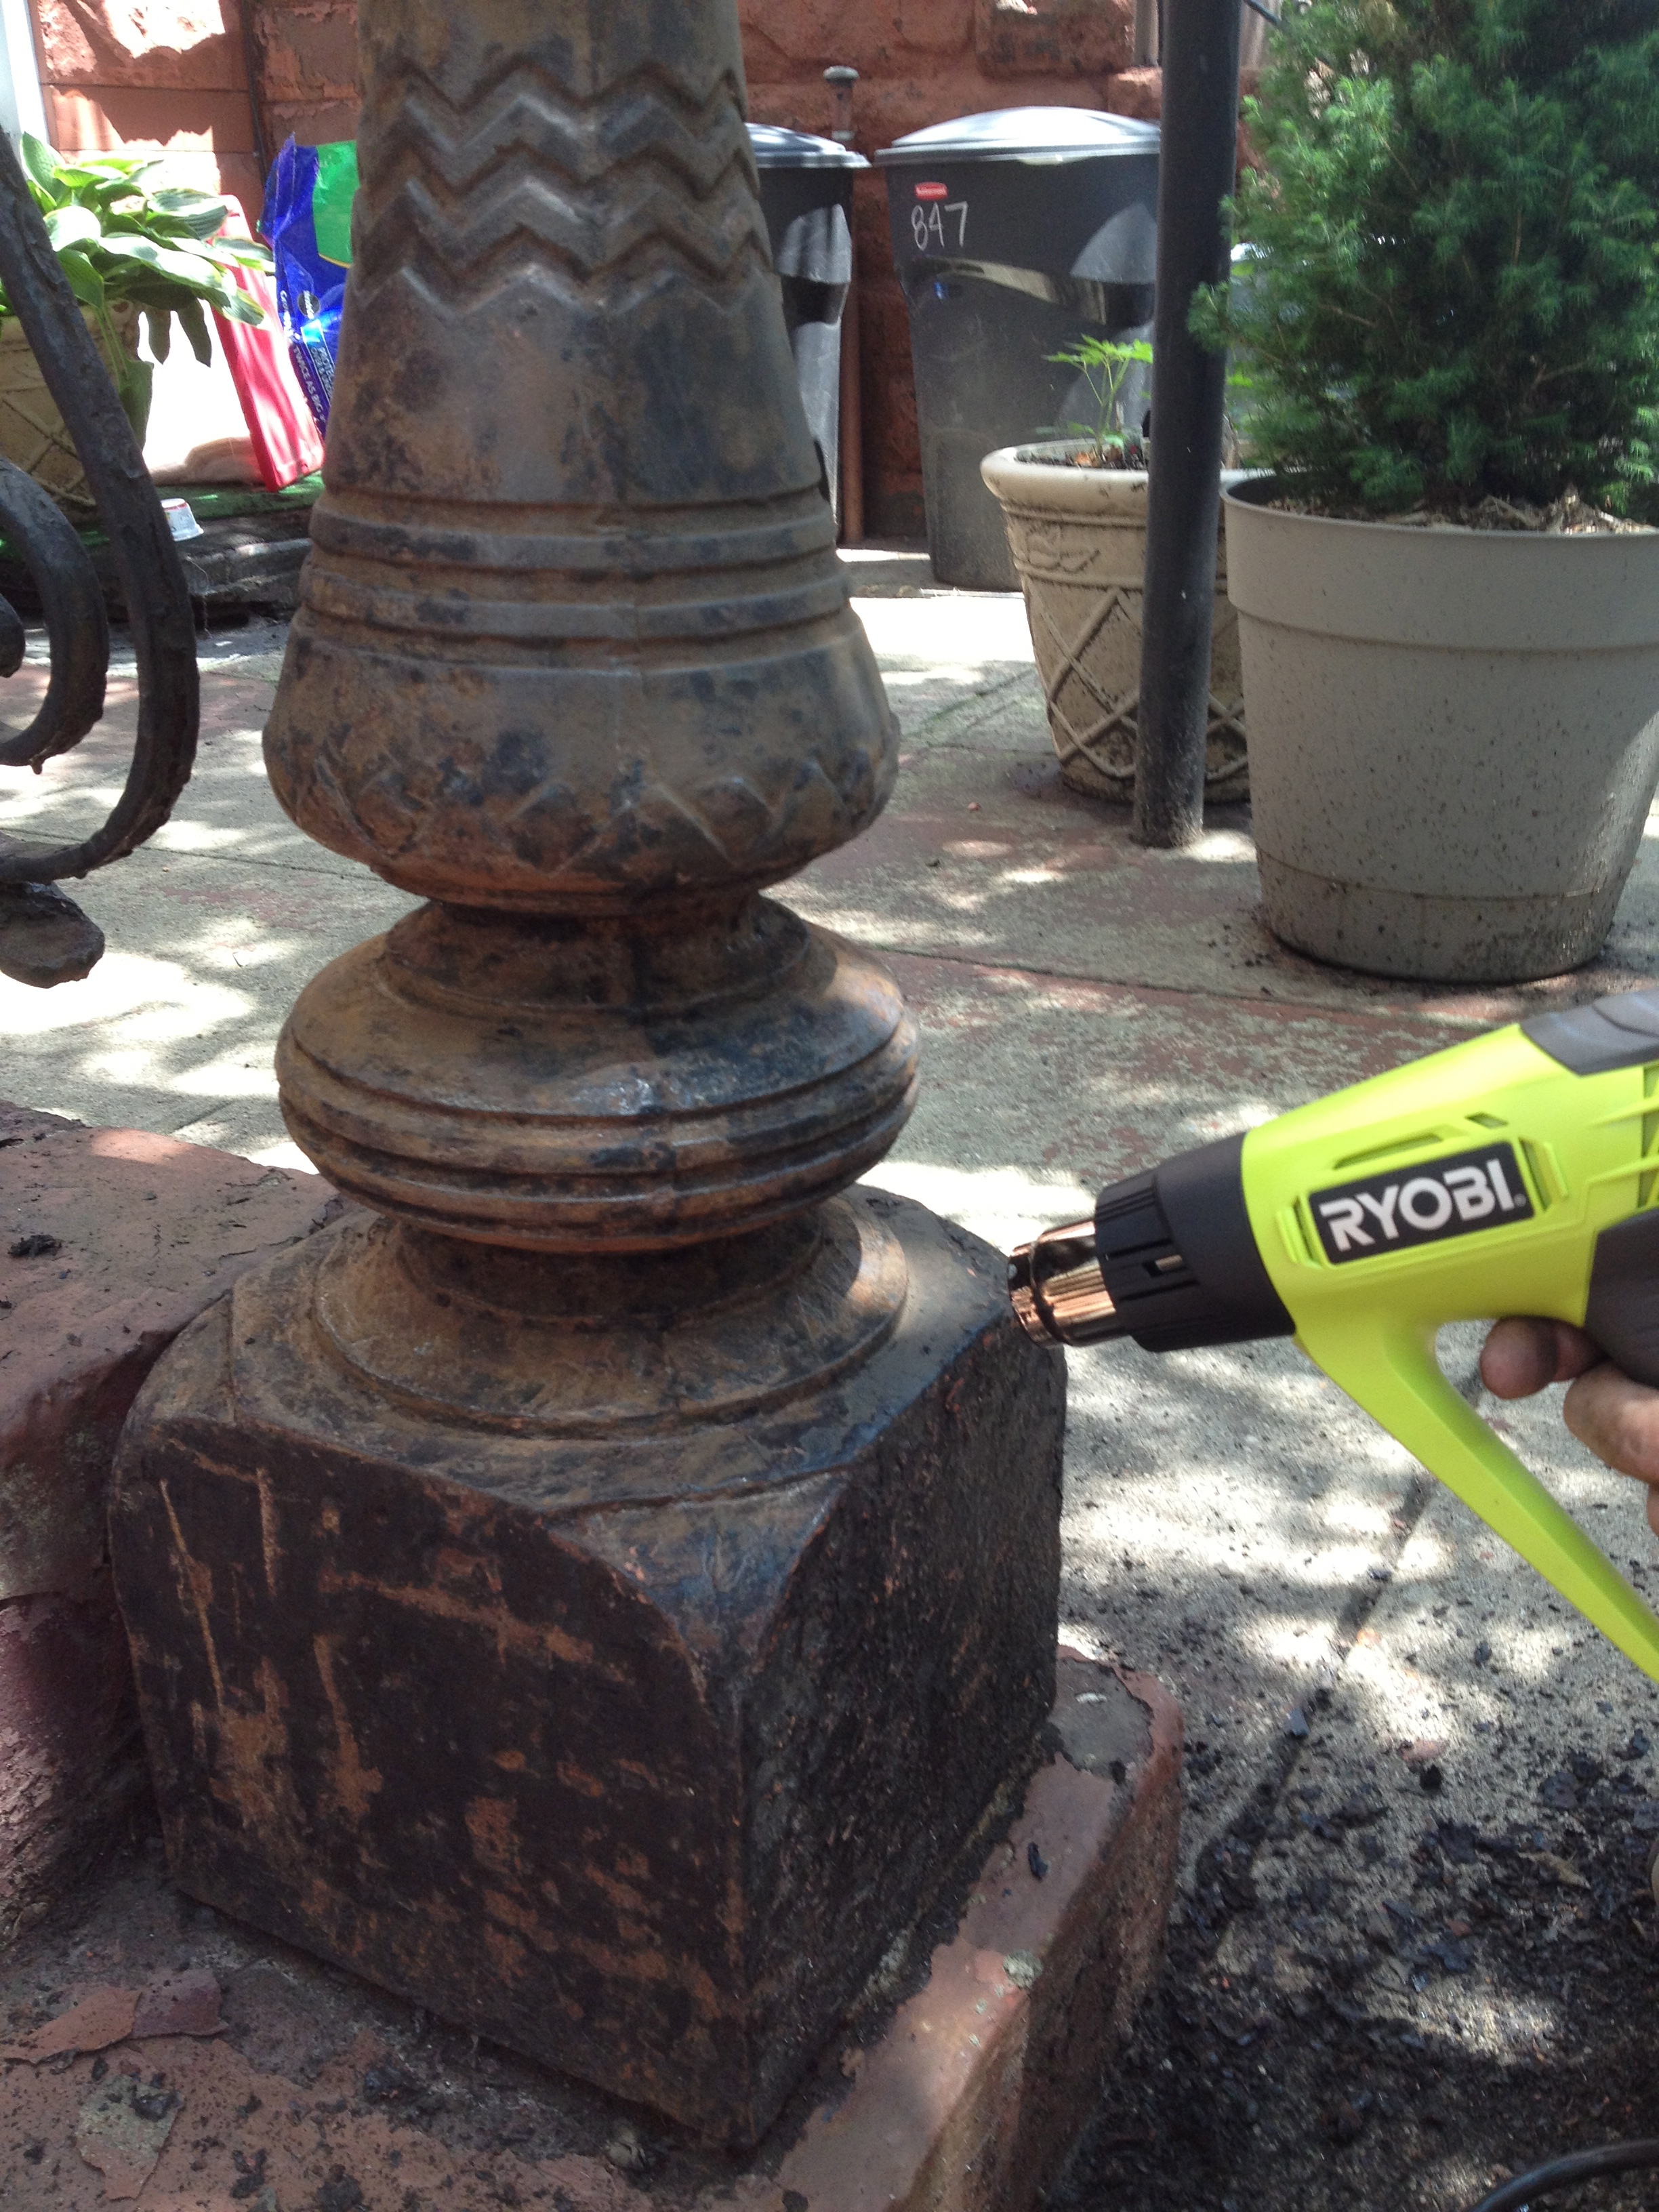
We found the original medicine cabinet in the basement, which will be re-finished and re-installed. We have some salvage wall sconces, which need to be re-wired. In addition, I’m thinking a small wall of Brooklyn Toile from Flavorpaper:

BROOKLYN TOILE

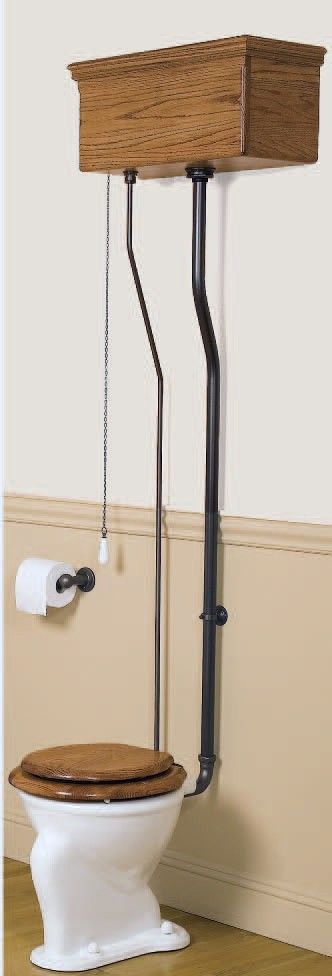
Hex tile with a simple border on the floor, a subway tile wainscoting (if we go with the tub). We need to source a super tiny sink, a pocket door, and maybe a super cool toilet (not only is it Victorian, but it will save crucial wall space)

Watercloset


Right now everything is up in the air. It’s about collecting the right pieces so that the plumbing can be done accordingly. I’m going to guess that progress is going to be slow…

Digging (a worm) hole

Planting anything in our back yard is an adventure. Over the  years, a lot of junk was buried back there, evidenced by the fact that it’s nearly impossible to dig a hole and  not find anything unusual. Last year we dug up a bayonet, a bath tub and  bicycle handlebar.

This year, I offer up a pick axe, random bits of metal, a giant bolt and a piece of a faucet.

Pick axe

So far we haven’t found the hidden treasure, but I guess there is still hope…

Ironwork

I’m told that our neighborhood boasts some of the largest collection of original ironwork in all of Brooklyn. Rows upon rows of ornate stoop railings in block after block of brownstone homes.

As is the case with pretty much every surface of our house, our railings are caked up with paint and they are peeling. Water is the arch nemesis of ironwork, so it’s super important that the paint be in good condition to prevent rusting.

Our newel posts looked like this:

IMG_1112

Gross, right? The first we* attacked it with our trusty PeelAway 6. It worked OK, but since we were working outside we decided to give harsher chemicals a try (Zip Strip). It worked OK, too – but not that much better. Because the third time is the charm, we tried a heat gun. Our previous concerns of scorching woodwork didn’t apply here, so we went to town:

IMG_1114

Worked pretty well. It was great to see all that detail that had been lost under the gobs of paint.  Here is the after shot with a coat of primer:

IMG_1118

There is still a long way to go to get all of our railing stripped. The newel post itself took about 2 days. The weather has been making progress slower – all this rain makes it difficult to camp outside for any length of time.

* by we I really mean the Hubs. I had nothing to do with this project, other than the occasional cheerleading.

Back Yard 2013

I love having outside space. I missed it so much in all those years of apartment living. A major redo of the yard is in the future, when we build a deck and become all fancy. In the mean time the space is as utilitarian as the fire escape ladder we use to get to it.

Every year I like to plant a tomato plant. Or two. Or five. Trouble is, most of Brooklyn has soil contamination issues stemming from the borough’s industrial past. After having our soil tested and finding out that there were some substances in it we’d rather not eat, the solution was to create a raised bed, and fill it with fresh non-contaminated soil.

Because everything about our back yard is temporary, it really didn’t make sense to spend a lot of money, so we used stuff we already had – a surplus of paving bricks. With a level, a trowel and a whole bunch of pavers, I made a box of sorts. I then lined the bottom with landscaping fabric and filled with the clean soil – all 15 cubic yards of it, carried  through our parlor floor and down the fire escape.

It started like this:

IMG_0883

IMG_0885

Landscaping fabric helps keep the new soil separated from the old.

IMG_0886

And became this:

photo

We also rebuilt the rear fence and added a retaining wall, to compensate for the height difference from the lot behind us. Because nothing is ever easy when trying to get things to the back yard of a row house, all of our construction supplies had to go through the house and down the fire escape:

IMG_0956

The fence and retaining wall were then built into place:

IMG_0997

Came out pretty well, if I do say so myself… Now we wait for the Dahlias to bloom.

IMG_1108

Decisions, decisions

When it comes to the master plan of our house, I pretty much know what I want – right down to the bathroom tile and the refrigerator in our yet to be built kitchen. These are part of bigger projects that are somewhat off in the future. But there are small projects all around our home that could make a huge difference in our day-to-day living – as in make it more like living, less like camping. That is where I seem to have decision paralysis.

For example, I could paint the bedroom. It’s currently an awful shade of beige/flesh. It’s depressing. It’s drab. It’s the last thing we see before we go to bed and the first thing we see when we wake up. And yet, I can’t decide what color to paint it over. I’ve had paint chips taped to the wall for a year. And I still can’t decide.

Exhibit A: curled up paint chips from a long time ago.

IMG_0829

Our bedroom is currently a hovel. It’s utilitarian, but not pretty. A master bedroom as an oasis? Ha! Not ours.

Exhibit B: Our gross walls.

IMG_0830

The walls are cracked and need to be skim coated (I could do that). There is ugly popcorn on the ceiling and moldings (I could remove it – actually  started and got about 1/3 done and stopped for some inexplicable reason). It’s really time to just take a deep breath, pick a color and get it done already!

On a side note, why would anyone paint their walls this awful flesh-tone color?

Waking up from a long winter nap

We blew through our funds getting the garden apartment ready to rent, as well as spending money in the very un-glamurous-yet-very-necessary electrical and plumbing departments. Towards the end of last year, with the garden apartment rented, it was time to take a break and save up some cash for the projects ahead. They are:

Façade

Façade: This could potentially be a huge cost. The original façade is made of brownstone, which has been painted many times over the years. In its current iteration, it is pink. And it’s peeling. Our hope is once the paint is removed, the brownstone will be in good enough shape to be left alone, sans color. In case you are wondering, this is what it looks like now. Yes, we are the creepy house on the block….

SAMSUNG

Powder Room: Turning this once-closet back into a bathroom is the first step into a larger project of moving the kitchen down to the parlor level (it’s currently on the top floor, next to our bedroom).

Icky Parquet

Parlor Flooring: The original parquet floor is long gone. It’s been replaced with fake parquet, which was poorly installed and is lifting all over the place (the splotchy marks on it are not dirt, but residual glue form a sloppy installation). The idea is to replace it with period accurate parquet, with a nice border around it.

New Hatches: our house has two hatches, one in the front, one in the back. The front one was used as a coal chute, not sure what the one in the back was used for. In any case, both hatches are in dire need of replacement. The brick in the front hatch also needs repointing and the chute door needs a little love to make it look less like a horror movie set.

So yes, there is a lot of work ahead…

Wallpaper

It’s pretty safe to say that we are light years away making decorating choices for our parlor floor – and yet sometimes you just have to give in and imagine the light at the end of the restoration tunnel.

A while back I read about a Brooklyn-themed wallpaper pattern designed by Beastie Boy Mike D. Ever since then I kept imagining what this crazy toile style paper would look in our yet to be built period power room. I’m not a wallpaper person – quite on the contrary – but I loved the idea of using a very traditional style (in this case toile) with an unexpected twist.

So I googled my way over to Flavor Paper and spent some time day dreaming about what out teeny tiny powder room may look like with this, this, this or this. I ordered  samples and I realized I’m not any closer to a decision. But it was a lovely distraction from the less fun aspects of bringing an old house back to life. It may be a while, but Flavor Paper, I’m coming for you!.

Happy New Year!

This fall was particularly busy as far as work for the both of us, so not a lot got done in the home front. We didn’t even get a chance to throw our 1-year houseversary party we planned for mid-December.

Looking back, we managed some key projects that made the house less of a hovel and more of a home. Remember this?

hoarders-hello

A lot of non-exciting yet crucial work has been done, such as updating the electrical and plumbing (I can’t stress how lovely it is to take a hot shower in the winter!). We also re-configured the house, making it an owner’s duplex over a garden rental (which is now rented – woo hoo!)

There is a lot on the list for 2013: restoring the parlor level powder room to its original location, laying the ground work for a new kitchen, addressing the super tiny third floor bathroom – those are the big projects. There are also plenty of little-ish projects to keep us busy along the way: removing popcorn from ceilings and walls, fixing cracks, stripping paint, re-painting… the list goes on and on.

So here is to another year of restoration adventures. Let the fun, uh, continue?!?

Oven-less Turkey


It’s our first Thanksgiving here at the Pink Lady. A lot of work has gone into the house – unfortunately none of it in our kitchen. As a result, we don’t have a working oven. Using the charcoal grill left by the previous owners, as well as a few bags of charcoal – voila! Behold our delicious Thanksgiving turkey!

Yes, we’re still here…


It has been a while since the last post. As with any reno project, sometimes life gets in the way. We’ve been tackling smaller projects that we can start and stop as needed. For example, we’ve been stripping our shutters, which is easy – yet incredibly time consuming. Most of our front windows have shutters, all of which are painted in and caked with many layers of paint and goop. At 8 panels per window x 5 windows, there are a lot of shutters in need of some love…

First we removed the shutters and labeled them so that they can go back in the correct location. They are probably interchangeable, but didn’t want to risk it.


Cue the tools: PeelAway6, Mineral Spirits, Denatured Alcohol and a variety of scrapers, brushes and small metal tools that will help get paint off the small crevasses. And gloves. You’ll need many pairs of gloves, as they quickly get sticky and unusable.


The next step is to apply a generous layer of PeelAway6. I have tried all the other non-toxic products and PeelAway6 seems to work the best. It’s a bit hard to find these days, as Home Depot doesn’t seem to carry it anymore.  As the chemicals react with the paint, you’ll see some bubbling. The shutter on the left is almost ready to peel, while the one on the right still has some time to go.


Once the surface is nice and blistered, use a scraping tool to peel off the paint. In this case, there is an almost intact layer of paint below, which will require a second application.


Using the scraping tool and a hard bristle brush with mineral spirits, you’ll eventually get to something like this: the first few layers of paint cleared up, ready for a second application of paint stripper.


Cue the PeelAway6 again:


After three applications of paint stripper, the shutters look like this – it’s one of those “it will get worse before it gets better.” At this stage I find it’s actually more effective to use denatured alcohol to remove the last stubborn bits of paint. For bigger clumps, however, another application of paint stripper may be needed.


The back sides of the shutters (the side that is visible only when the shutters are open, was covered in old varnish. The finish has deteriorated over the years, becoming sticky and splotchy. Luckily, varnish is super easy to remove. Apply a bit of denatured alcohol with an old brush and wipe clean with a rag.


Here is my disclaimer: If you tackle any projects that involve old paint,you have to be aware of lead paint. When in doubt, assume it’s lead paint and don’t anger it –  meaning if the paint is in good condition, it’s safe as is and you can just paint over it. You can have paint chips professionally tested to determine whether it’s lead or not. I find that the do-it-yourself kits available at the hardware store are hard to use and the results seem to be inconclusive (at least the ones I tried). You should never ever (ever!) sand anything that contains lead paint, as it’s super bad if it gets airborne. Little bits and flakes of lead paint are also dangerous, particularly to kids.