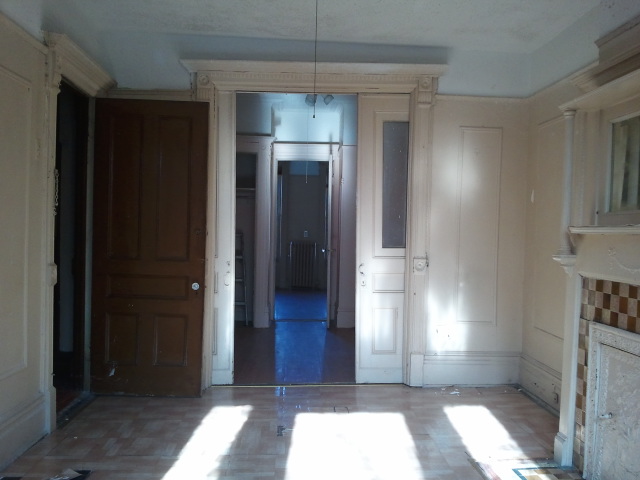
It started out like this (pictures taken the day after we closed). Notice the loverly stick-on vinyl tile floors. I very much hate stick-on floors.

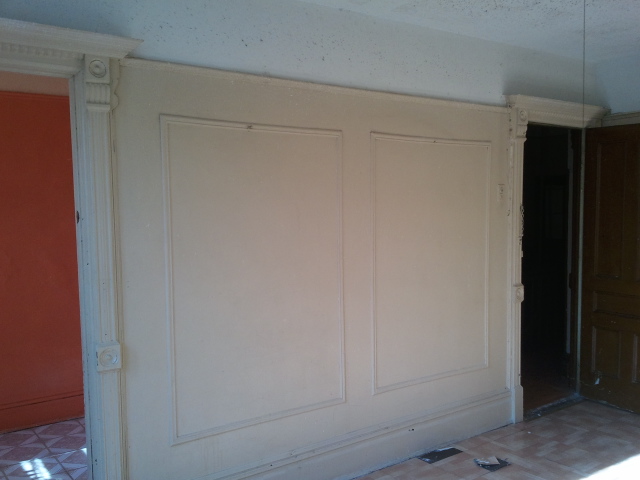
After peeling up the floor and stripping the wood floor underneath, we lived with the room, as is, for a while – until I decided to treat ourselves and hire someone to strip all the woodwork. After they were done, it looked like this:


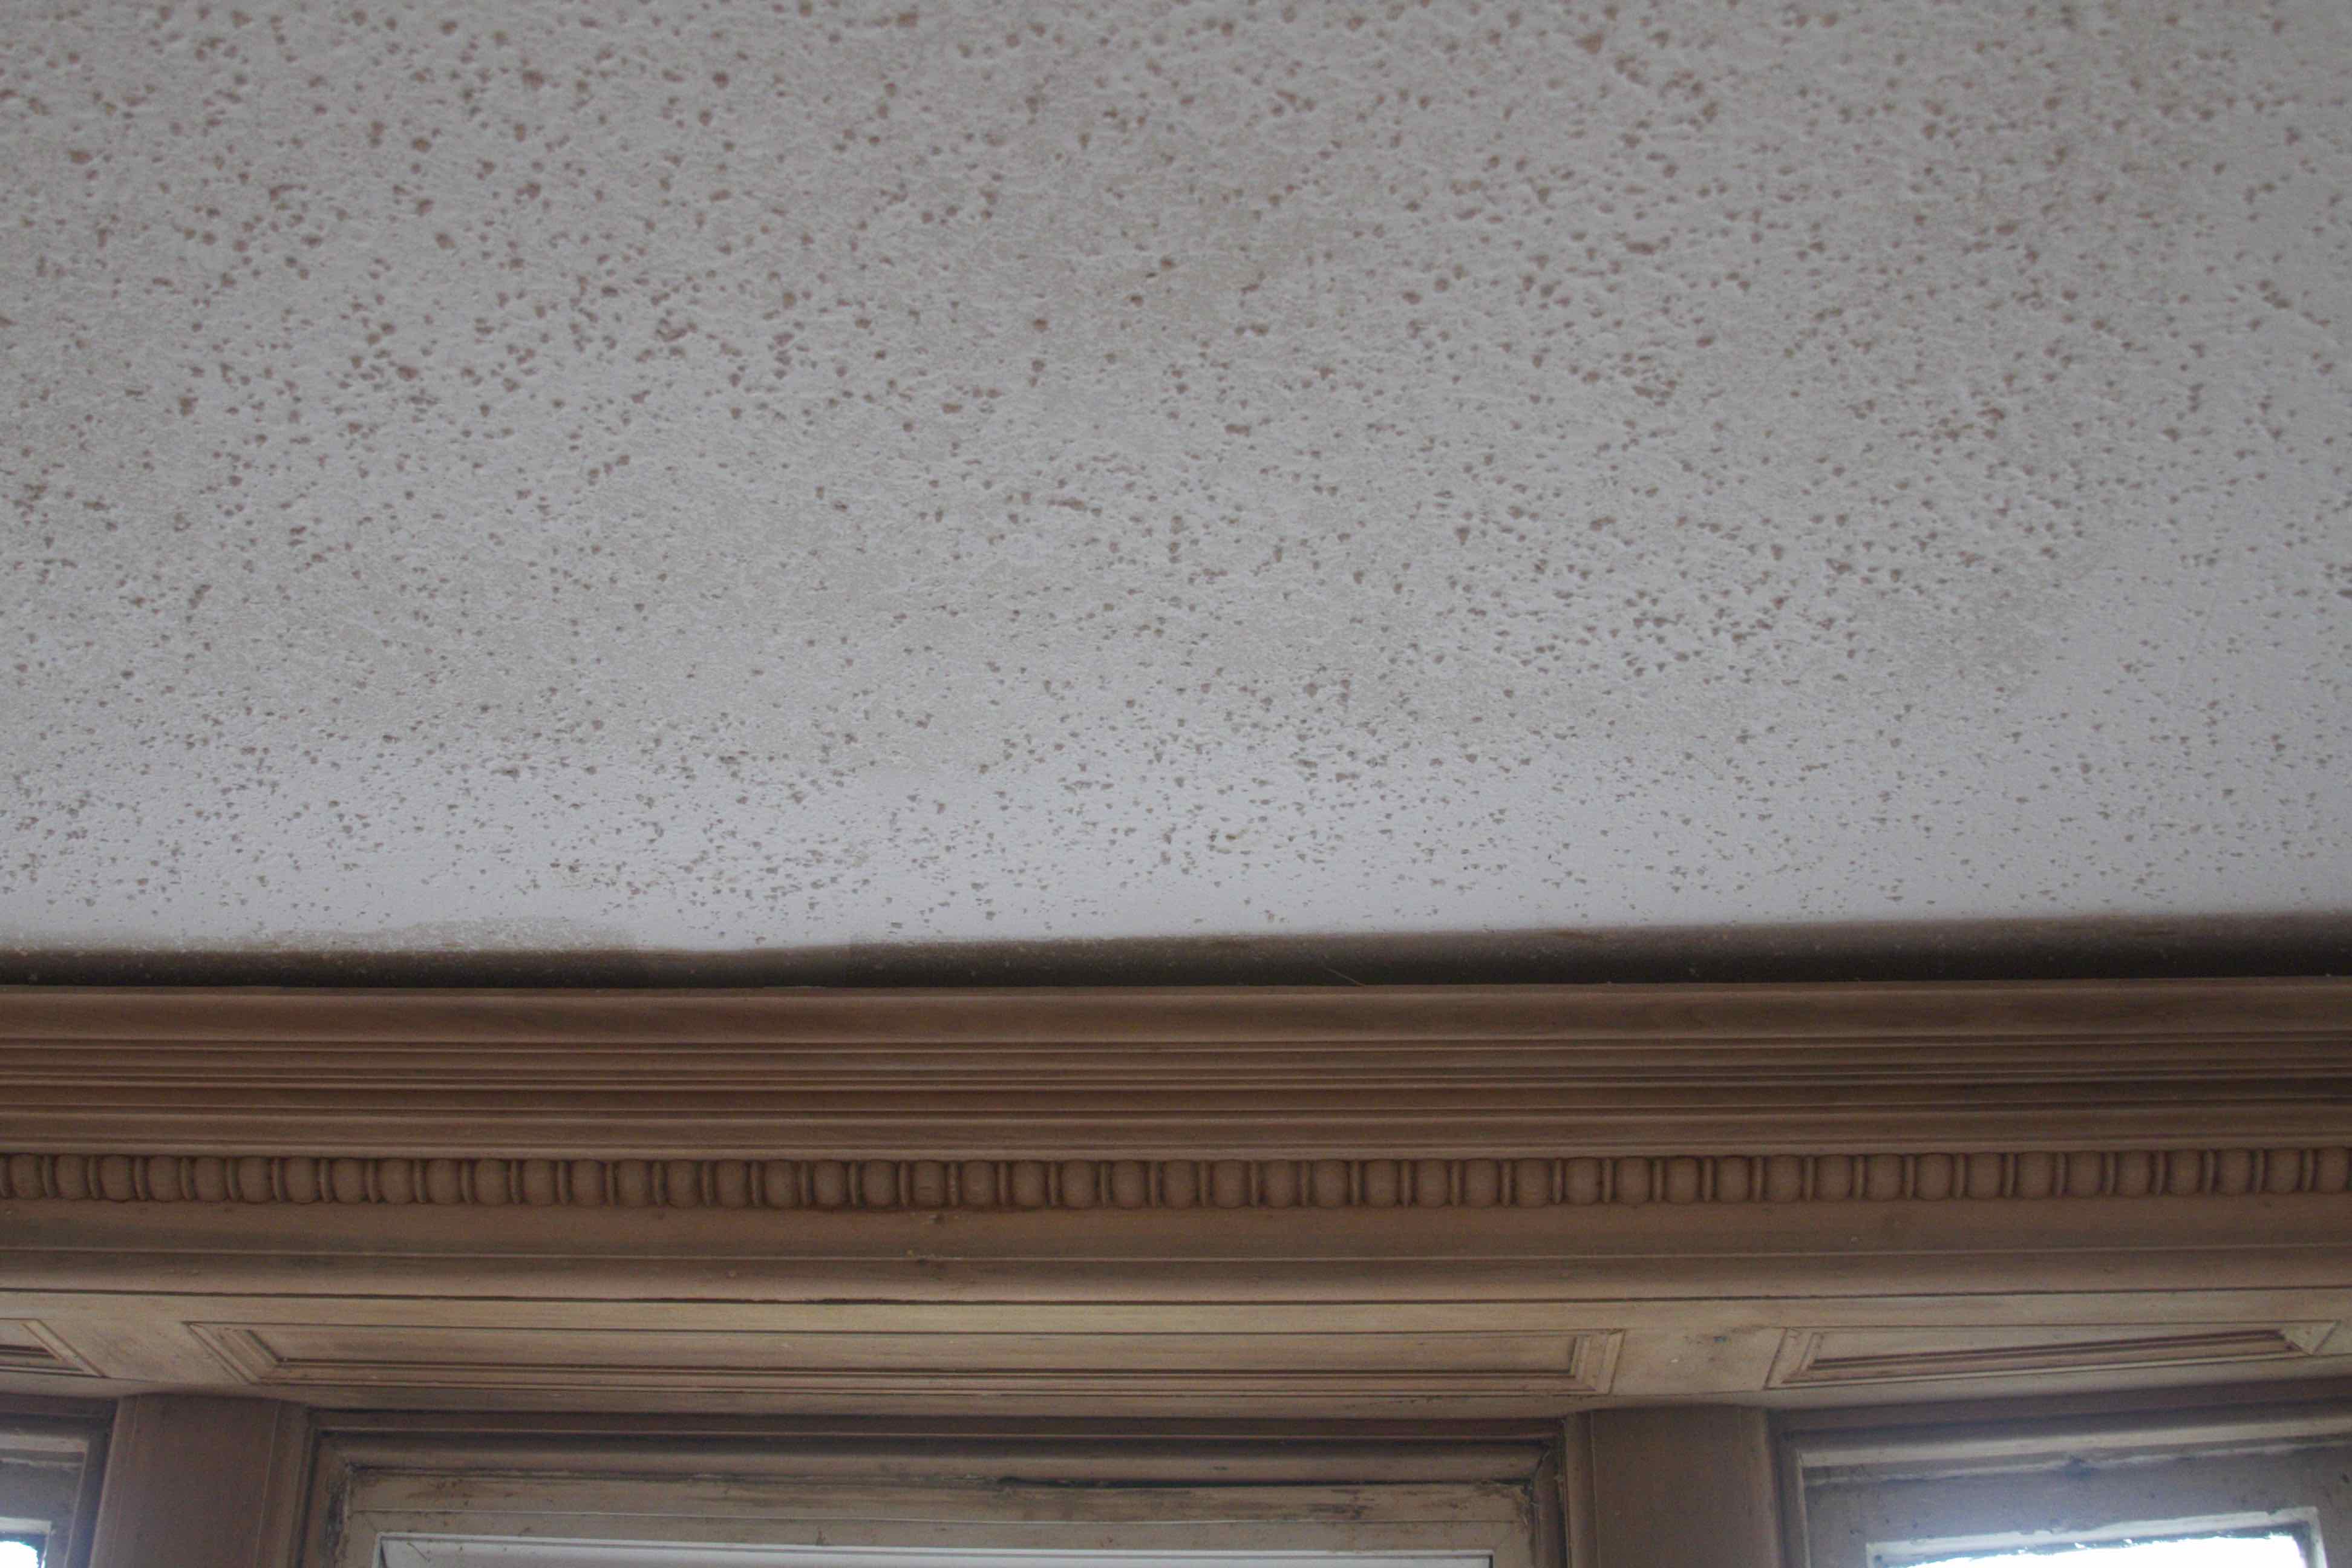
While the woodwork looked great, everything else looked pretty terrible. There was something else amiss: the drop ceiling. It was installed somewhat recently, and it robbed the room of almost a foot. Plus, all that damn popcorn.
So we put on our rosy colored glasses and went to work removing the drop ceiling, hoping that perhaps the original plaster still remained.
(ha)
(ha-ha-ha-ha)
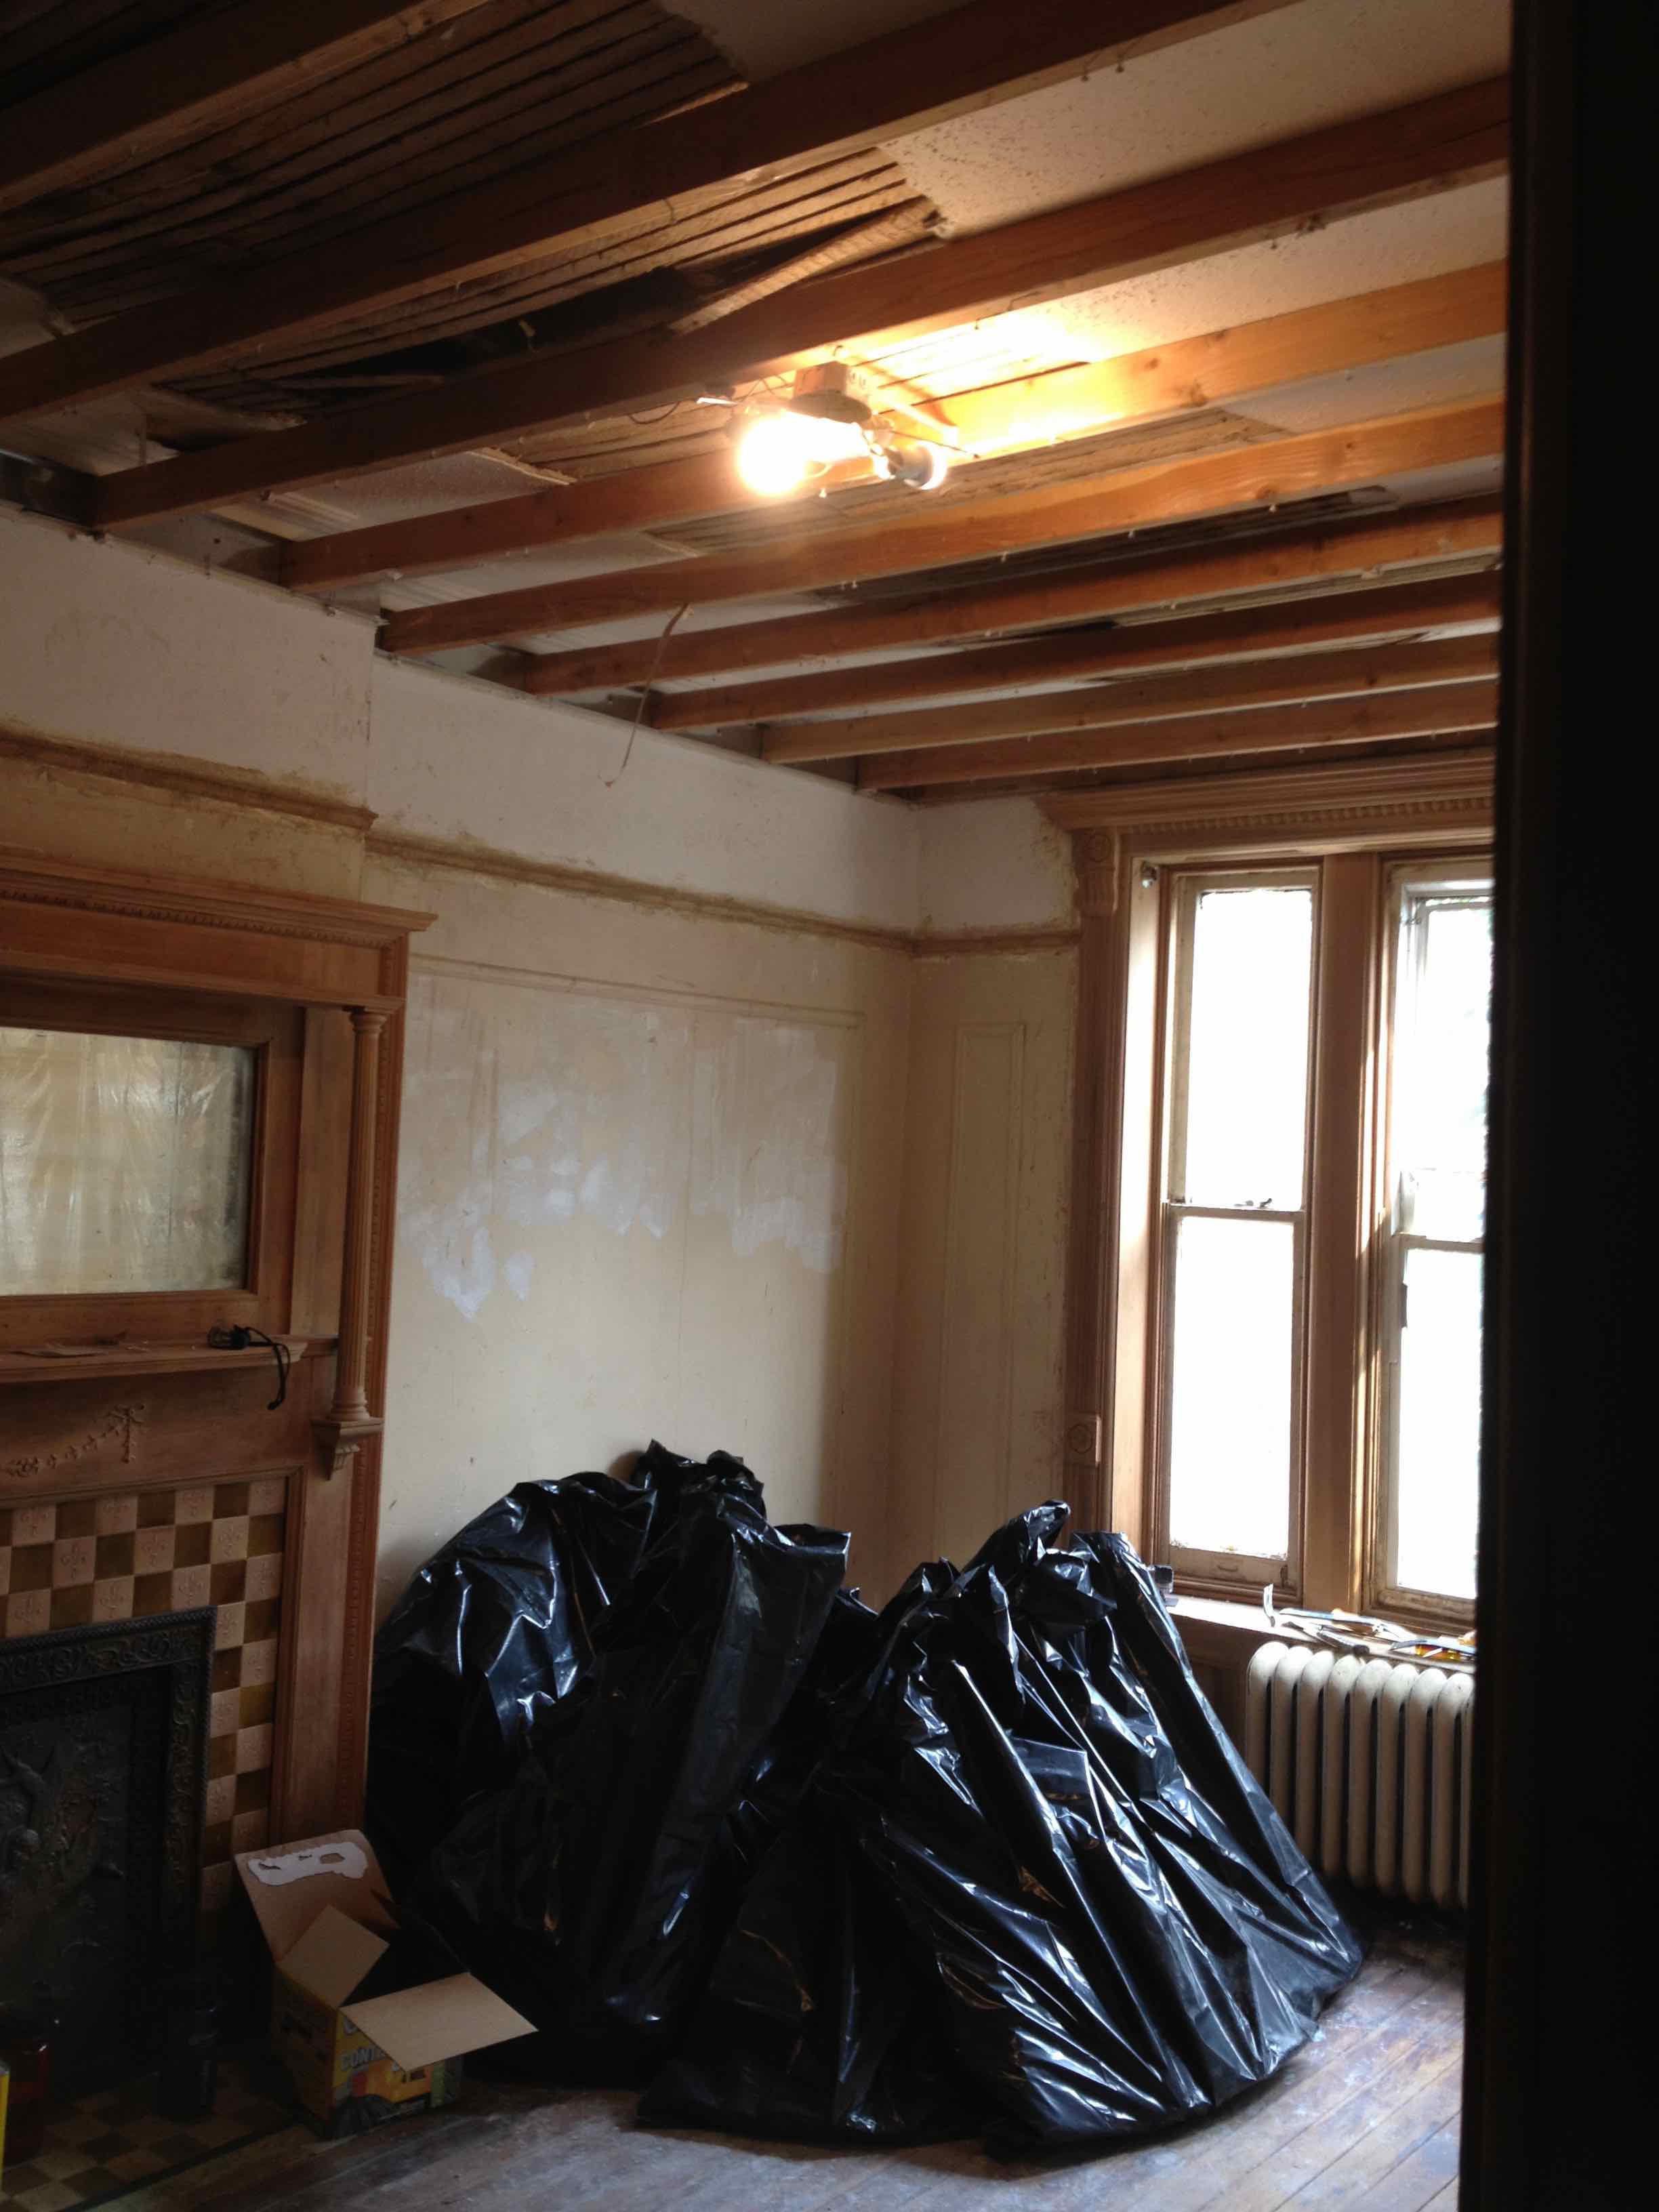
First layer of ceiling removed, and our reward is a big gaping hole.

Saggy plaster and evidence of an old leaky roof. The problem was bigger than patching the hole. All the plaster and lath had to come down, and the ceiling had to be rebuilt.
 Looking up into the cockloft.
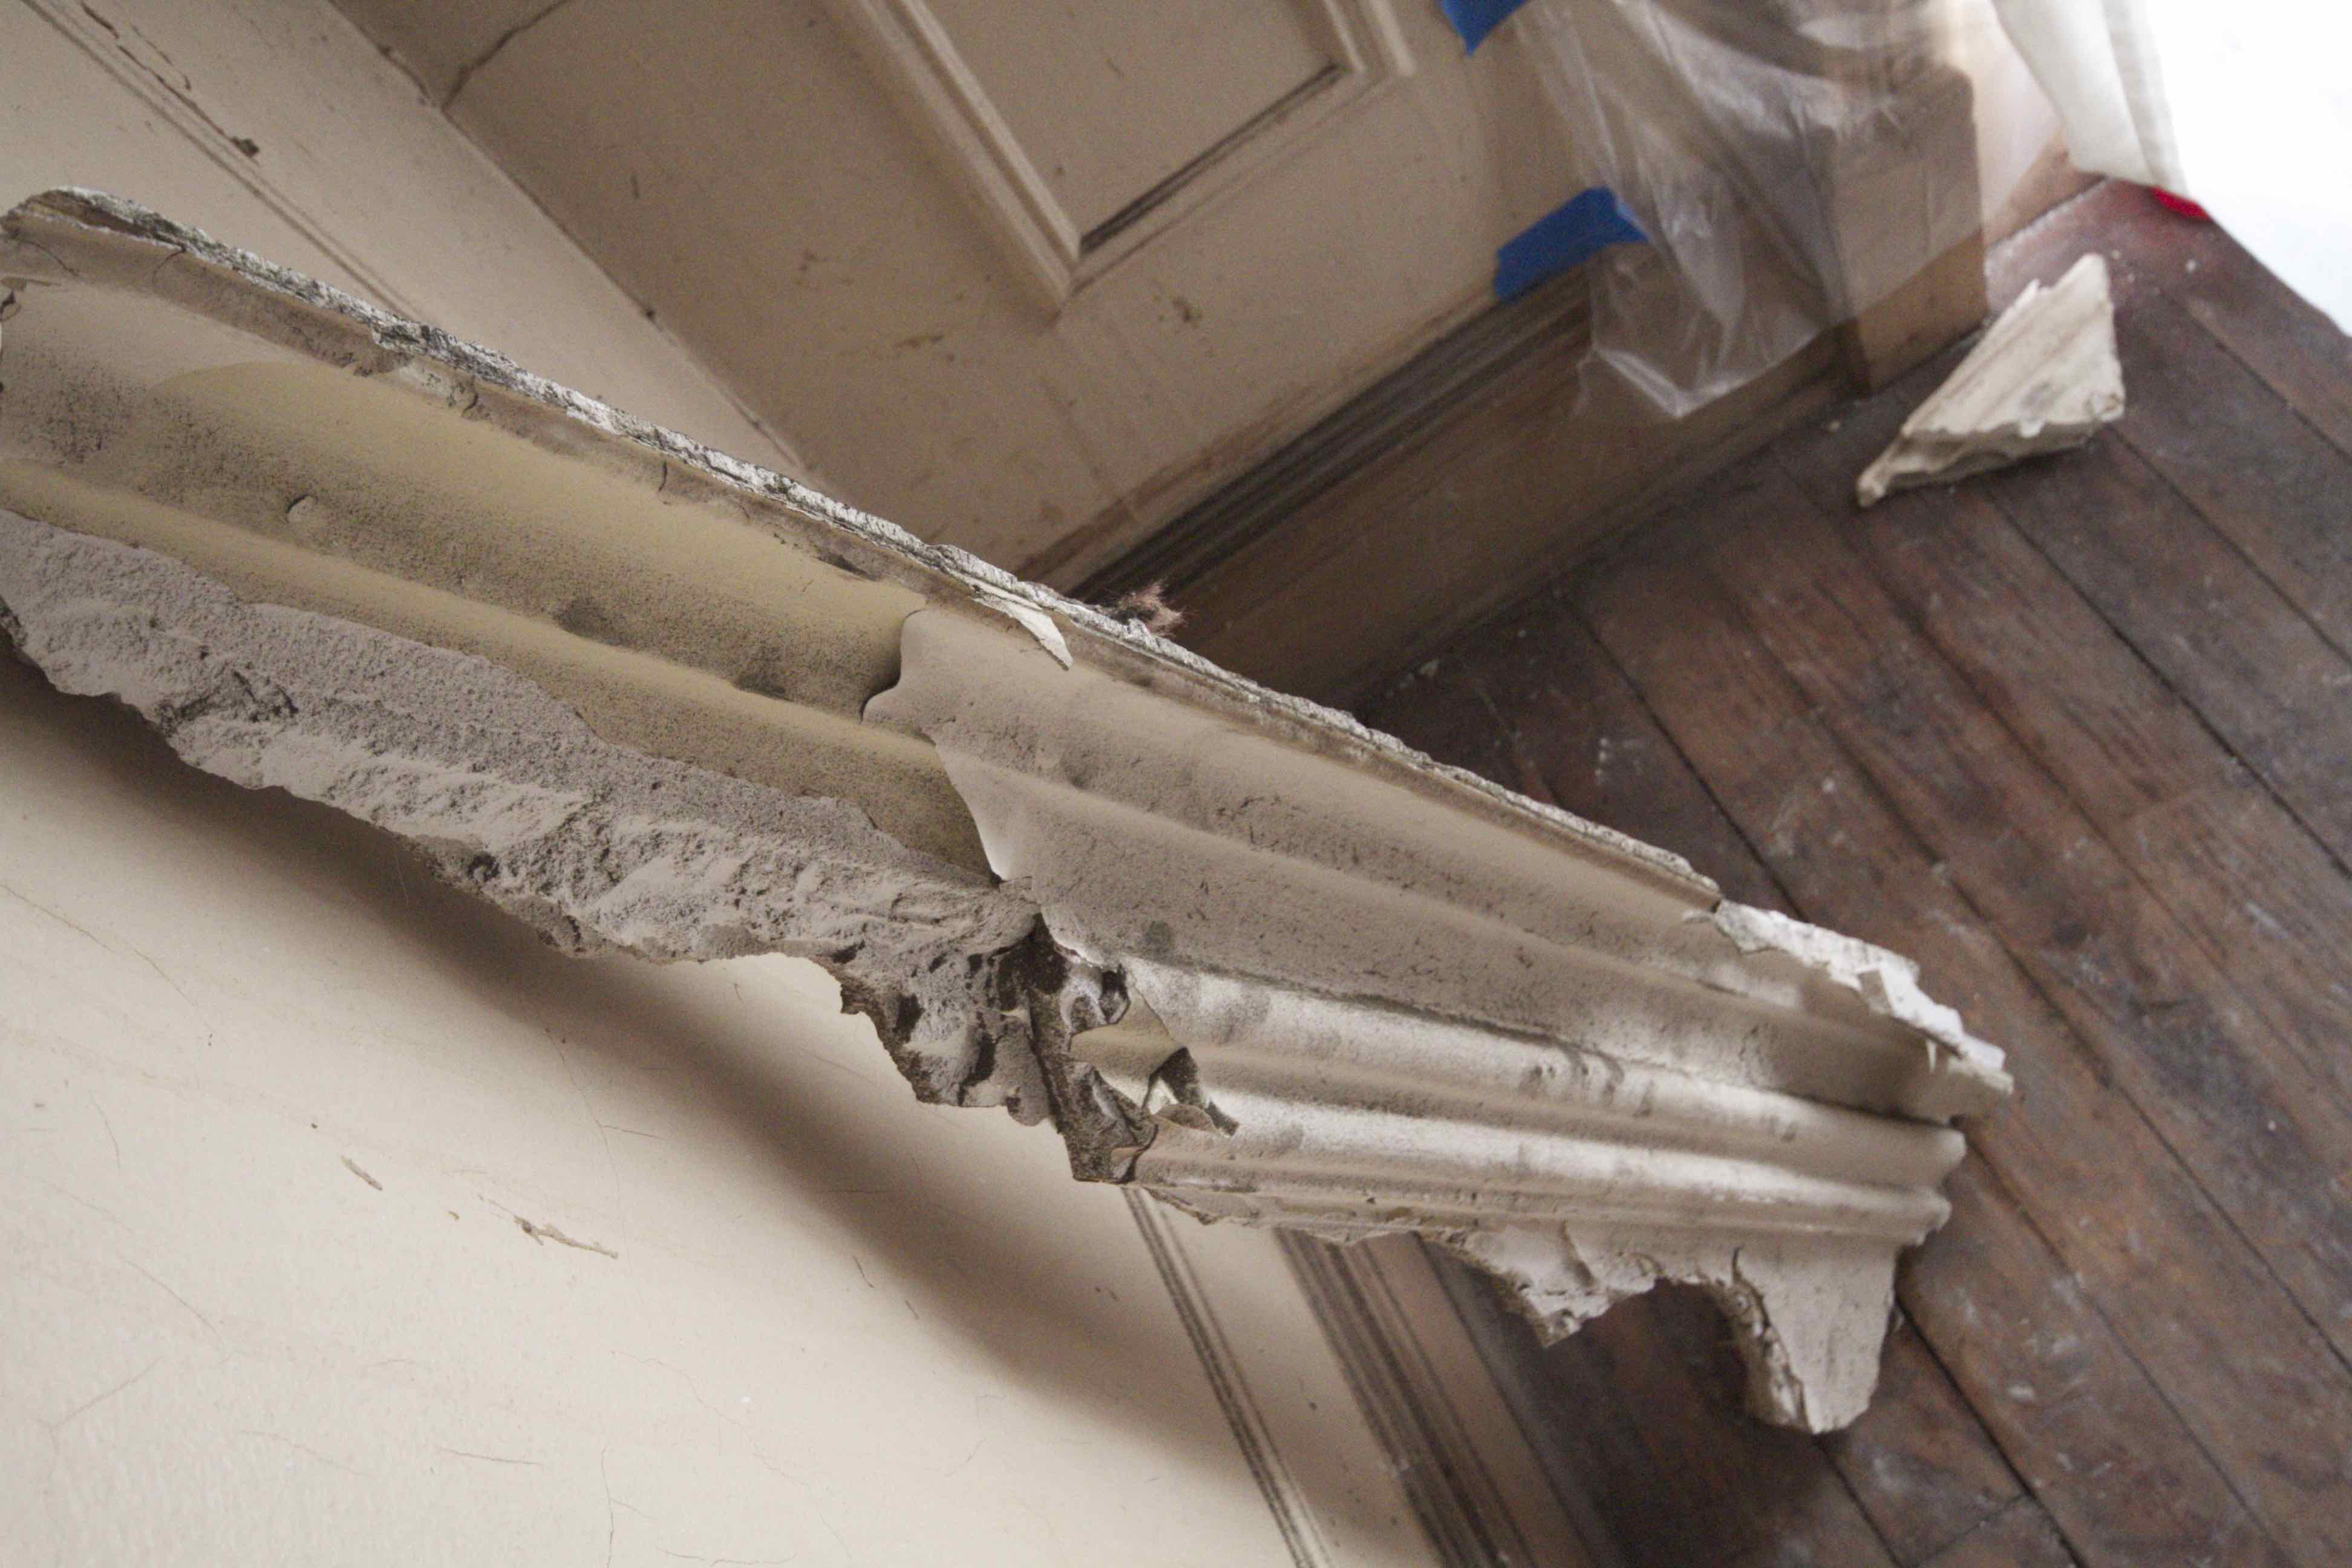
We saved this bit of molding so we could duplicate it onto the new ceiling.

I’m not a fan of drywall, but budgetary constraints being what they are, the new ceiling is drywall (particularly when we didn’t need to buy any to complete the project).
(yes, that is the kind of drywall used for bathroom and other damp areas, yes, it’s fine to use elsewhere, and no – we don’t expect the ceiling to be plagued by moisture).
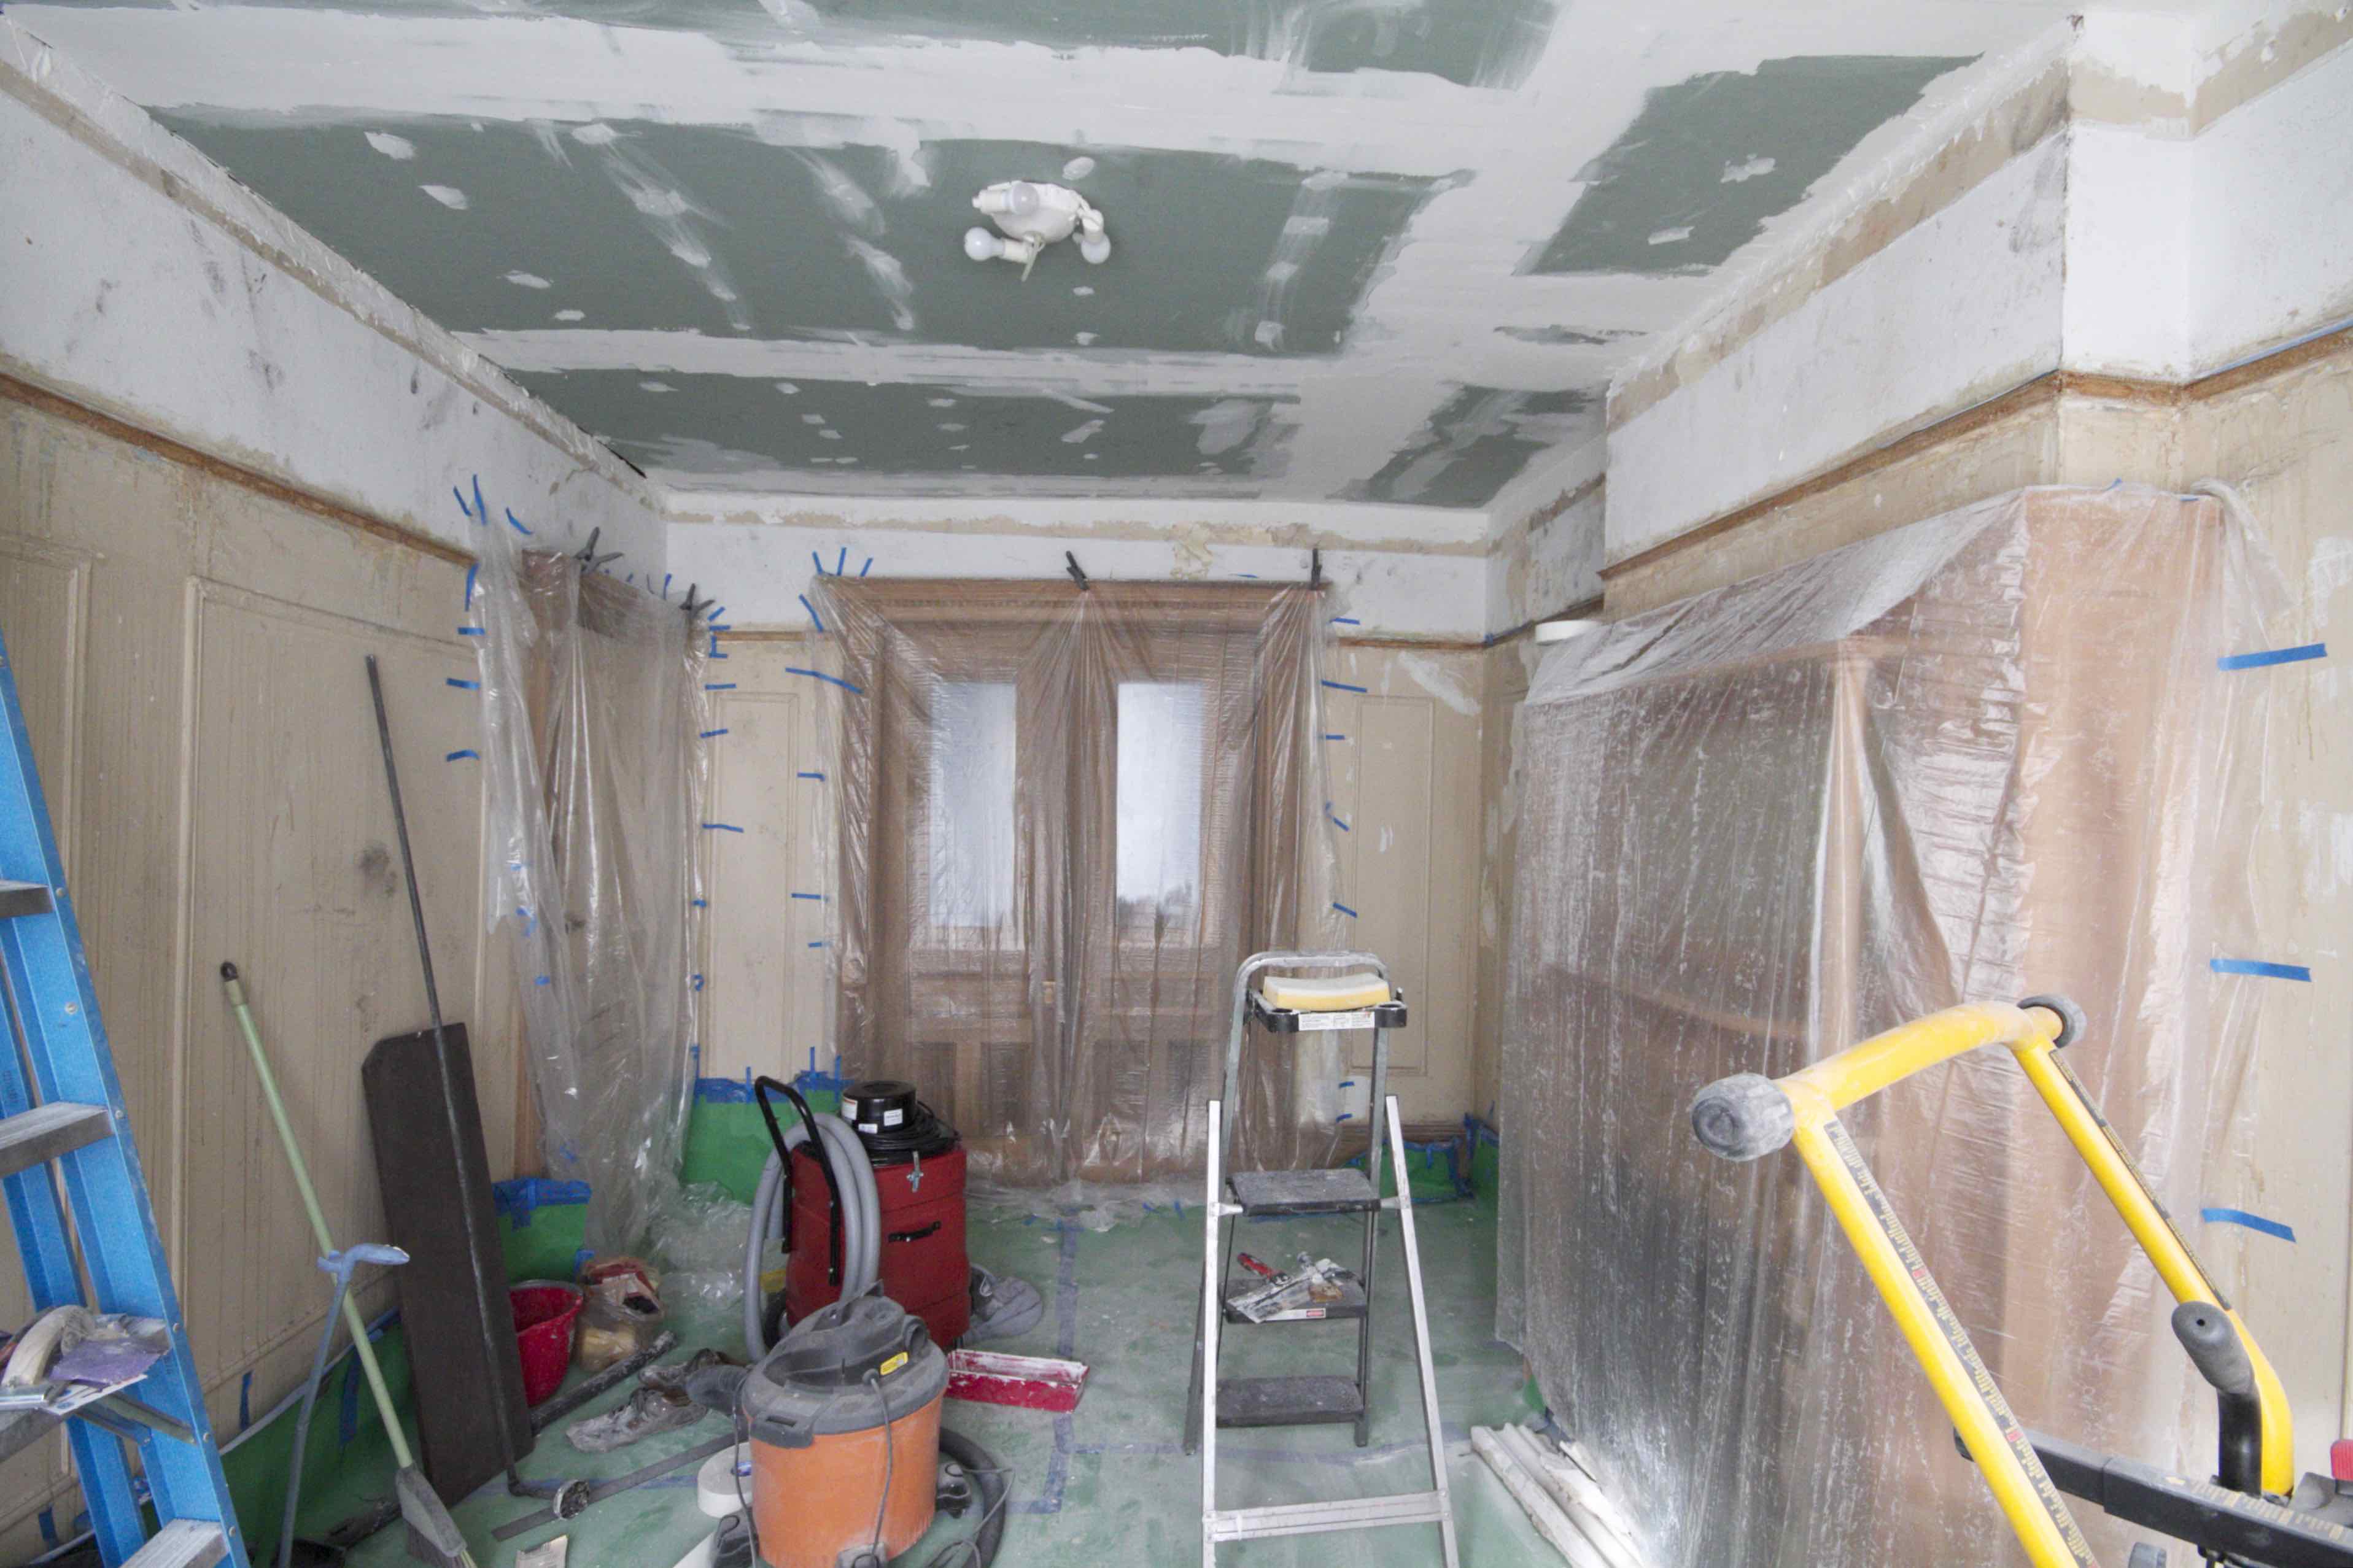
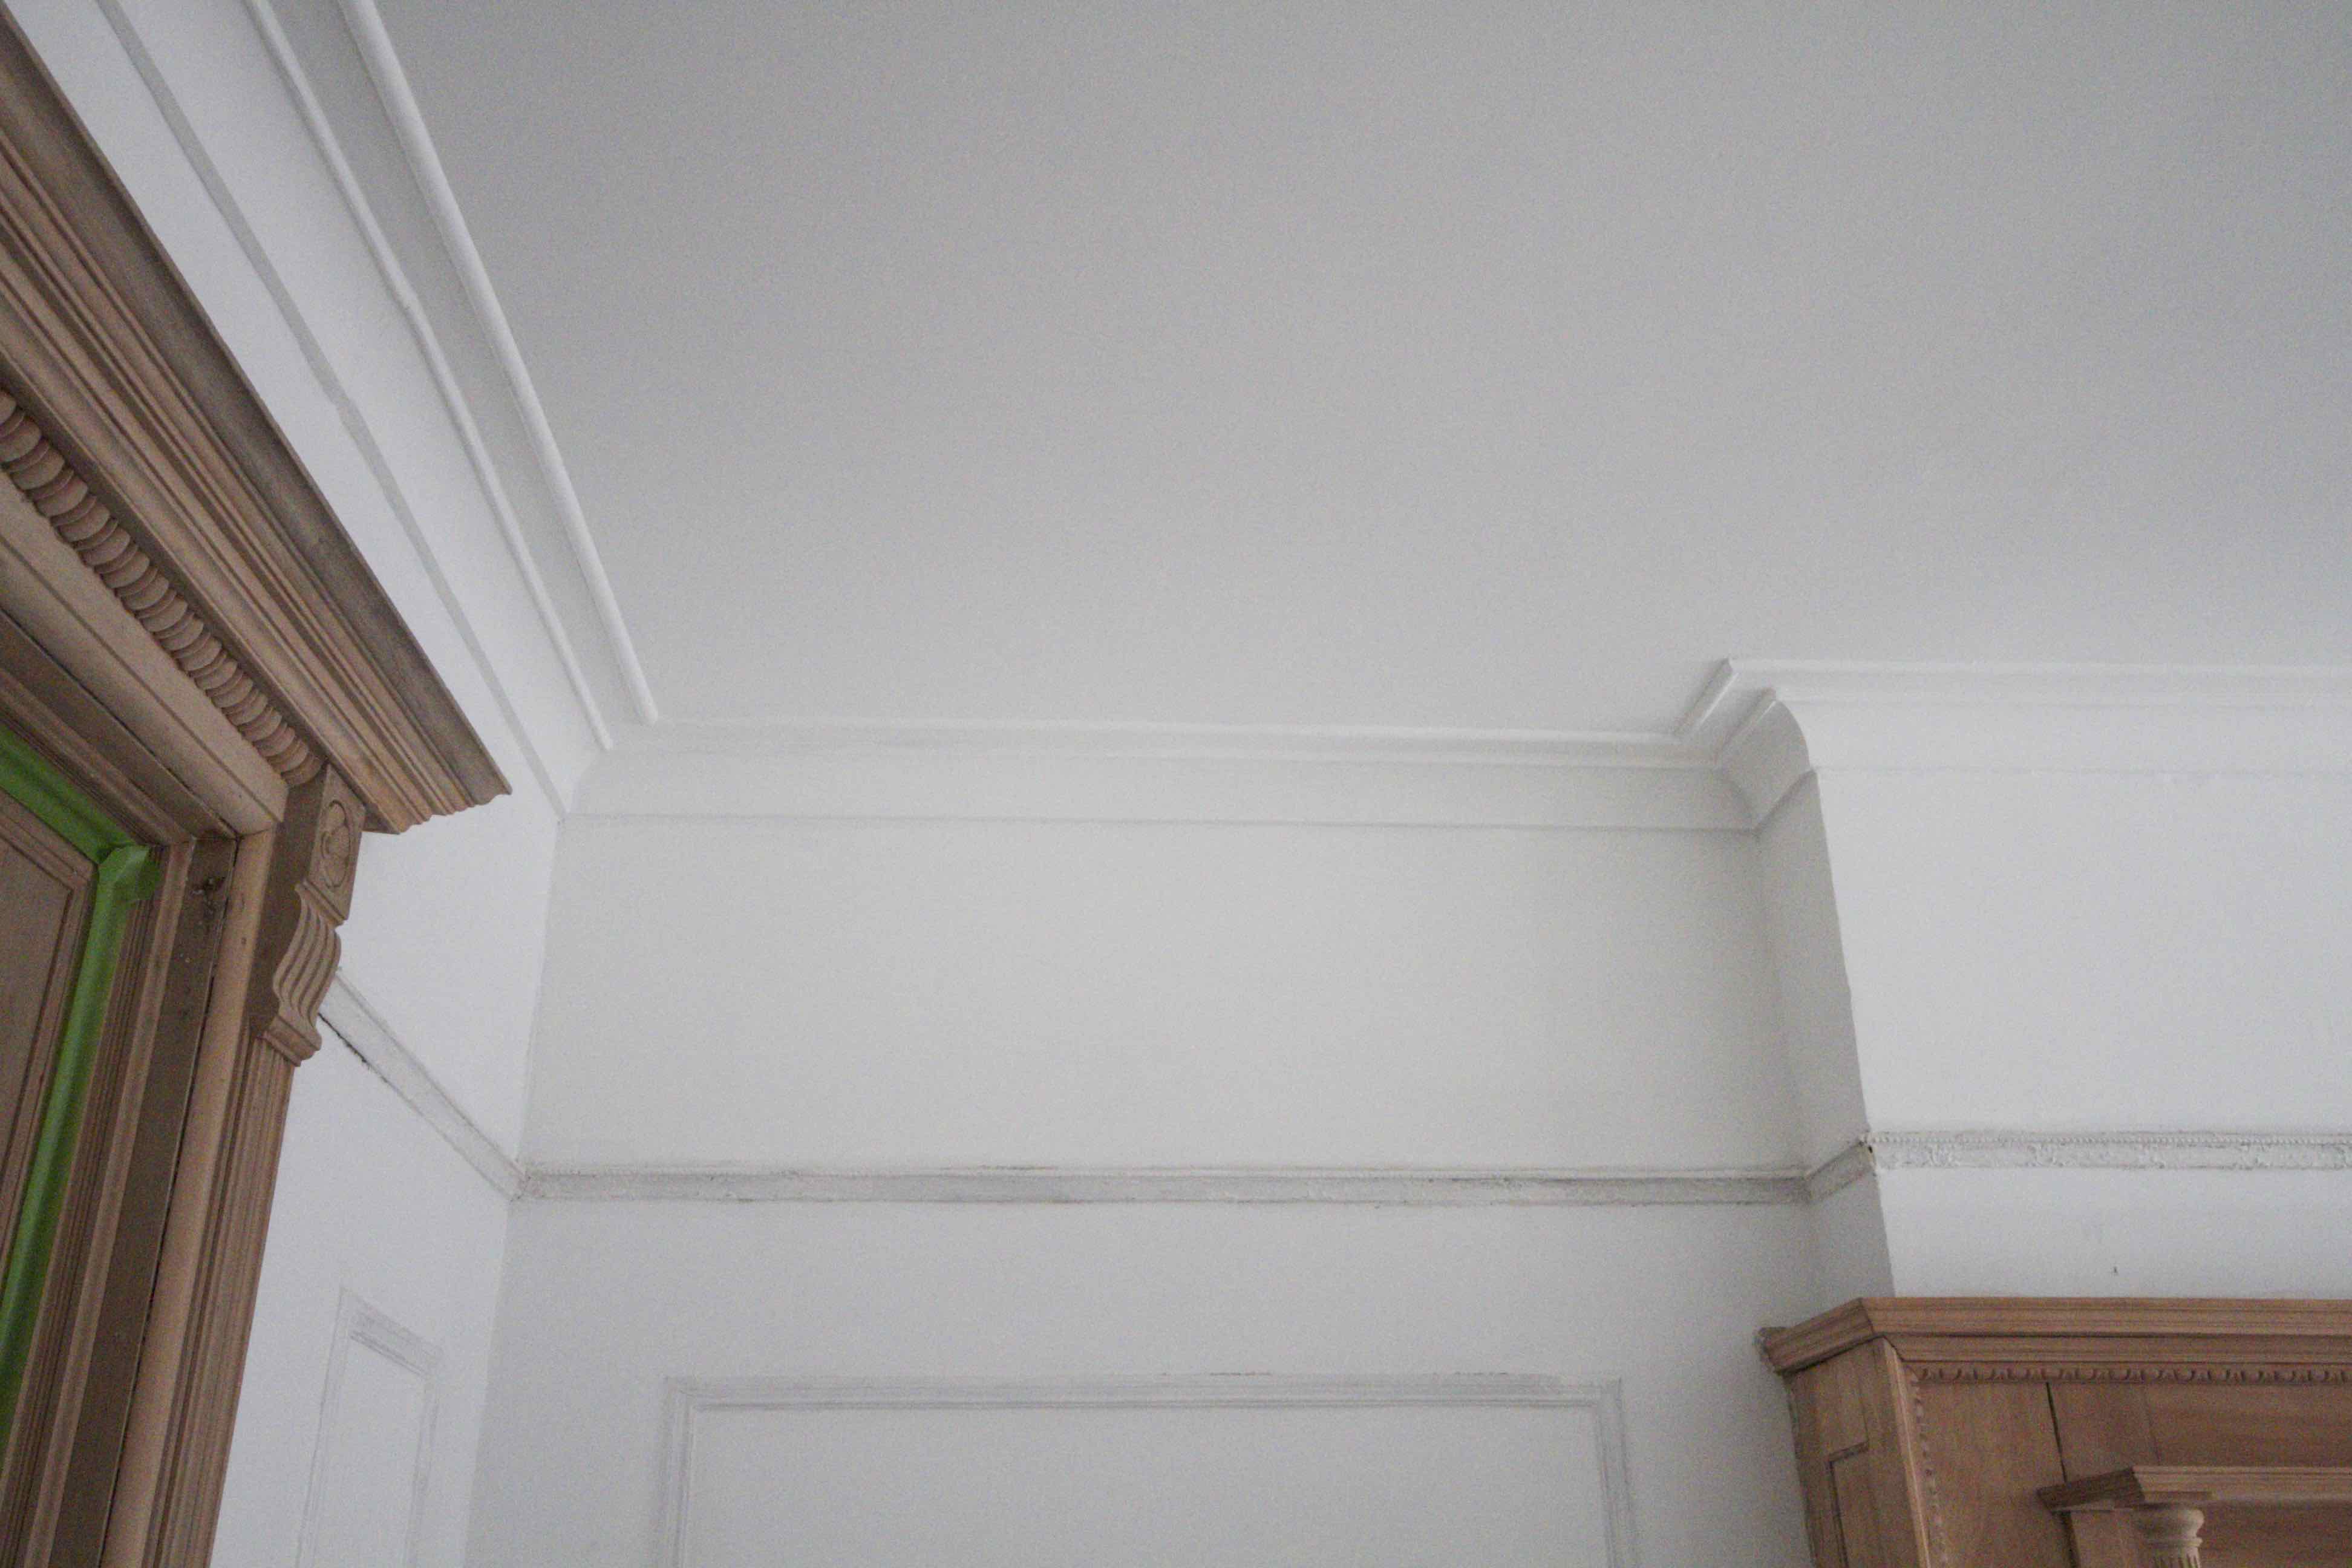
New ceiling went up. Things aren’t so crooked anymore. And look at all that headroom above the door crowns!

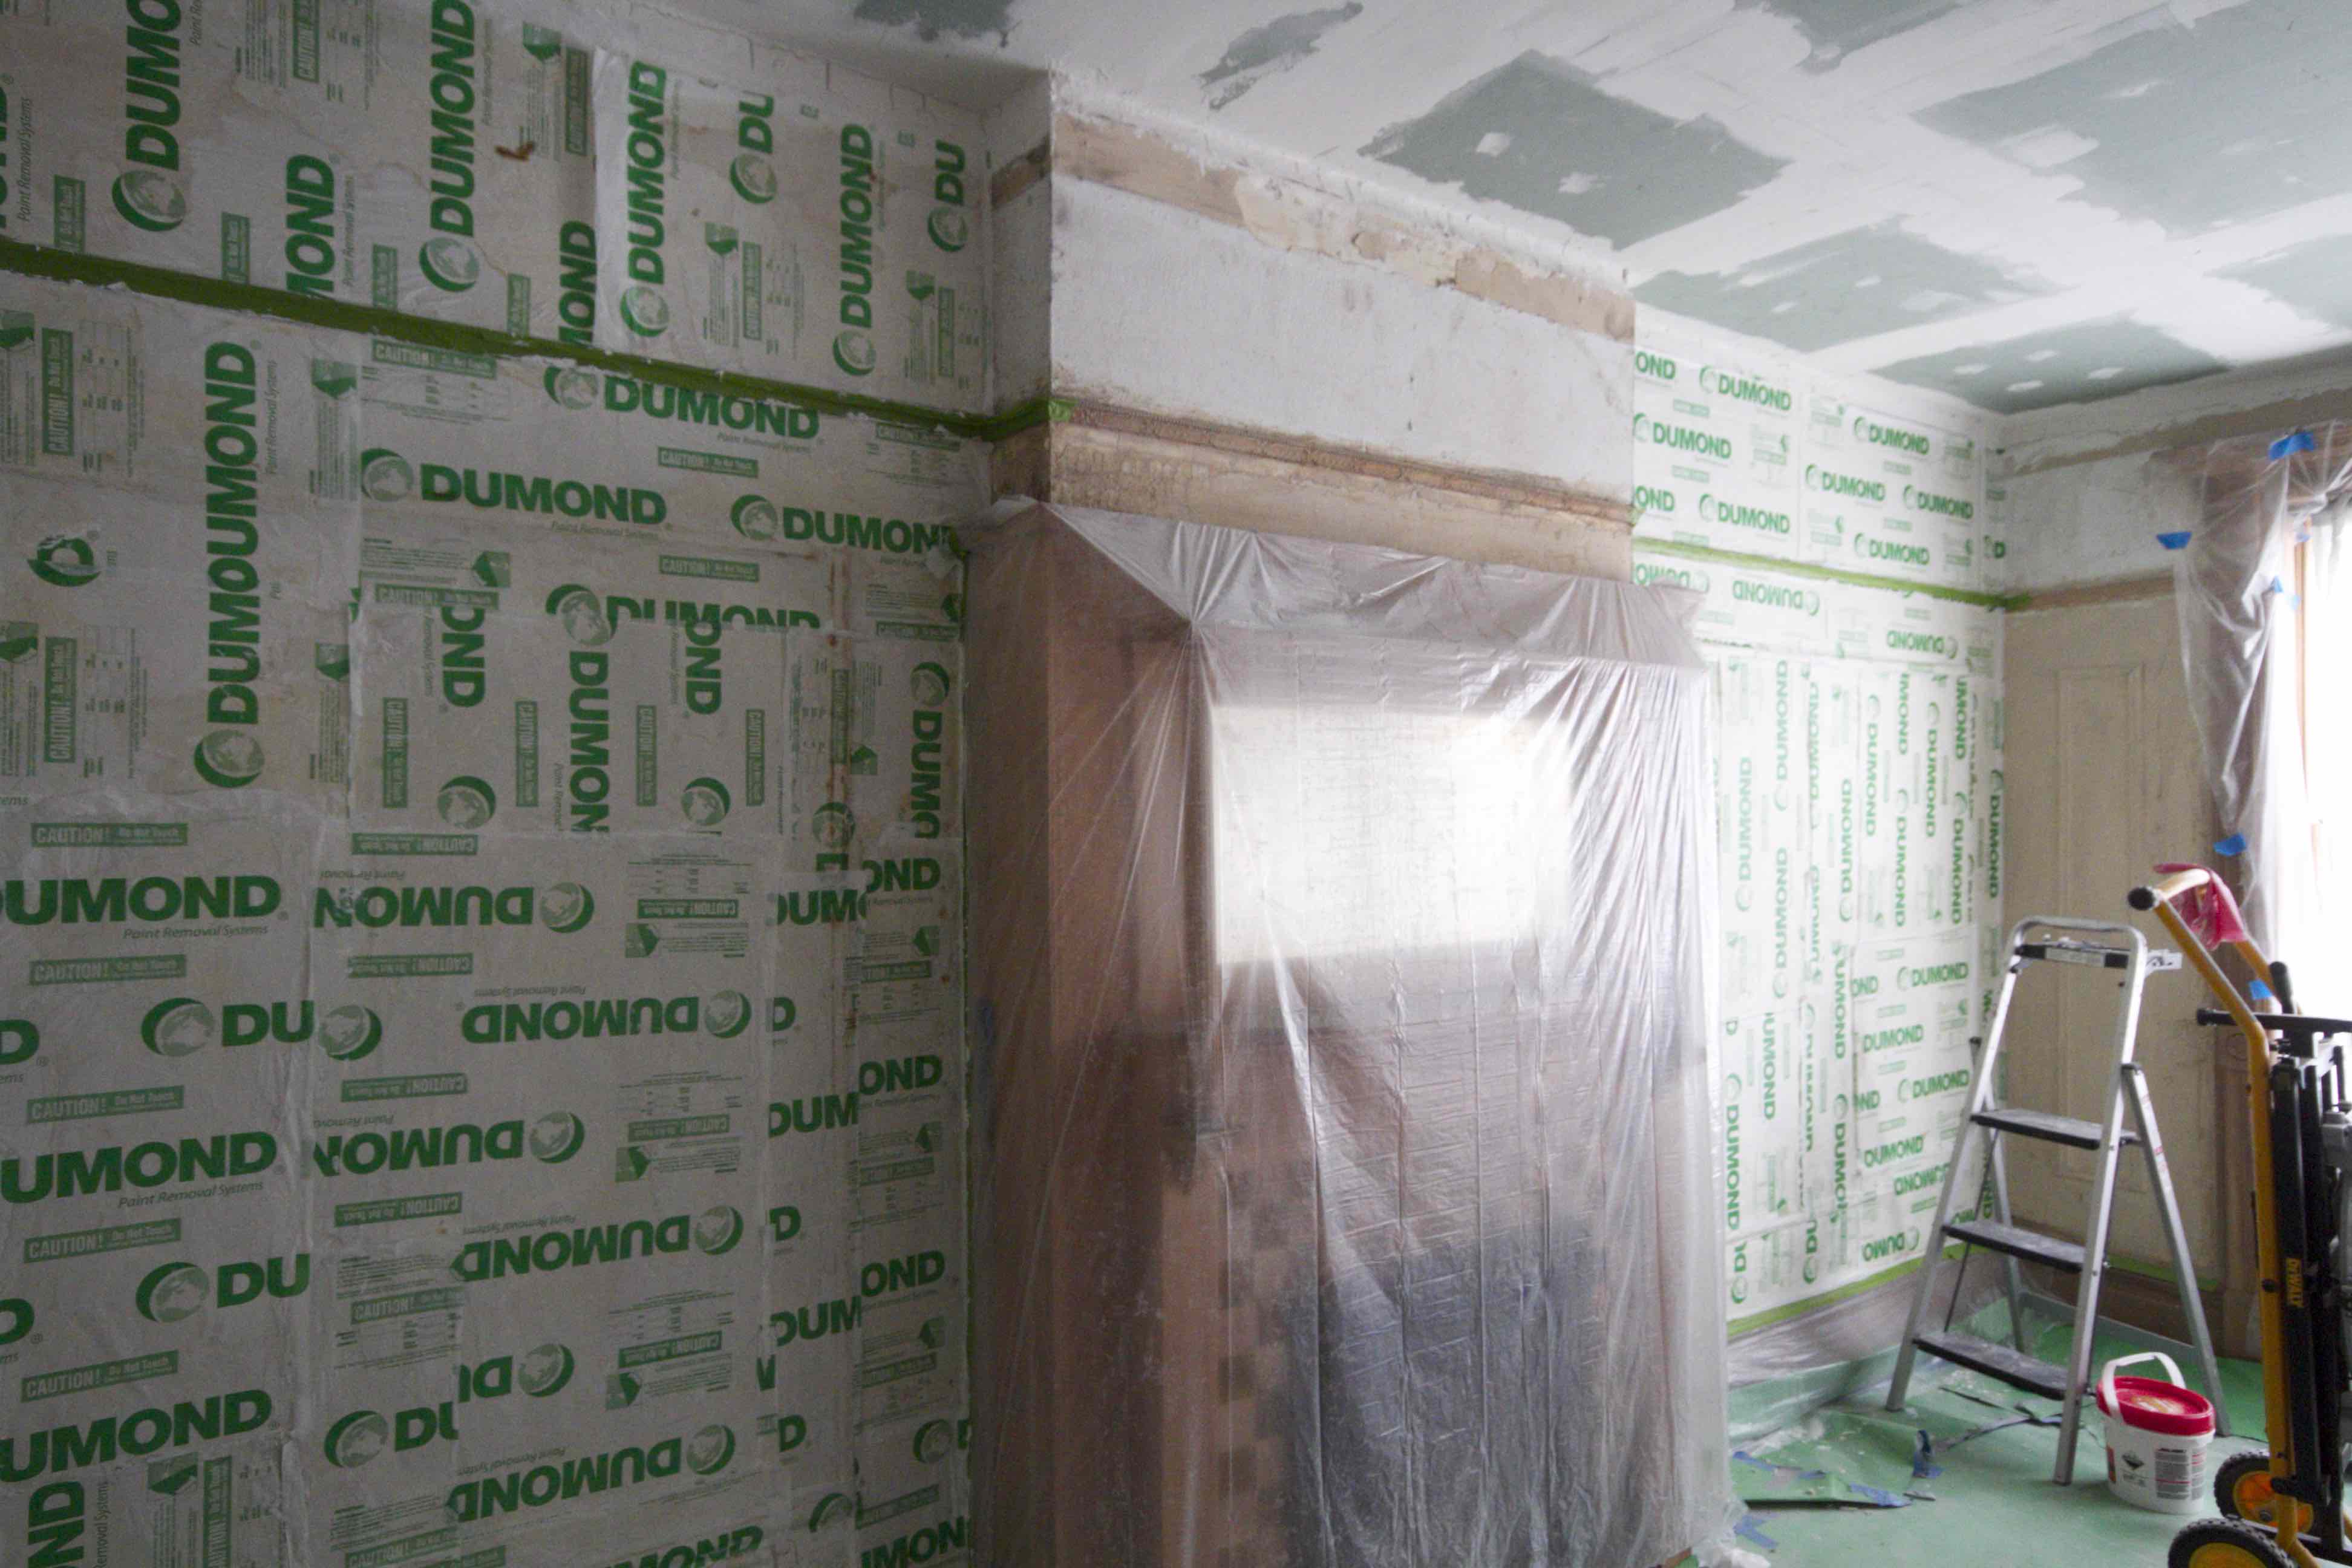
The walls still look really sad.
So we stripped them back to the plaster. Most people would just skim-coat (and now we understand why. It’s a lot of work to strip a whole room).
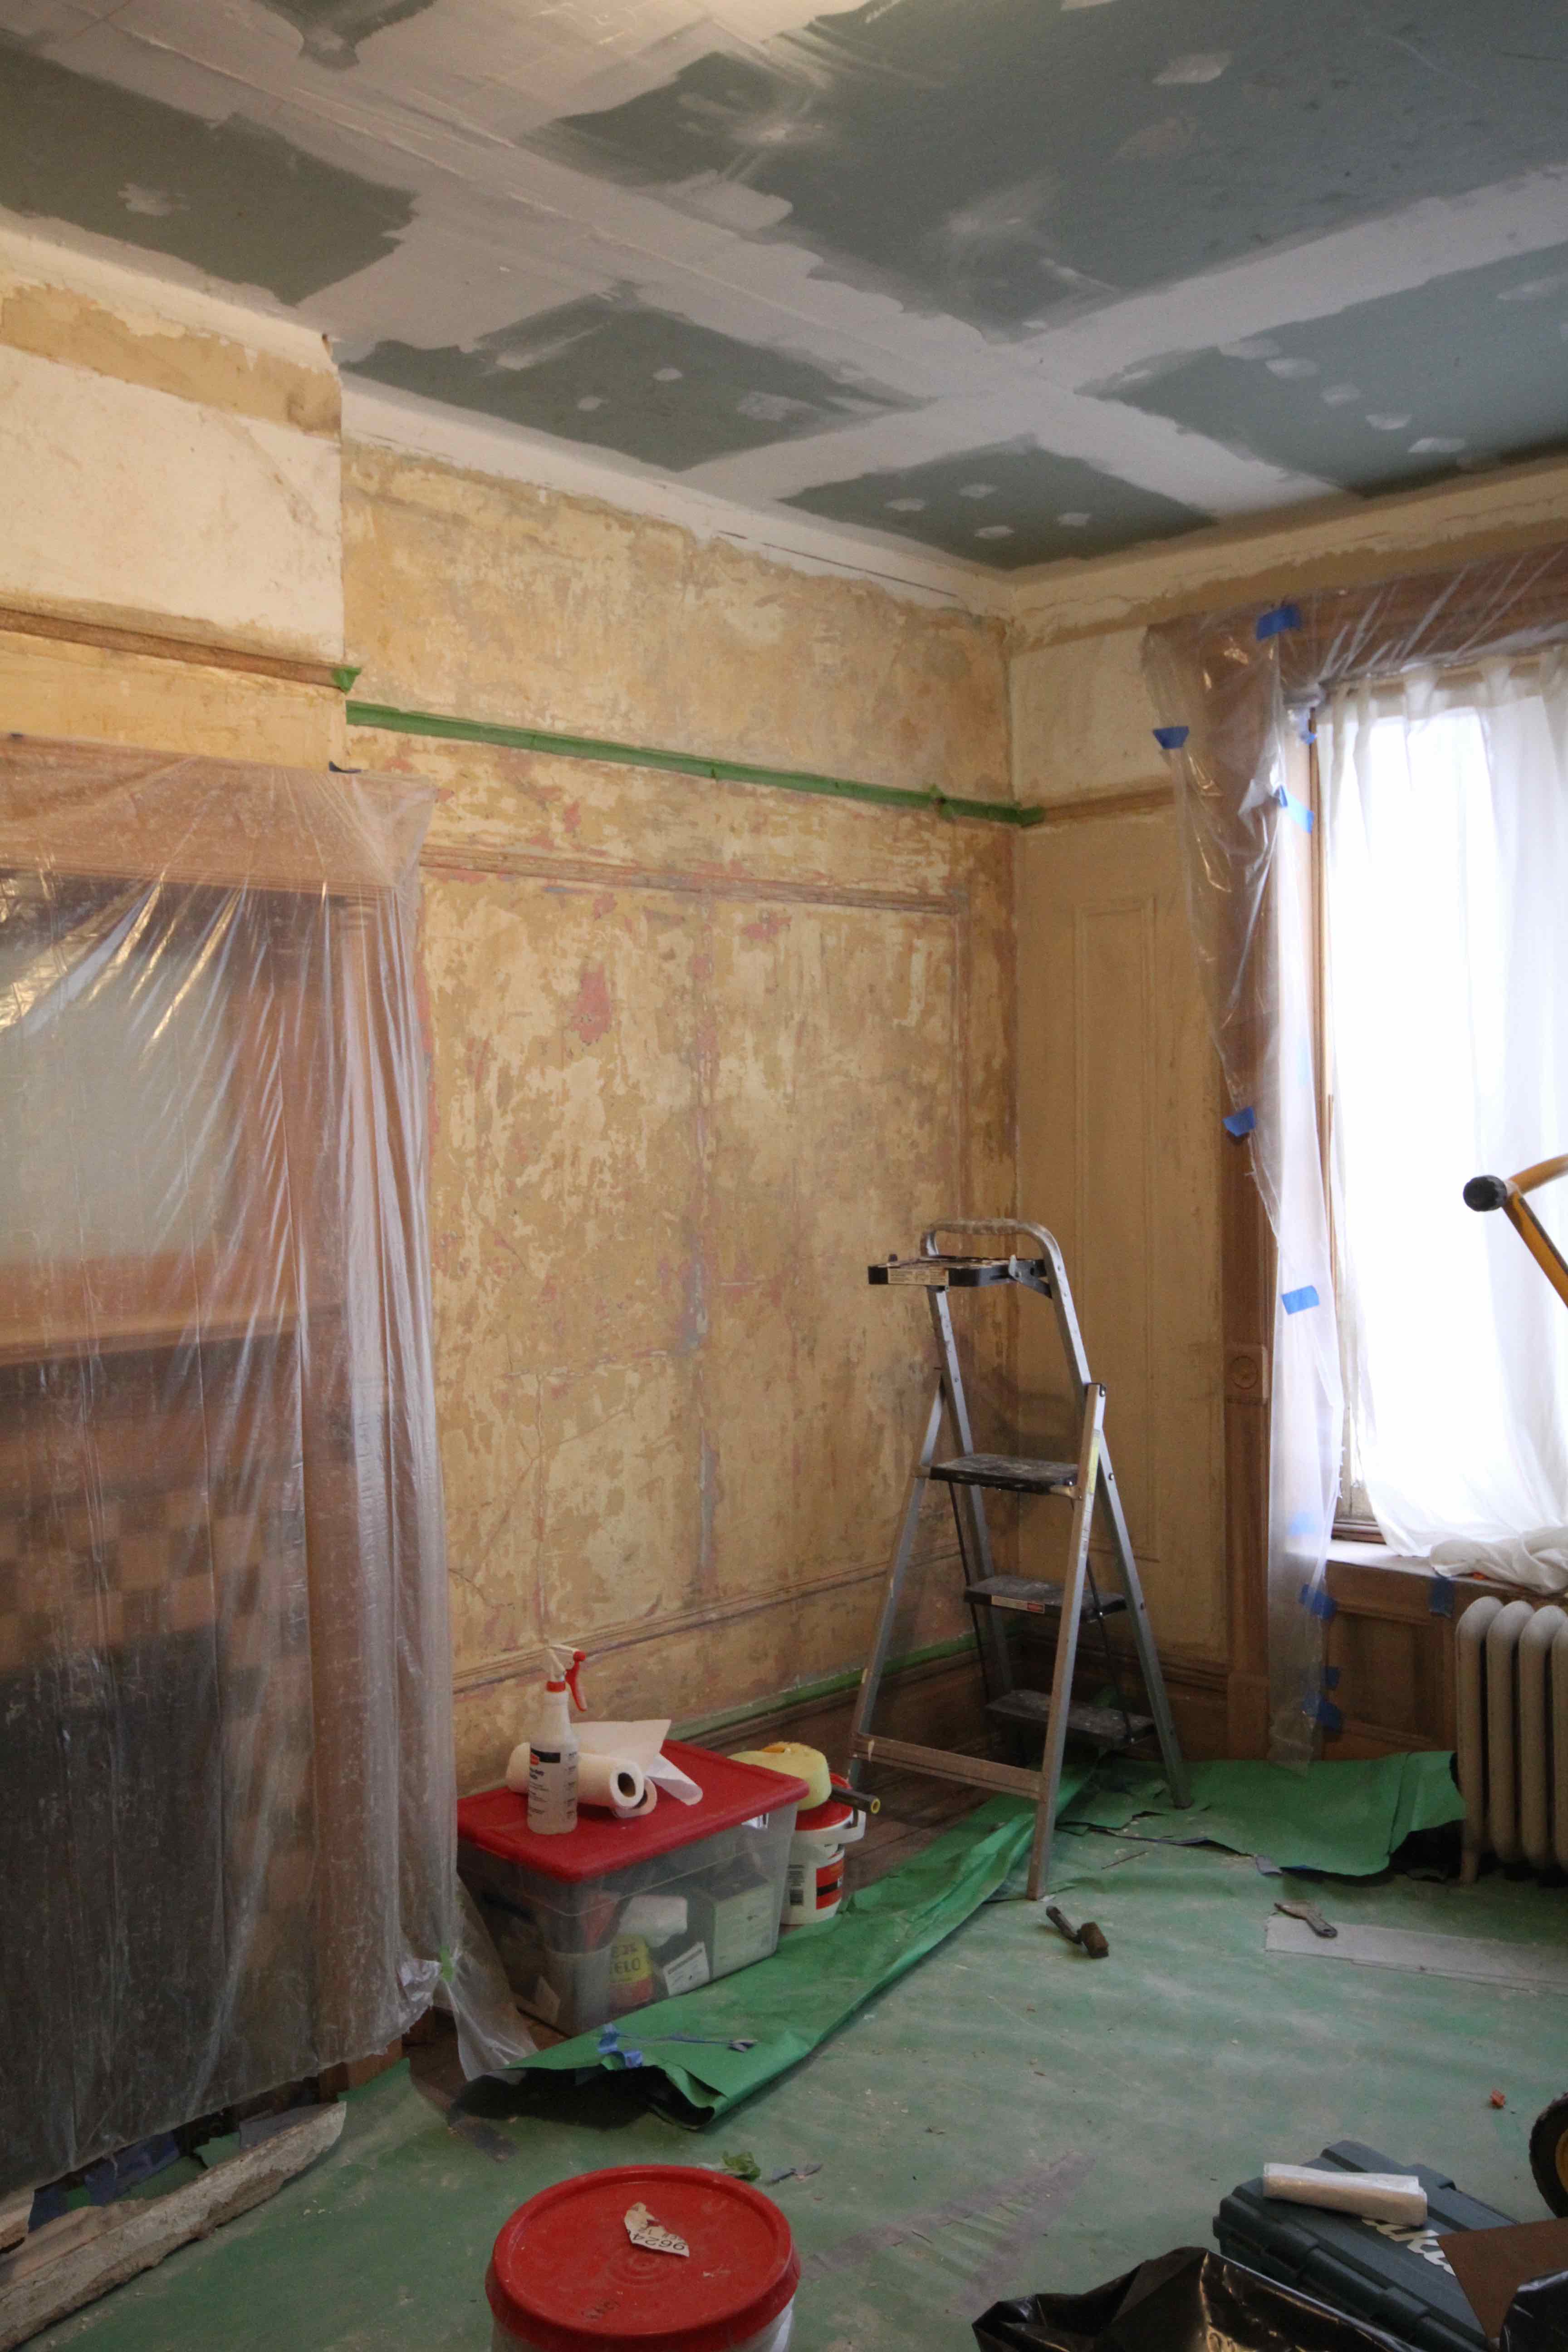
But it’s really nice to have a wall that is not thick with paint.

Next, the walls were skim-coated and primed
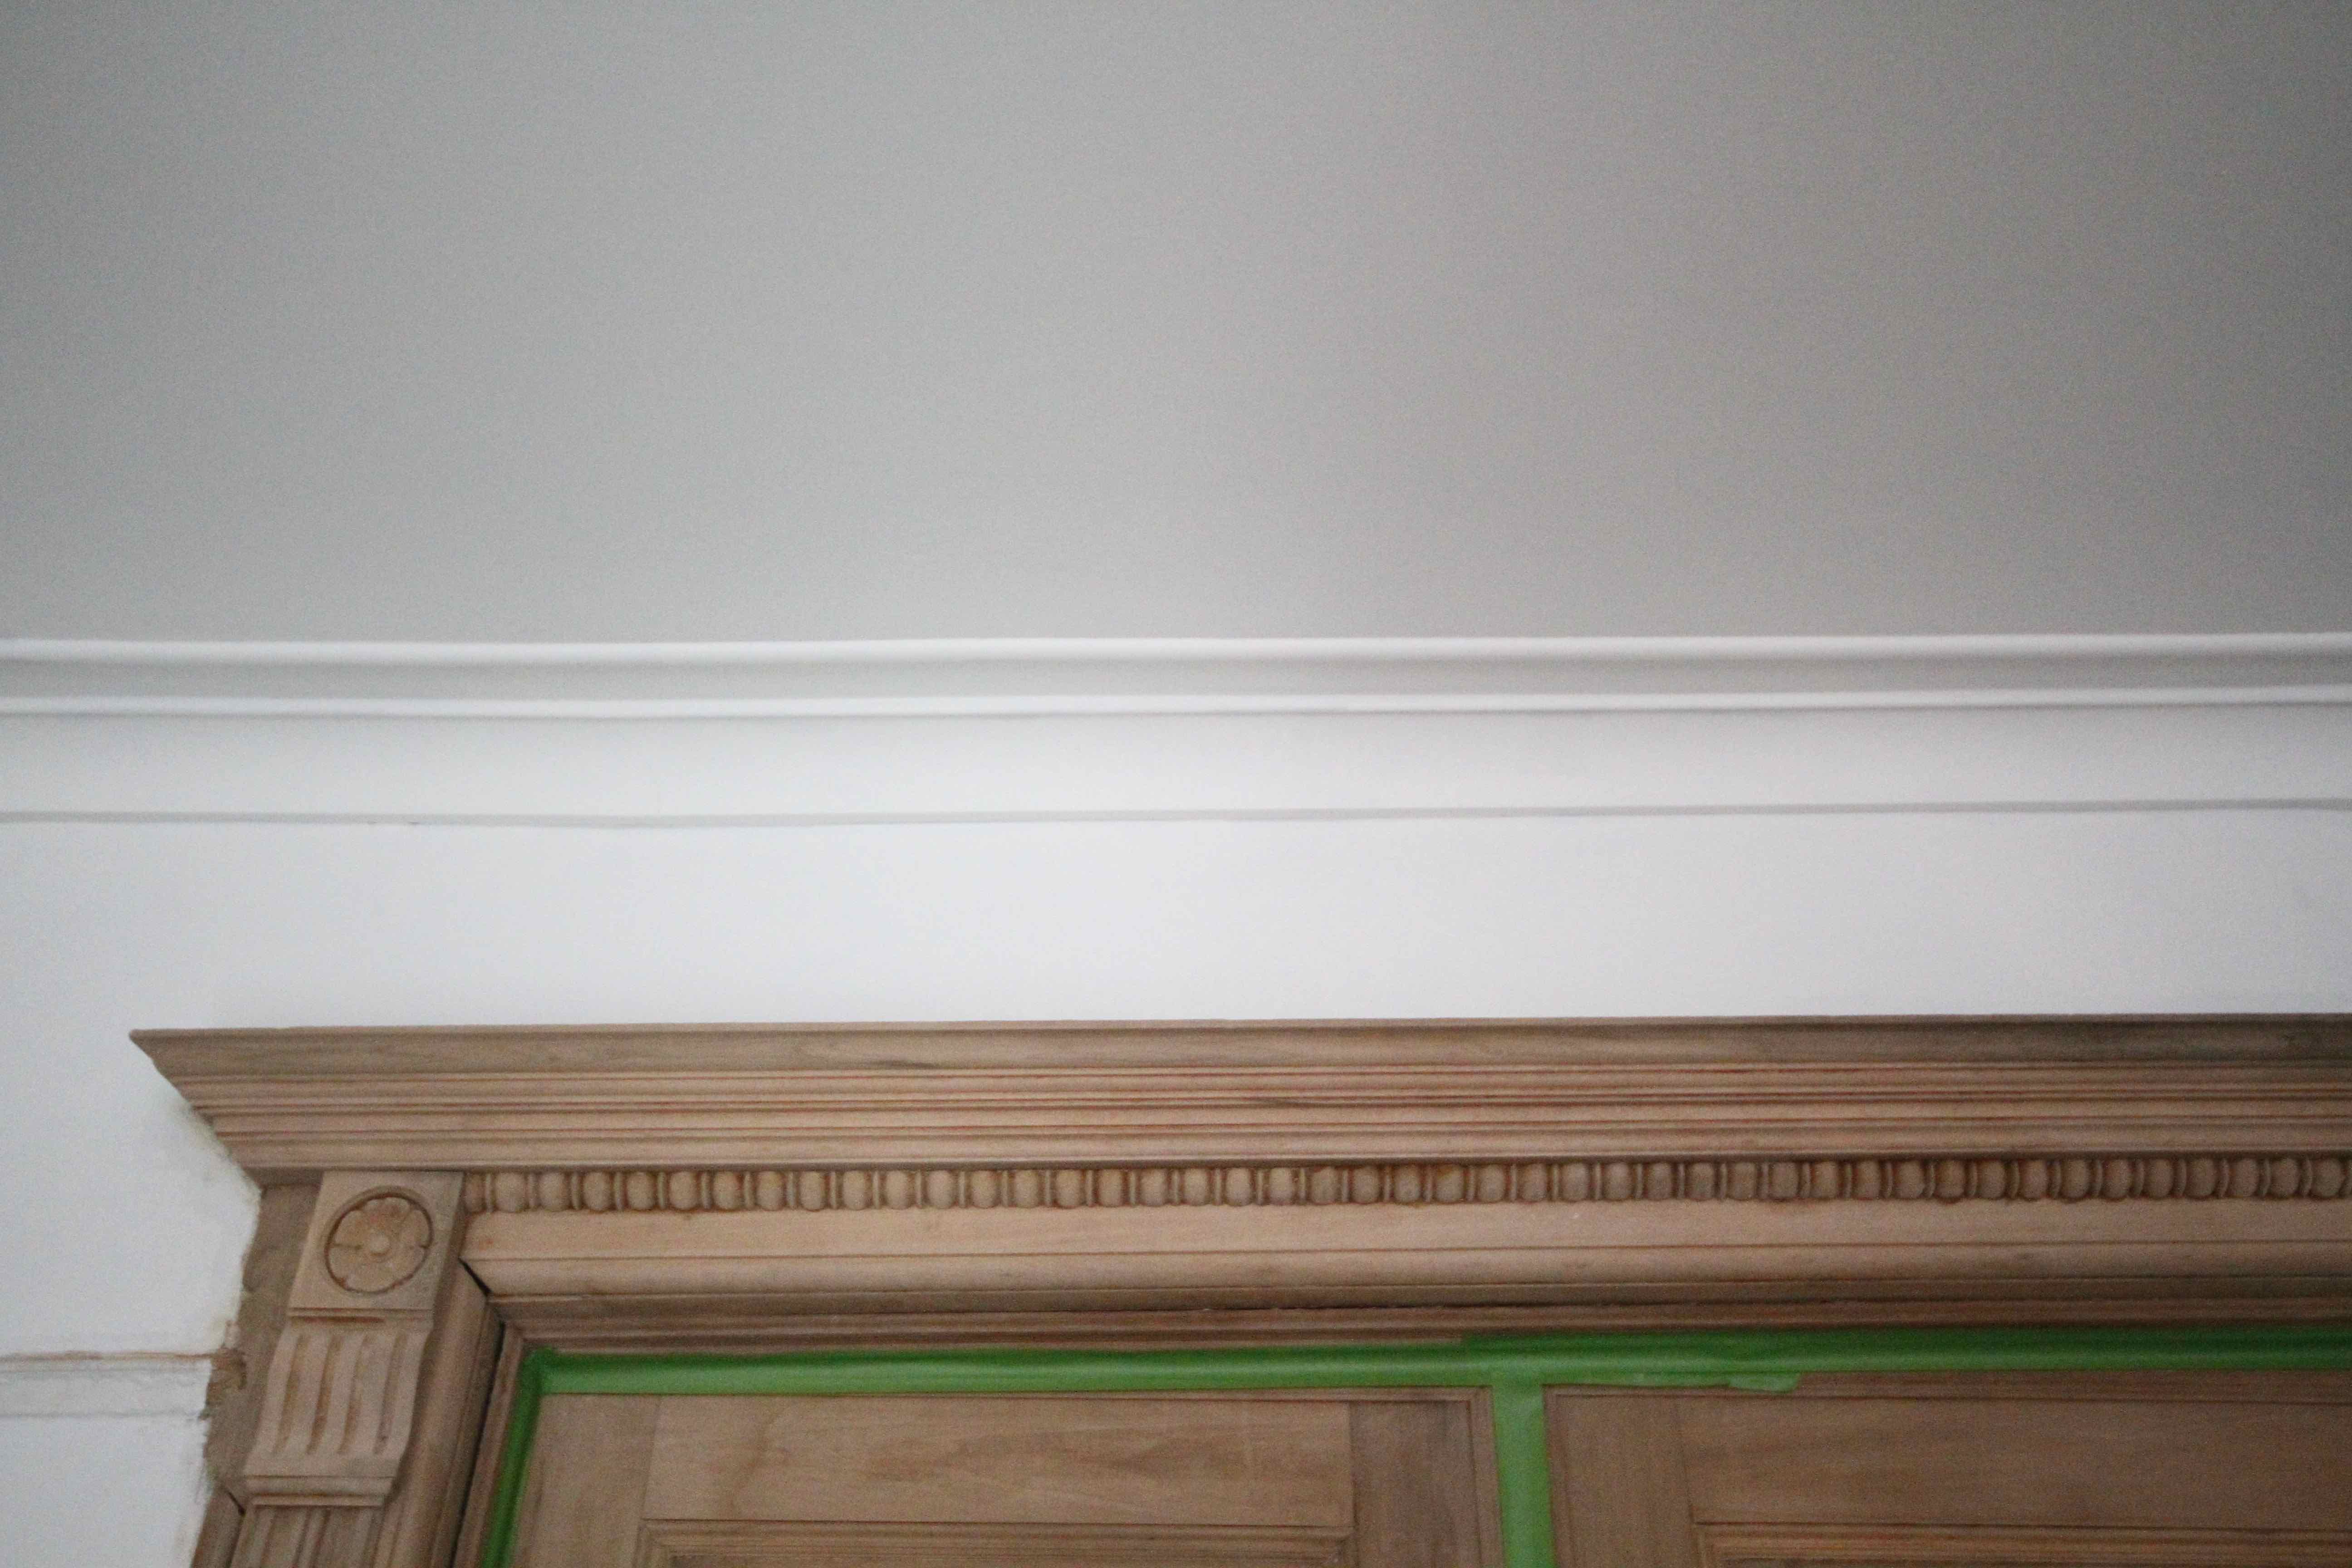
We approximated the original cove moldings (the exact cove size seems impossible to find, unless you have it custom milled – hello budgetary restrictions, nice to see you again!)
So this is where we are now. There is still a little bit of sanding to do on one of the walls. The stripped woodwork has been sanded and we are trying to figure out what to put on it.

Pingback: Bedroom update | A Pink Brownstone in Brooklyn
I have been stumped in how to recreate our coce molding in our livngroom and had given up since most products options cost an arm and a leg. I absolutely love your solution. Can you share how you did it or is it somewhere on your blog already? Thanks!
We used millwork from Dykes lumber. Not a perfect match, but since none of the room’s cove was salvageable it didn’t much matter. I’ll write up a post about it this weekend, by meanwhile, if you have any specific questions feel free to email me at pinkbrownstone (at) gmail.