OH C’MON ALREADY!

The glacial pace in which things are moving these days is starting to get to me. In my mind, by now,  we would be throwing fabulous parties and our house would never be messy (ha!).  In my mind, we’d already have a gorgeous kitchen and a working oven. OMG! No more having to bake in  a countertop electric convection oven. How great would that be?

Well, that’s a question I can’t answer  because we’re still using the old kitchen and the old stove is still broken. The room that will house our future guest room is still the dining room, and quite possibly the second most awful room in the house. It’s always messy and we spend no time in it – because it’s just terrible.

Don’t believe me?

It's hard to even begin to list everything that is wrong with this room, but let's try, shall we?

It’s hard to even begin to list everything that is wrong with this room, but let’s try, shall we?

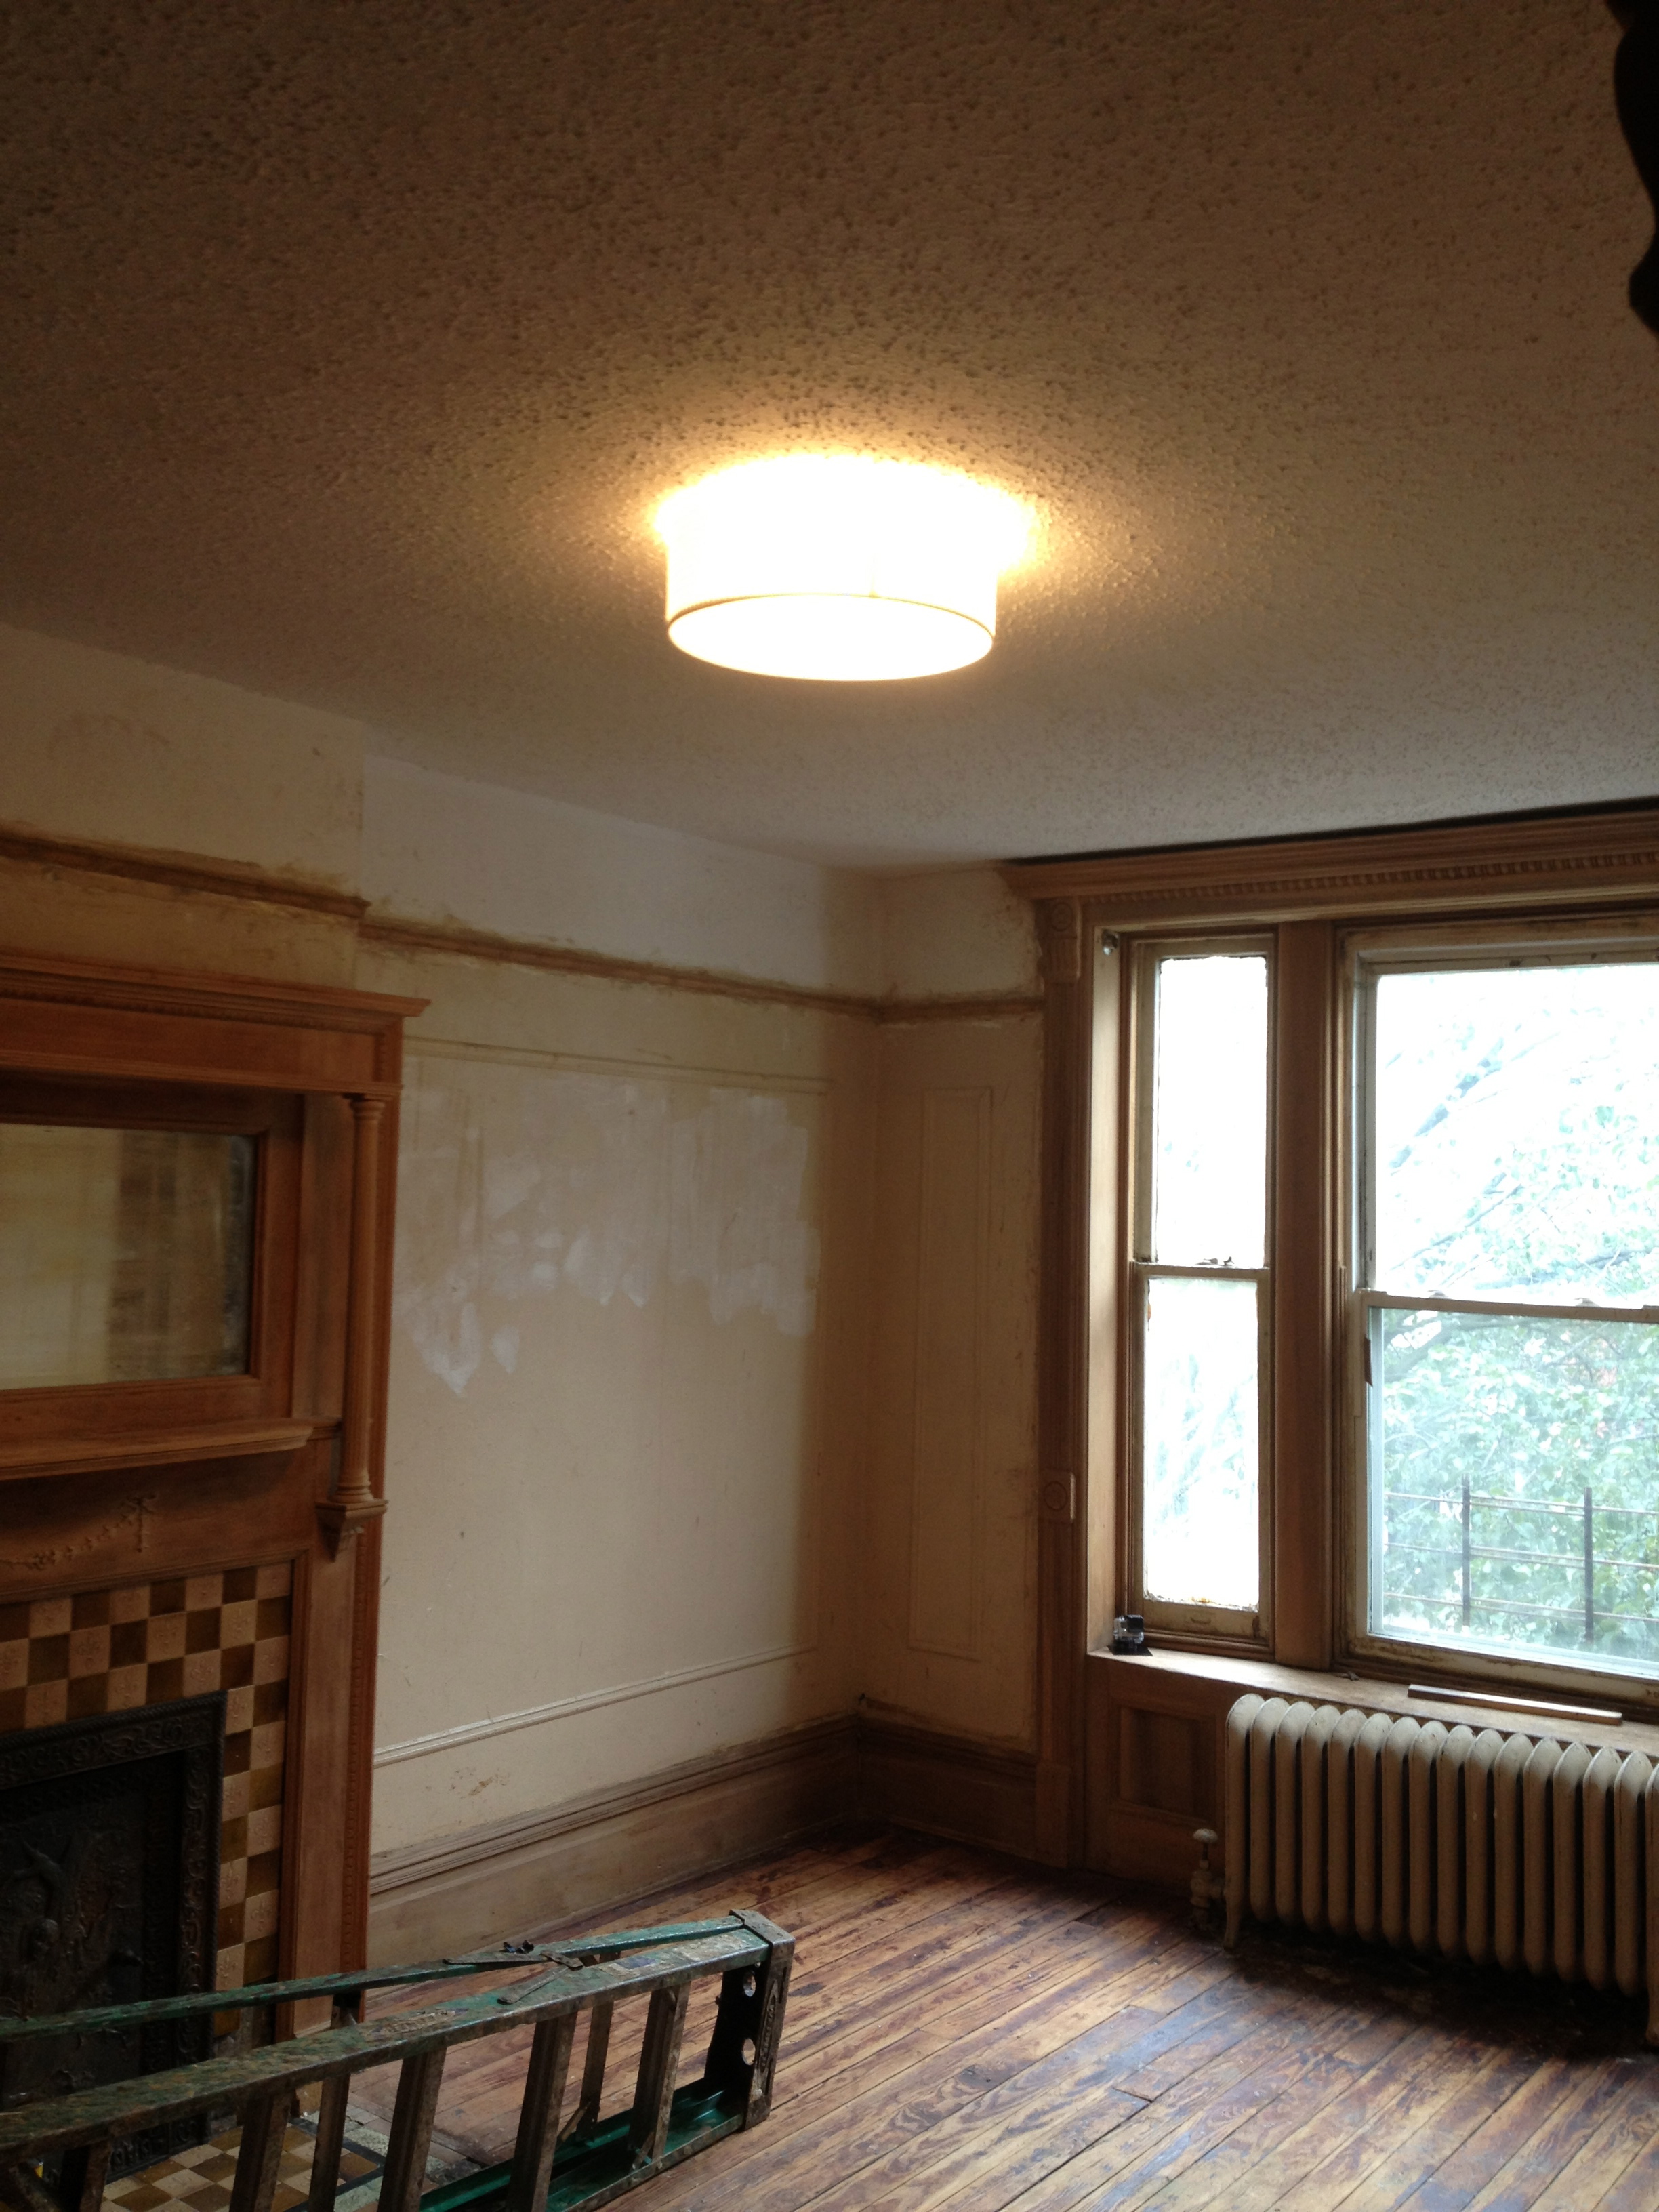
This room was never meant to be for this long. This room tries (unsuccessfully) to function as our dining room and pantry, but the only thing it succeeds in is being a catch-all for all sorts of junk. Once we build a new kitchen, this room will become a bedroom. Painfully, it’s becoming quite evident that this will happen sometime it the future, far, far away (probably around the time when the sun runs our of fuel, or when the melting ice caps flood our world – whichever one happens last, because we’re going to need that extra time).  With that in mind, it became  pittifully obvious that we can’t live with this room one. More. Minute.

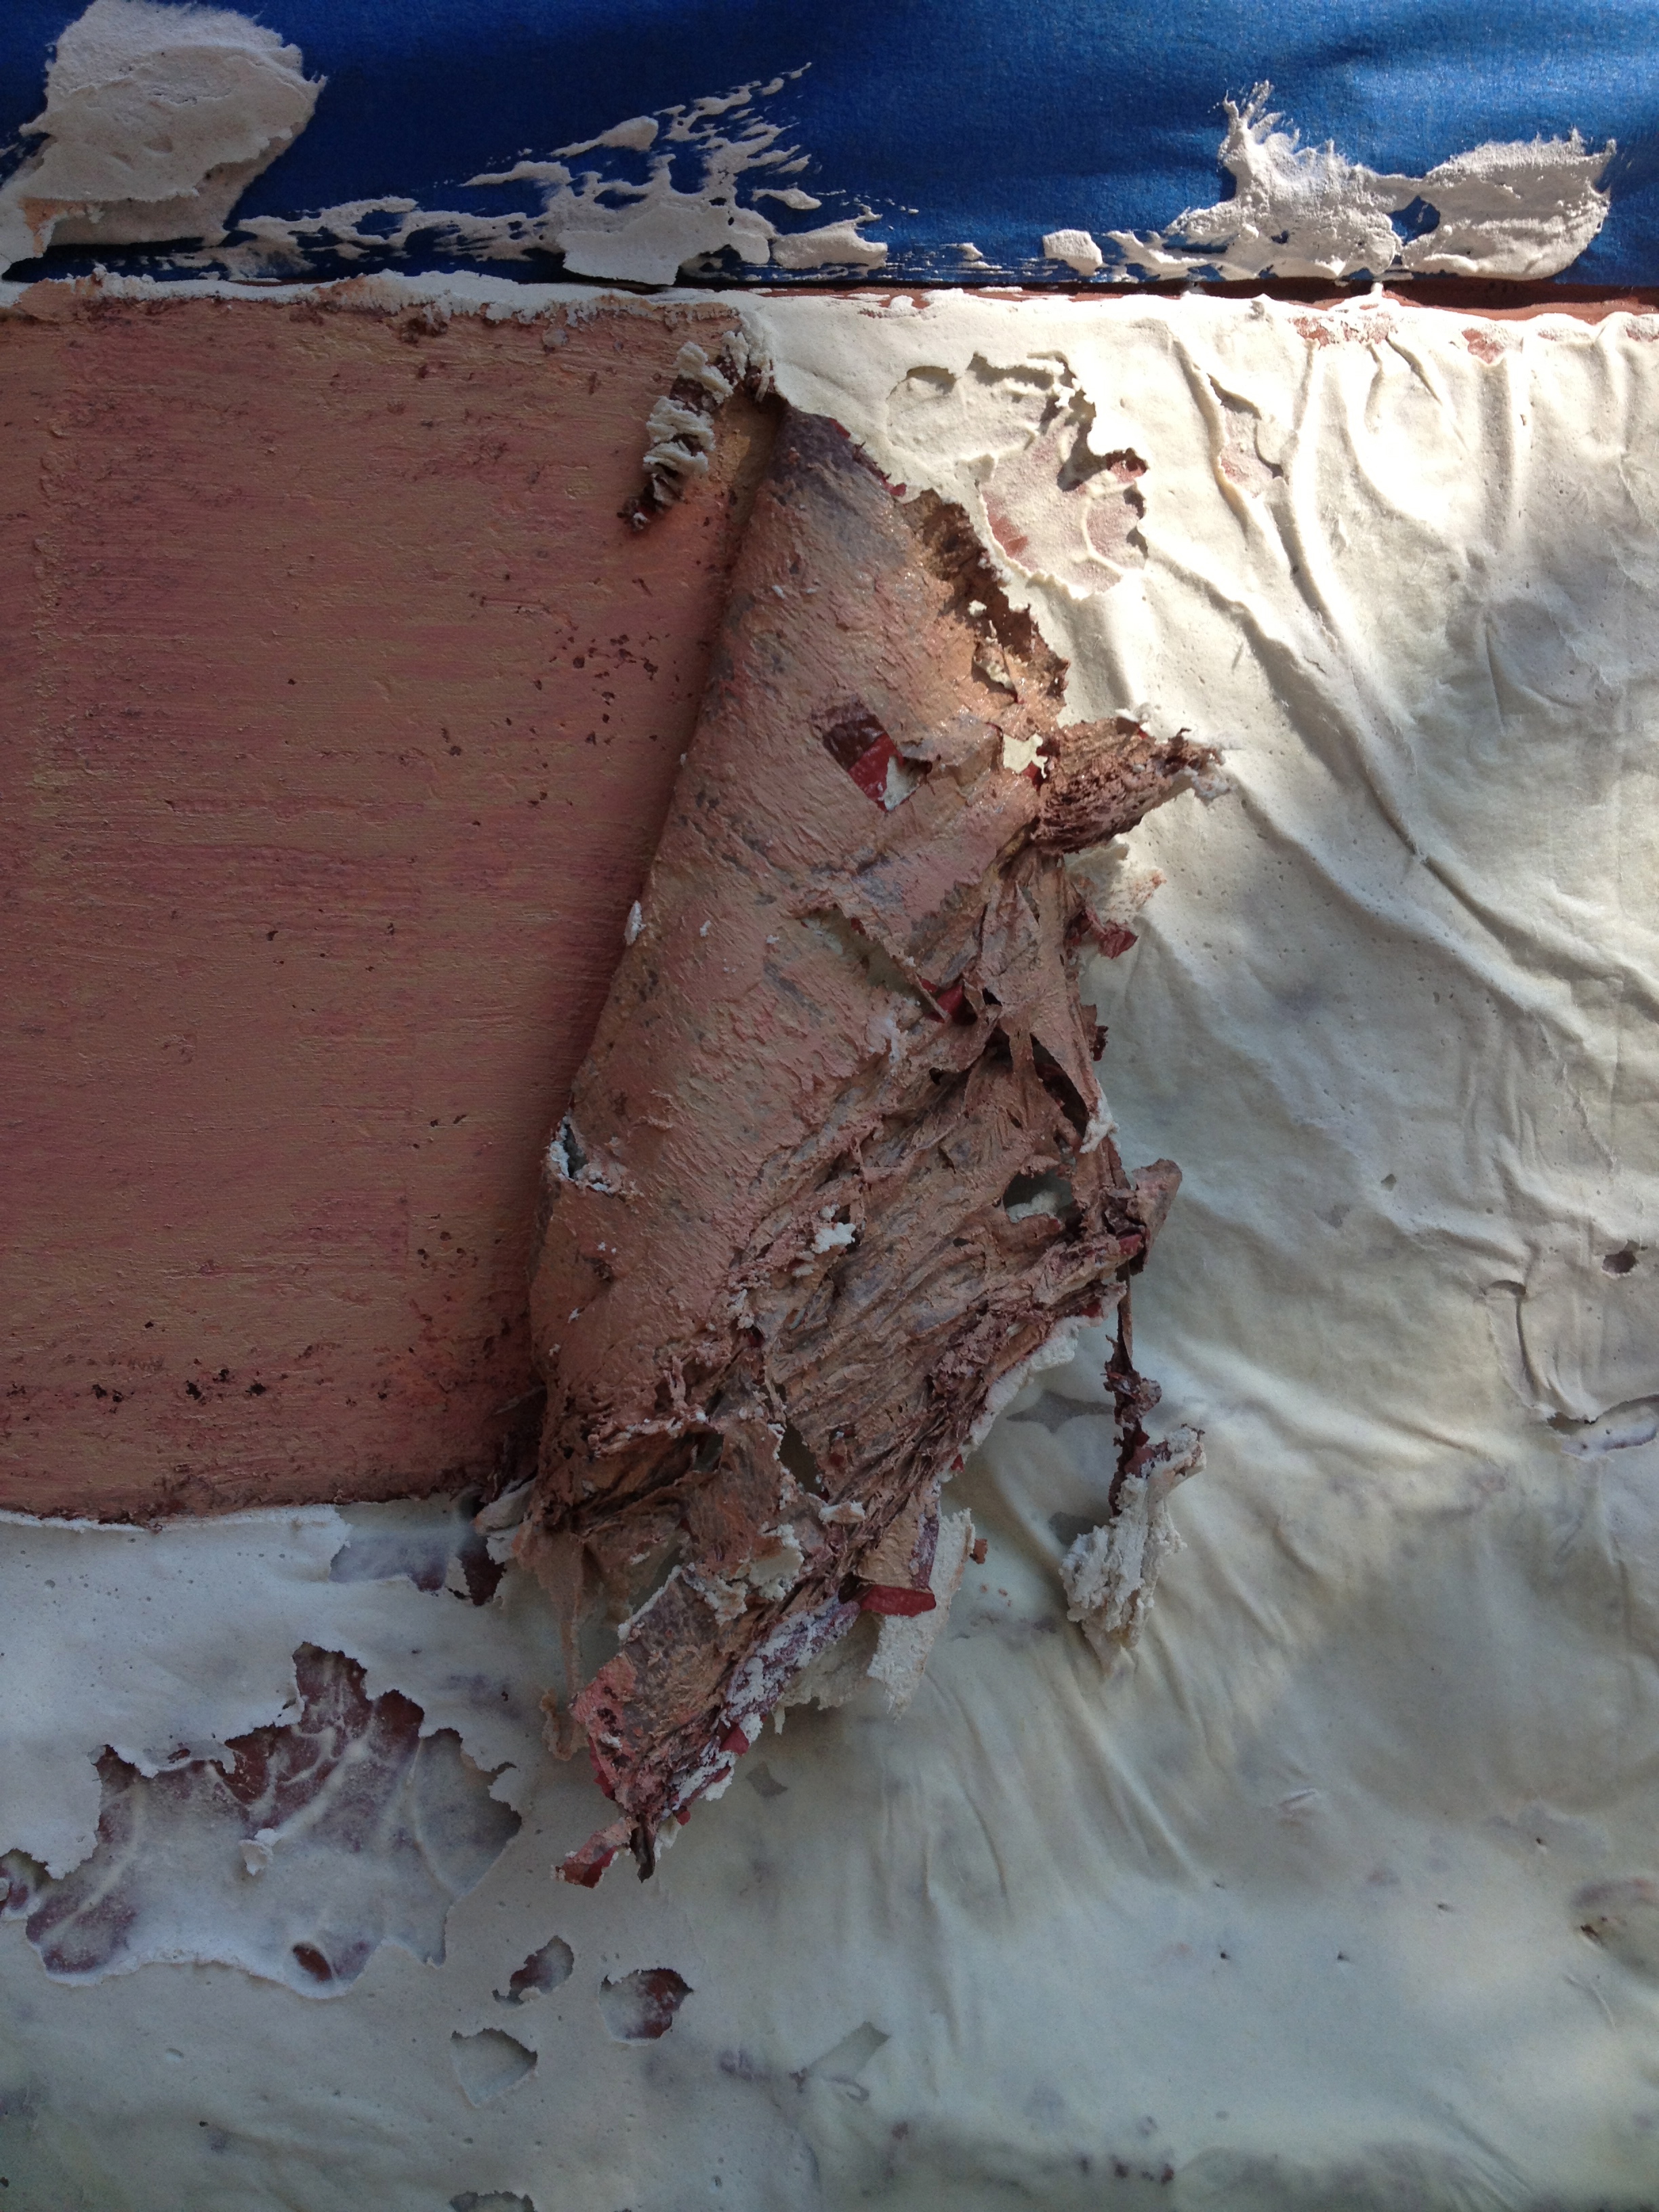
From the depths of my hopelessness, I decided the sign up for Apartment Therapy’s Style Cure. The fireplace mantel will finally be fully stripped. That half peeling, half painted trim will be dealt with. The pantry will become organized and everything will turn out unicorns and rainbow.

Or so I hope – Lordy, this room needs help!


Boiling Hardware

Our world is covered in (undesirable) paint: woodwork, walls and hardware. Sometimes it seems that all we do is remove paint –  and yet, we haven’t made a dent!

IMG_9833

Egg and Dart patterned door knob.

Back plates with tape residue

Back plates with tape residue

Intricate (and rusty) door set

Intricate (and rusty) door set

The door knobs and plates we picked up on our trip to the Historic Albany Foundation’s Parts Warehouse were no exception. Luckily, removing paint and grime from hardware is actually pretty easy. It just requires water, baking soda and a little time. Using a stainless steel pot (once you use it for this,  you can’t use it for food anymore, so make sure it’s marked accordingly).

IMG_9837

Boil up water with  baking soda. How much baking soda, you ask? Uh… a bunch? Some? I’d say  pretend you’re boiling pasta and add about 4 or 5 times more baking soda than you’d add salt (you can also substitute the baking soda for dish soap, just be careful not to let it boil over, as things will get very sudsy). Once the water comes to a boil, toss in your hardware. You’ll see the gunk come off in the foam.

IMG_9840

Let it boil for a little while, then check to see how your door knobs are doing.

IMG_9842Some of the items may need a bit of scrubbing. The paint will be soft and bubbly and will pretty much wipe off. It goes without saying that they will be very hot, so curb your wild enthusiasm as you grab the searing metal to admire your handy work.

IMG_9843

IMG_9848_2

Back plates free of paint, but still looking a little sad

Once your hardware is free of paint, you may find that it’s still looking a bit shabby. Sometimes items get rusty after their bicarbonate bath, but it’s all temporary – because you’ll buff the living daylights out of it.

IMG_9852_2

If it’s good for rims and candle stick holders, it sure is good enough for our door knobs

Some metal polish, a little steel wool and an old T-shirt will get you this:

Before elbow grease and after

Before elbow grease and after

After it was all said and done, our door hardware looked like this:

IMG_9855

IMG_9853


A plan of sorts

IMG_2072

We’ve been in the house just under 27 months, at that point where things just drag on. The initial steam wore off and we got used to camping in our home.  No oven? No problem, use the toaster oven. No direct access to the back yard? No problem, climb down the fire escape and use a rope and pulley system to lower a picnic basket.  Resourceful as it may, the McGyvering is getting old. It would be lovely not to have to step over tools or construction supplies on our way to the bathroom.

To shake out the moroseness, we came up with a 1-year plan of what we’d like to accomplish between now and December 31st (actually this is the bare minimum I’d like to see done so that I can continue to fake it as a quasi-legit grown up). The list is divided into 4 major categories: Spring, 1-Day Projects, Anytime and Oh-God! It breaks down like so:

1-Day Projects. This includes the small annoyances that we put up with so that we can focus on “the big projects.” I decided that if we can tackle some of the smaller things, the overall DIY mood may improve.

* Coat Closet – make parlor floor coat closet a bit more functional/less gross. Give it a good cleaning, paint walls, install shelves for shoes.

* Living room fan – remove ugly ceiling fan in front parlor, which we don’t use anyway.

* Fix old lighting fixtures purchased at salvage shop. Buy globes that fit

* Remove stupid little add-on wall in parlor floor hallway

* Linen closet – turn old roof access ladder closet into linen closet. Clean and patch walls, install shelves.

* Closet of doom – clean out room of all its contents.

Anytime projects. These projects are not weather dependent and can be done at anytime. Got some time? Great, get some of these cross off (at least that’s the idea)…

* Living room fireplace cover – strip paint, put it back in its original place (remove existing cover and take to Build It Green)

* Basement Cement Slab – The removal of the old asbestos tiles in the basement left the floor bumpy. Needs a layer of cement on top

* Closet of doom: demo dry wall and assess plumbing

* Top floor rear mantel – finish stripping

* Fix plaster in garden level vestibule.

Spring Projects. These are important for a variety of reasons: moisture control, rust prevention, general safety,  and saving the brownstone from one more freeze-thaw cycle under all that paint.

* Complete façade stripping project

* Front & Rear hatches (replace)

* Stoop railing – finish stripping, paint

* Raise grape arbor to create enough space for seating area beneath

* Back yard drainage project

* Source of water for backyard hose

* Stoop – repair steps

Oh-God! Projects.  These are the most daunting projects on the list. The stripping of the façade should probably be in this category, but I remain deluded determined that “it’s no big deal.”

* Bedroom woodwork – sand and oil

* Bedroom ceiling – finish spackle, add moulding & trim

* Bedroom walls – strip, fix cracks, prime and paint

* Parlor flooring – replace cheap-o stick on parquet with actual flooring

* Fix plaster under stairs, fix squeaky stairs (the plaster is helping this along by falling off in chunks – yippie!)

* Closet room – fix plaster

* Closet of doom – fix plumbing

* Parlor woodwork – strip (muppet flesh paint be gone!)

And that’s about it for the year. I’m hoping things get it done, because there is a ton more where this came from.

Weekend projects by crazy people

A  comment from a neighbor pretty much sums it up: “I always see you here, working. Never partying.  Just working.”

Before

I’m pretty sure the neighbors think I’m absolutely certifiable. Stripping a stone façade is really not a typical DIY project. People usually hire professionals to do that, and methodology aside, I do understand why.  Passers-by provide random words of encouragement, usually punctuated with “that’s a lot of work,” or “this would go a lot faster if you hired someone.” No shit!

This past Sunday over the course of 8 hours, I managed to strip about 18 sq feet of stone. At first glance, seems like a worthy amount, until you realize that it’s really a drop in the bucket. Not accounting for windows and doors, the area of the façade is 558 square feet – give or take.

Some of the paint came off super easy, yet there are patches of stubborn pink that will need a second application of PeelAway. Damn you pink paint!

SlowProgress

The angle of the sun makes it difficult to see any progress. Behold my amazing Photoshop skills! Yellow denotes done-ish. Click to enlarge. 

But wait! There is more!

Because we have two major projects going at the same time (hence the crazy people part) while I scrapped and scrubbed, the hubs worked on leveling the bedroom ceiling beams. The question of the day was “level it to what?” Under normal circumstances, you’d level to gravity: something is either level or it’s not – simple as that. But  nothing is ever as simple as it should be, at least not at our house. As is the case with many old buildings, ours settled over time and the floors are no longer level. The Pink Lady has a noticeable dip towards the center, common to brownstones. It used to drive me crazy and I wanted it gone, but I’m so used to it now I don’t really notice it anymore. Call it charm. Call it being realistic.

The previous fake ceiling was leveled to gravity, making the moldings look super crooked.

Old Ceiling


If we leveled the new ceiling to gravity, then leveled the floors, we would have to open the walls and adjust the all the door openings (2 regular doors and the massive double pocket door), or else the doors wouldn’t close). That just seemed too big of a job in the grand scheme of things.

So reality rears its ugly little head again, and since the dip is normal and is not affecting the structural integrity of the house, we decided to level the ceiling to the floor. By having everything crooked together, it will appear straight. Basically we’ll be mimicking the original ceiling (minus the sag in the middle).  Cooky plan, I know – but it seems like the best option.

After the required number of trips to the hardware store, the uttering of a lot of profanity, and a few beers, we are perhaps a teeny tiny bit closer to being done.

Another day, another project (and a post with terrible photos).

A normal person may look at what projects need to be done and prioritize accordingly. A normal person may look carefully at the options available and make sure not to overburden themselves by taking on more than they can handle. A normal person will finish a project before starting a new one.

Well, normal people we are not.

Over labor day weekend, we tore out the bedroom ceiling. A cheap patch job of installing a false dry wall ceiling (and covering it with popcorn) robbed the room of its original height – plus it left us wondering what lurked above it.

Old Ceiling

This is how it used to be (pardon the cell phone photos, but in possibly what was the only case of good judgment here, we did not bring the big camera in with us).

Half gone

Dry wall pulled down, you can see the old ceiling through the 2x4s

Turns out the damaged original ceiling was still up there, minus a big chunk of plaster right in the middle. It was severely bowed towards the center of the room, which is probably why the plaster fell off. There were signs of water damage. Fun!

Just a little bit of plaster missing...

Just a little bit of plaster missing… And seriously – what’s up with all the popcorn?

After we removed both ceilings and the original lath, we discovered that the support structure  was compromised: the strips of wood attaching the ceiling to the roof had come lose over the years.

lath

Presented without comment

Open ceiling

Open ceiling, cockloft above.

With the ceiling gone, we had a good look at the space above – more like a crawl space than an attic, it’s called a cock loft (and yes, because I’m totally immature I can’t say it without giggling). It’s kinda interesting to see the structure from above: the sky lights, some strange built-in alcoves. The filth up there is indescribable, the dirt is nearly impossible to wash off the skin. I suppose that’s what 120 years of dust, coal, cigarette smoke, and old fart residue looks like. Absolutely gross.

Dirt

This photo doesn’t fully capture how dirty we were. And by the way, the Facetime camera on the iPhone is absolutely awful!

The space is now ready to be re-built. We saved a piece of the ceiling molding so that we can restore it in the new ceiling. Sadly, most of it was gone so we’ll have to rebuild from scratch.

Moulding chunk

It was a total bummer to have to remove the moulding, but most of it was already gone. What was left did put up a good fight. We will use this chunk as a template for the restoration.

Since all the prep work has been done, you’d think we’d finish it off quickly. That is where you’d be wrong. This past weekend was dedicated to working on the stoop railing and doing a test stripping of the brownstone. Why? Well, winter is coming and it needs to be done. The stoop has been the Hubs pet project during the summer. Amidst finishing grad school, the crazy rains of June and the sweltering temps of July, progress has been slow. Happy to report one whole side has been stripped and coated with primer.

As for the masonry, we’re having a hard time finding someone who will strip/repair the brownstone the in the way we feel it should be done.   So I decided to do some tests and see if I could do it myself.

Cue stripping test #1: Some PeelAway 1, a bit of time, some water and some citric acid later – voila! Brownstone without paint.

IMG_1454

Step 1: apply layer of PeelAway that is at least 1/8 of an inch think. Kinda like frosting a warm cake. Got a bit melt-y…

IMG_1456

Step 2: Cover with the nifty paper provided. And wait.

IMG_1462

Step 3: remove the goop and wash. And wash. And wash. Then spritz some citric acid and wash again.

IMG_1474

And there you have it: stone (mostly) free of paint.

My biggest problem is that I’m super afraid of heights and I have no idea how I’ll get to the second and third floors….

Ironwork

I’m told that our neighborhood boasts some of the largest collection of original ironwork in all of Brooklyn. Rows upon rows of ornate stoop railings in block after block of brownstone homes.

As is the case with pretty much every surface of our house, our railings are caked up with paint and they are peeling. Water is the arch nemesis of ironwork, so it’s super important that the paint be in good condition to prevent rusting.

Our newel posts looked like this:

IMG_1112

Gross, right? The first we* attacked it with our trusty PeelAway 6. It worked OK, but since we were working outside we decided to give harsher chemicals a try (Zip Strip). It worked OK, too – but not that much better. Because the third time is the charm, we tried a heat gun. Our previous concerns of scorching woodwork didn’t apply here, so we went to town:

IMG_1114

Worked pretty well. It was great to see all that detail that had been lost under the gobs of paint.  Here is the after shot with a coat of primer:

IMG_1118

There is still a long way to go to get all of our railing stripped. The newel post itself took about 2 days. The weather has been making progress slower – all this rain makes it difficult to camp outside for any length of time.

* by we I really mean the Hubs. I had nothing to do with this project, other than the occasional cheerleading.

Home renovation and The Princess Bride

I came across a blog post on “Lines from The Princess Bride that could double as comments on freshman composition papers.” I think  many things said in the movie aptly represent things uttered during the home (or castle) renovation process. For example:

“I do not suppose you could speed things up?” Because everything takes much longer than it’s supposed to

“That is the sound of ultimate suffering.” You mean the sound of raw sewage hissing through the sewer  pipe and erupting into a geyser in the basement?

“Inconceivable!” A multi-purpose adjective that pretty much describes everything
“You rush a miracle man, you get rotten miracles.” Cutting corners pretty much a bad idea. Always.
“That does put a damper on our relationship.” DIY is stressful. People (mostly me) get snippy.
“You be careful. People in masks cannot be trusted.” The ultimate truth
“Why won’t my arms move?” The residual effects of paint scraping.
“Look, I don’t mean to be rude but this is not as easy as it looks, so I’d appreciate it if you wouldn’t distract me.”