
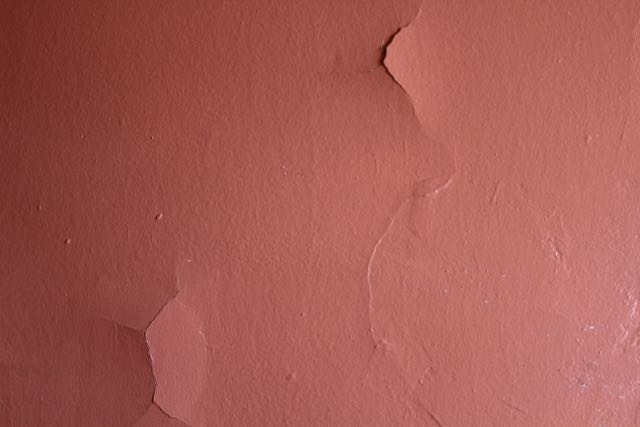
Big patch, ugly paint color.
I didn’t take a before picture, but believe me when I tell you that the white areas in the photo above used to be a giant plaster bubble. So I popped it (because that’s the tempting thing to do with all blisters) and removed all the bits of plaster that were no longer attached to anything. Because this is a brick wall (there isn’t any lath behind this plaster) I though the normal way to fix bubbling plaster would not work all that well, since it involves special screws and special glue. Besides, who am I kidding? I’m just a beginner when it comes to plaster.
I had never fixed an area this big. Little bits of missing plaster? Sure! A few cracks here and there? No problem. But this? Uncharted plaster fun.
It was surprisingly easy, and to be super cliché: easy does it: many thin layers seems to be the way to go. While the first few layers are quite bumpy, each subsequent coating gets a little smoother. At least from a beginner’s standpoint, the biggest issue applying thicker layers: improper drying and shrinkage, which means the patch will crack. Again.
The dining room will tell whether we’re properly tending to the cracks. The big hole, pictured above, now looks like this:

One more pass and the skim-coating will be done, then prime and paint. Huzzah!
It seems that for the past 20 years (at least), the plaster at our house wasn’t properly maintained. Areas were haphazardly patched, but the underlying issues weren’t dealt with, like filling a cavity without removing the rotted bits of tooth. No stinking good.
For instance, bubbling plaster looks like this:
Top layer of plaster no longer attached. Bubble forms, and eventually a crack will follow.
And this is what a sloppy repair job looks like. Bubble is still there and the patch wasn’t sanded, just painted over with glossy paint (which, of course, is the least forgiving type of paint when it comes to bumpy surfaces).
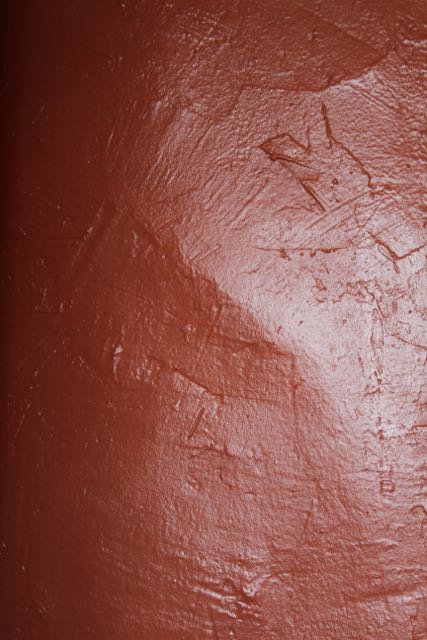
Muppet Flesh paint foh-ev-ah!
And just for funnzies, this is what a super huge monster-evil-super-villan crack looks like (this was courtesy of a leaky roof):

Repairing this crack will require removal of the plaster on either side and some mesh tape.
From our experience, simply patching over cracks is futile. It just feeds them and makes them stronger – like giving a donut to a Gremlin after midnight: they become EVIL! Old House Journal has a fabulous article about all things plaster.
It would probably be faster to remove all the plaster and replace with dry-wall. But since faster/easier doesn’t mean better, we’ll stick to the plaster, and its good sound dampening and fire resistant qualities. We’ll just remind ourselves of our love of plaster as we fix the many many many many cracks along the way.


