Lost & Found: Mad Libs with “Use At Your Own Risk” bottle

In the process of restoring our house, we have found quite a few random items hidden in the nooks and crannies. While I’m still holding out for a stash of money in the floor boards, each new find is super exciting because it provides clues to the previous lives of those lived here before us. To catalogue what we’ve found, I’m going to take a page from Throw Back Thursday and post one item per week (yes, I know today is Tuesday). Here is the first one:

UseAtYourOwnRisk

“Mix half and half with bottle _____  CAUTION. This product contains _______ which may cause skin ____ certain individuals and a ______ test according to accompanying directions should first be made _____ product must not be used for ___ing the eyelashes or eyebrows. To do so may cause blindness. Use at your own risk. Contains 2 fl. oz. READ DIRECTIONS.”

This is the bottom of the bottle:

BottomOfBottle

I’m not sure what mysterious substance was in this bottle, but I’m leaning towards some kind of hair dye product. What do you think?

Soap dispenser


Soap dispenser box

You know when you buy stuff and stash it away for future use, then you forget you bought it until you come across it years later? That is exactly that happened with this liquid soap container. I purchased it years ago, well before we bought the Pink Lady.

Glass soap dispenser2

Growing up, these were the standard soap dispensers in Brazilian public restrooms. While going to a public bathroom was a gross experience, getting to use the soap dispenser was something I always enjoyed. Yes, weird child I was. Anyway, this thing mounts to the wall, and when you want some soap, you flip it upside down, while holding your hand under it. Gravity does the rest and flips it back to its upright position.

Glass Soap Dispenser

Pretty excited to find this (again). It will eventually be put to use in our powder room. Not totally period appropriate, but making an exception on the account of nostalgia.


A plan of sorts

IMG_2072

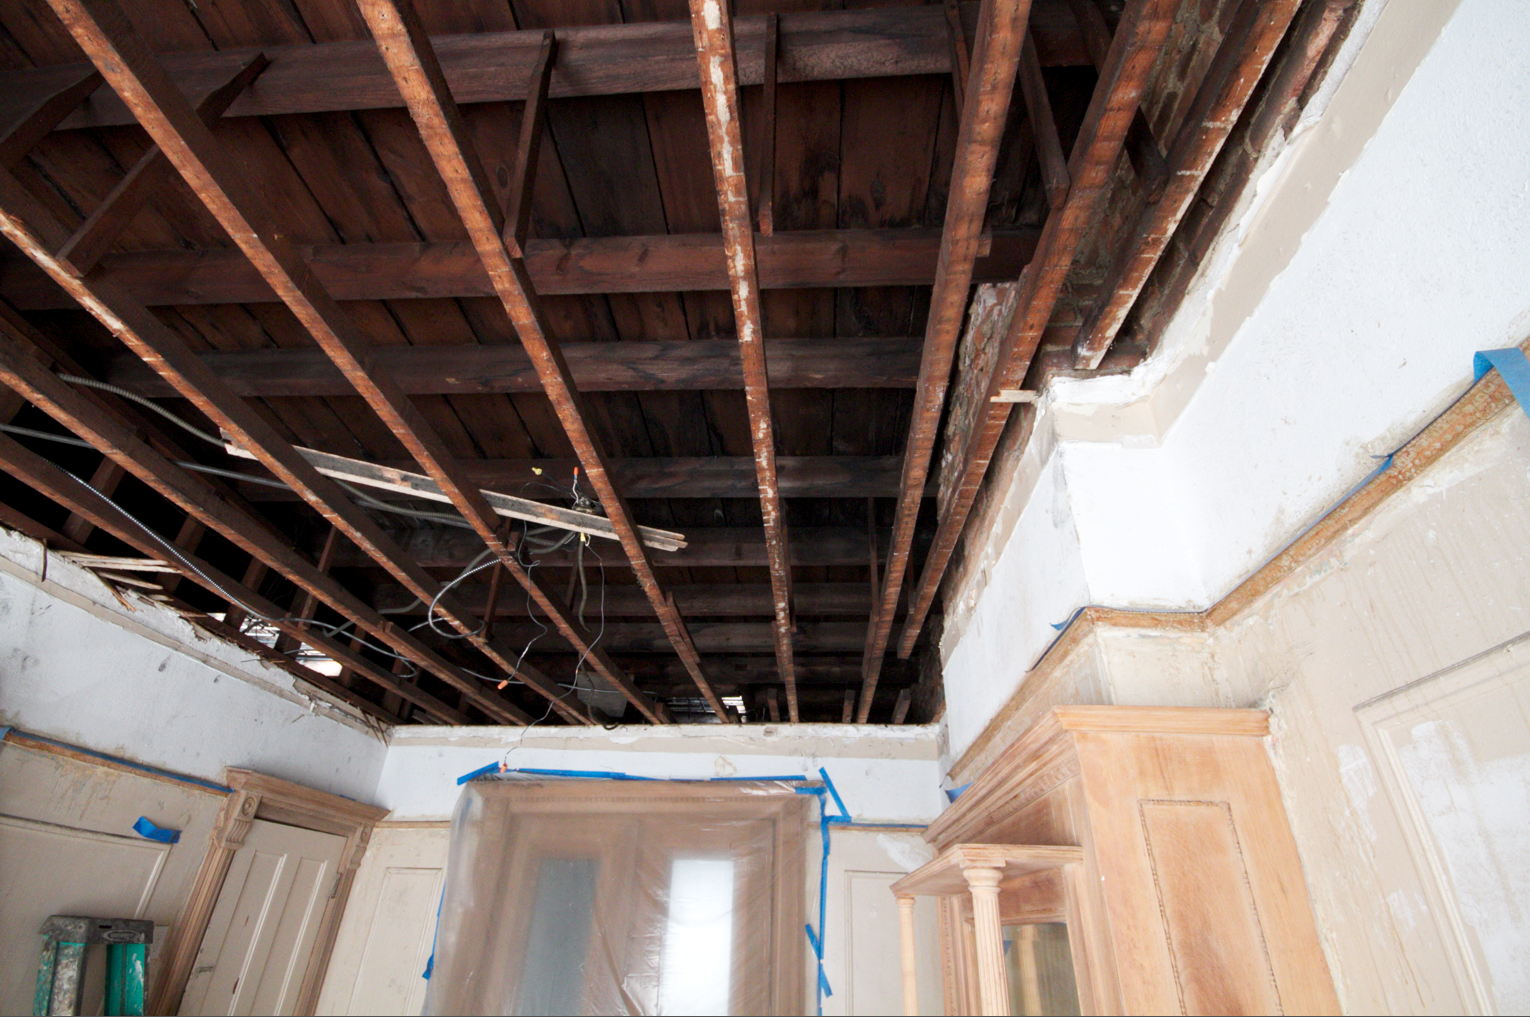
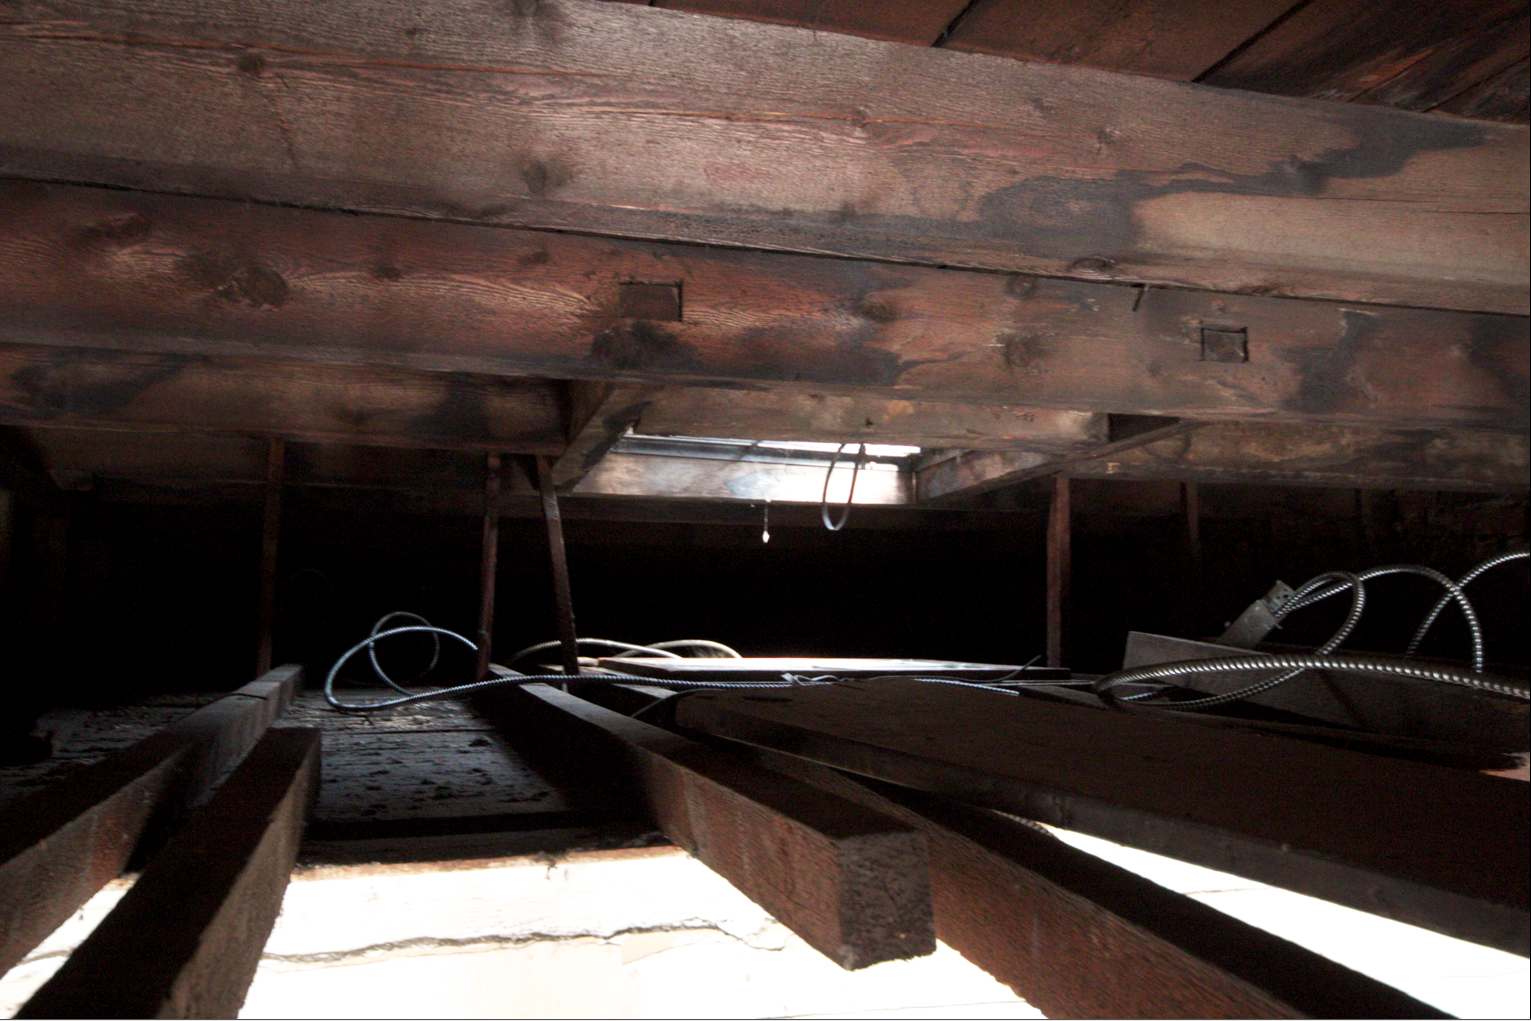
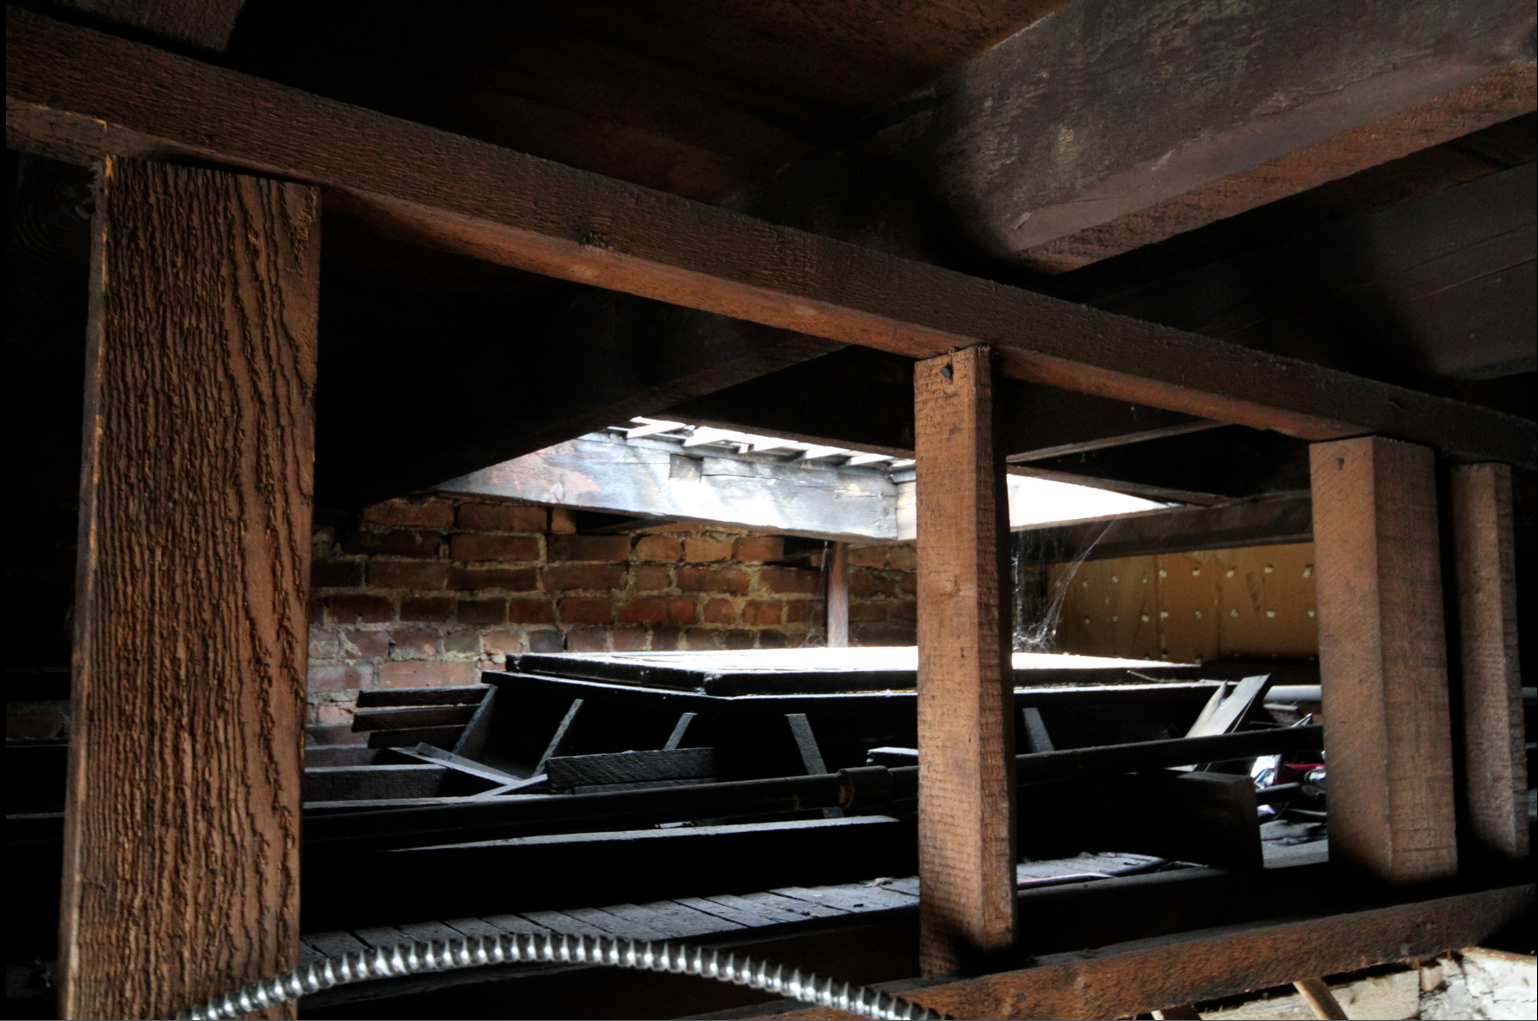
We’ve been in the house just under 27 months, at that point where things just drag on. The initial steam wore off and we got used to camping in our home.  No oven? No problem, use the toaster oven. No direct access to the back yard? No problem, climb down the fire escape and use a rope and pulley system to lower a picnic basket.  Resourceful as it may, the McGyvering is getting old. It would be lovely not to have to step over tools or construction supplies on our way to the bathroom.

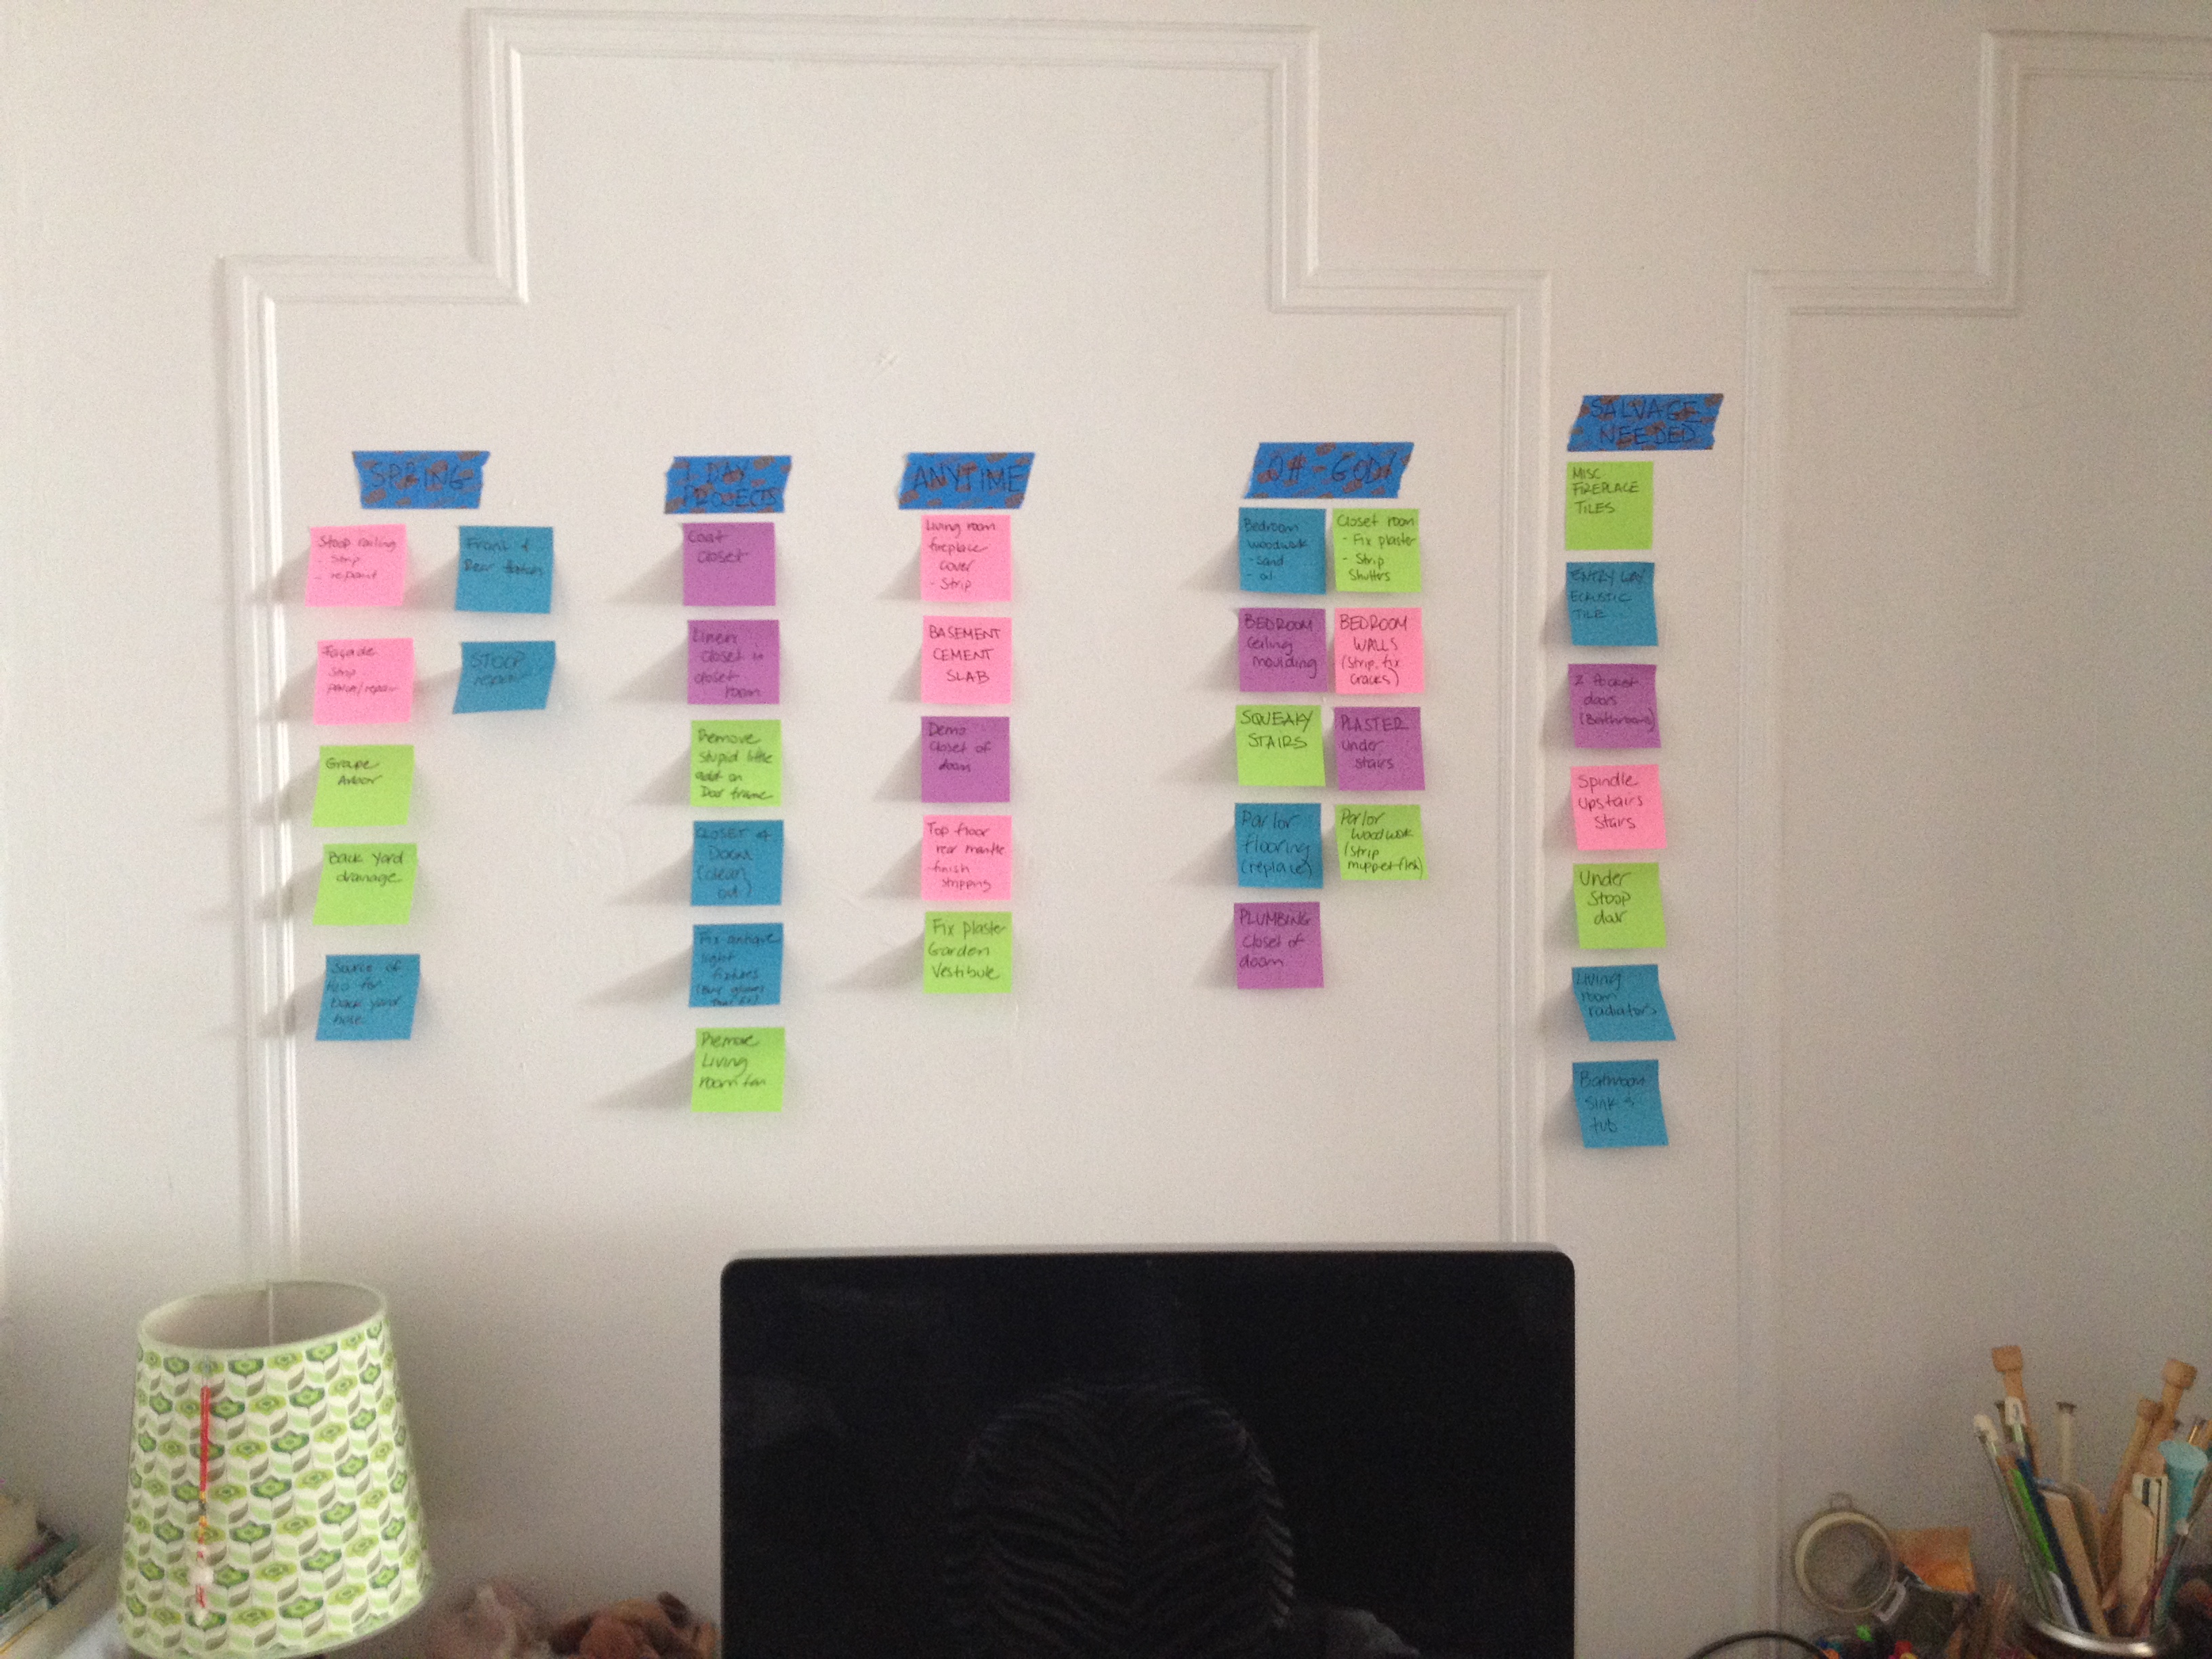
To shake out the moroseness, we came up with a 1-year plan of what we’d like to accomplish between now and December 31st (actually this is the bare minimum I’d like to see done so that I can continue to fake it as a quasi-legit grown up). The list is divided into 4 major categories: Spring, 1-Day Projects, Anytime and Oh-God! It breaks down like so:

1-Day Projects. This includes the small annoyances that we put up with so that we can focus on “the big projects.” I decided that if we can tackle some of the smaller things, the overall DIY mood may improve.

* Coat Closet – make parlor floor coat closet a bit more functional/less gross. Give it a good cleaning, paint walls, install shelves for shoes.

* Living room fan – remove ugly ceiling fan in front parlor, which we don’t use anyway.

* Fix old lighting fixtures purchased at salvage shop. Buy globes that fit

* Remove stupid little add-on wall in parlor floor hallway

* Linen closet – turn old roof access ladder closet into linen closet. Clean and patch walls, install shelves.

* Closet of doom – clean out room of all its contents.

Anytime projects. These projects are not weather dependent and can be done at anytime. Got some time? Great, get some of these cross off (at least that’s the idea)…

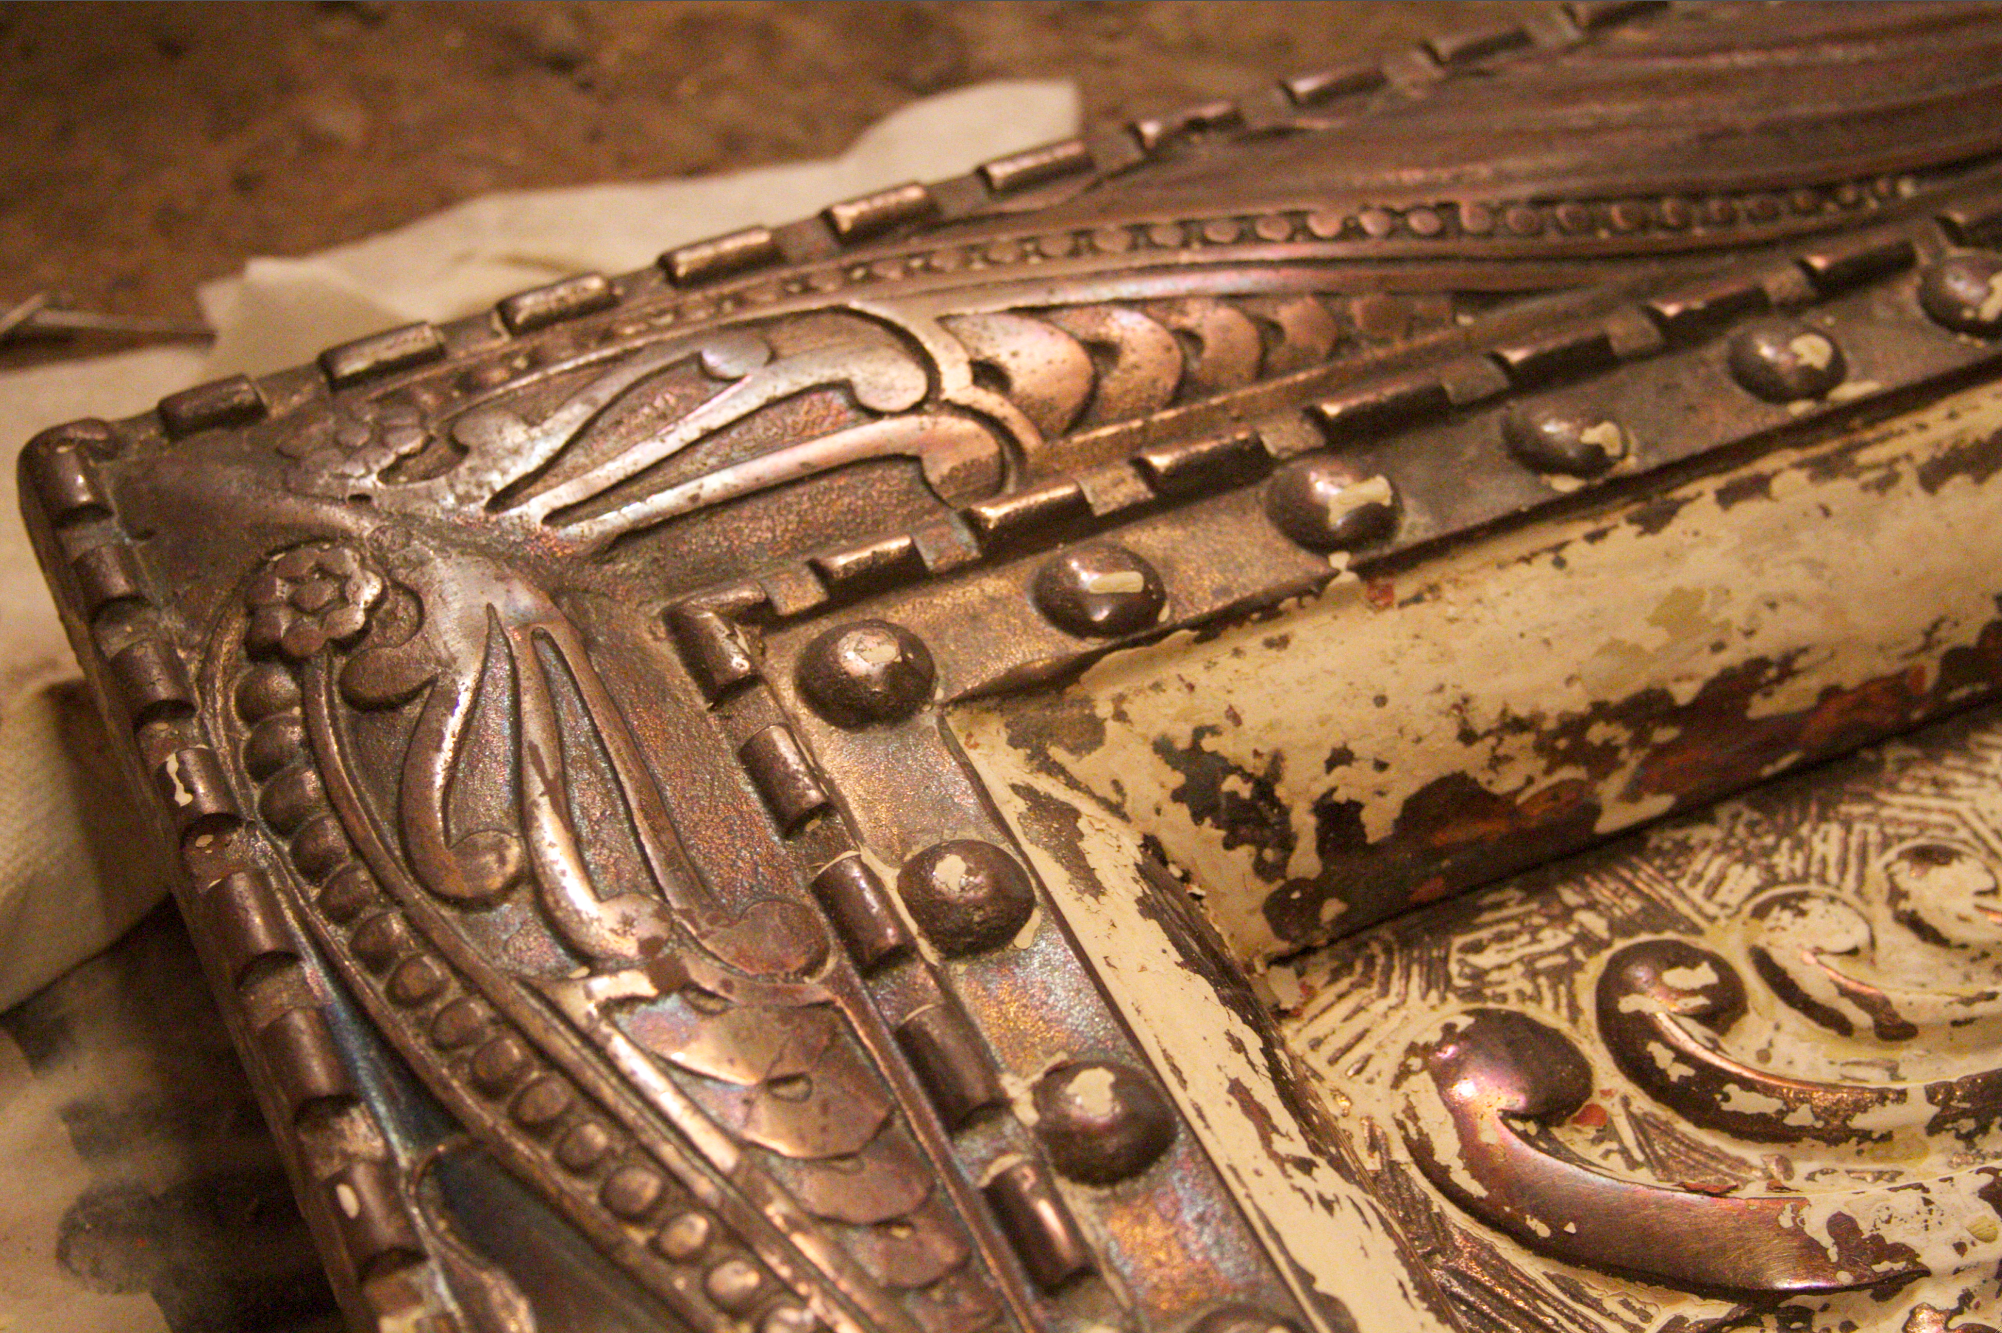
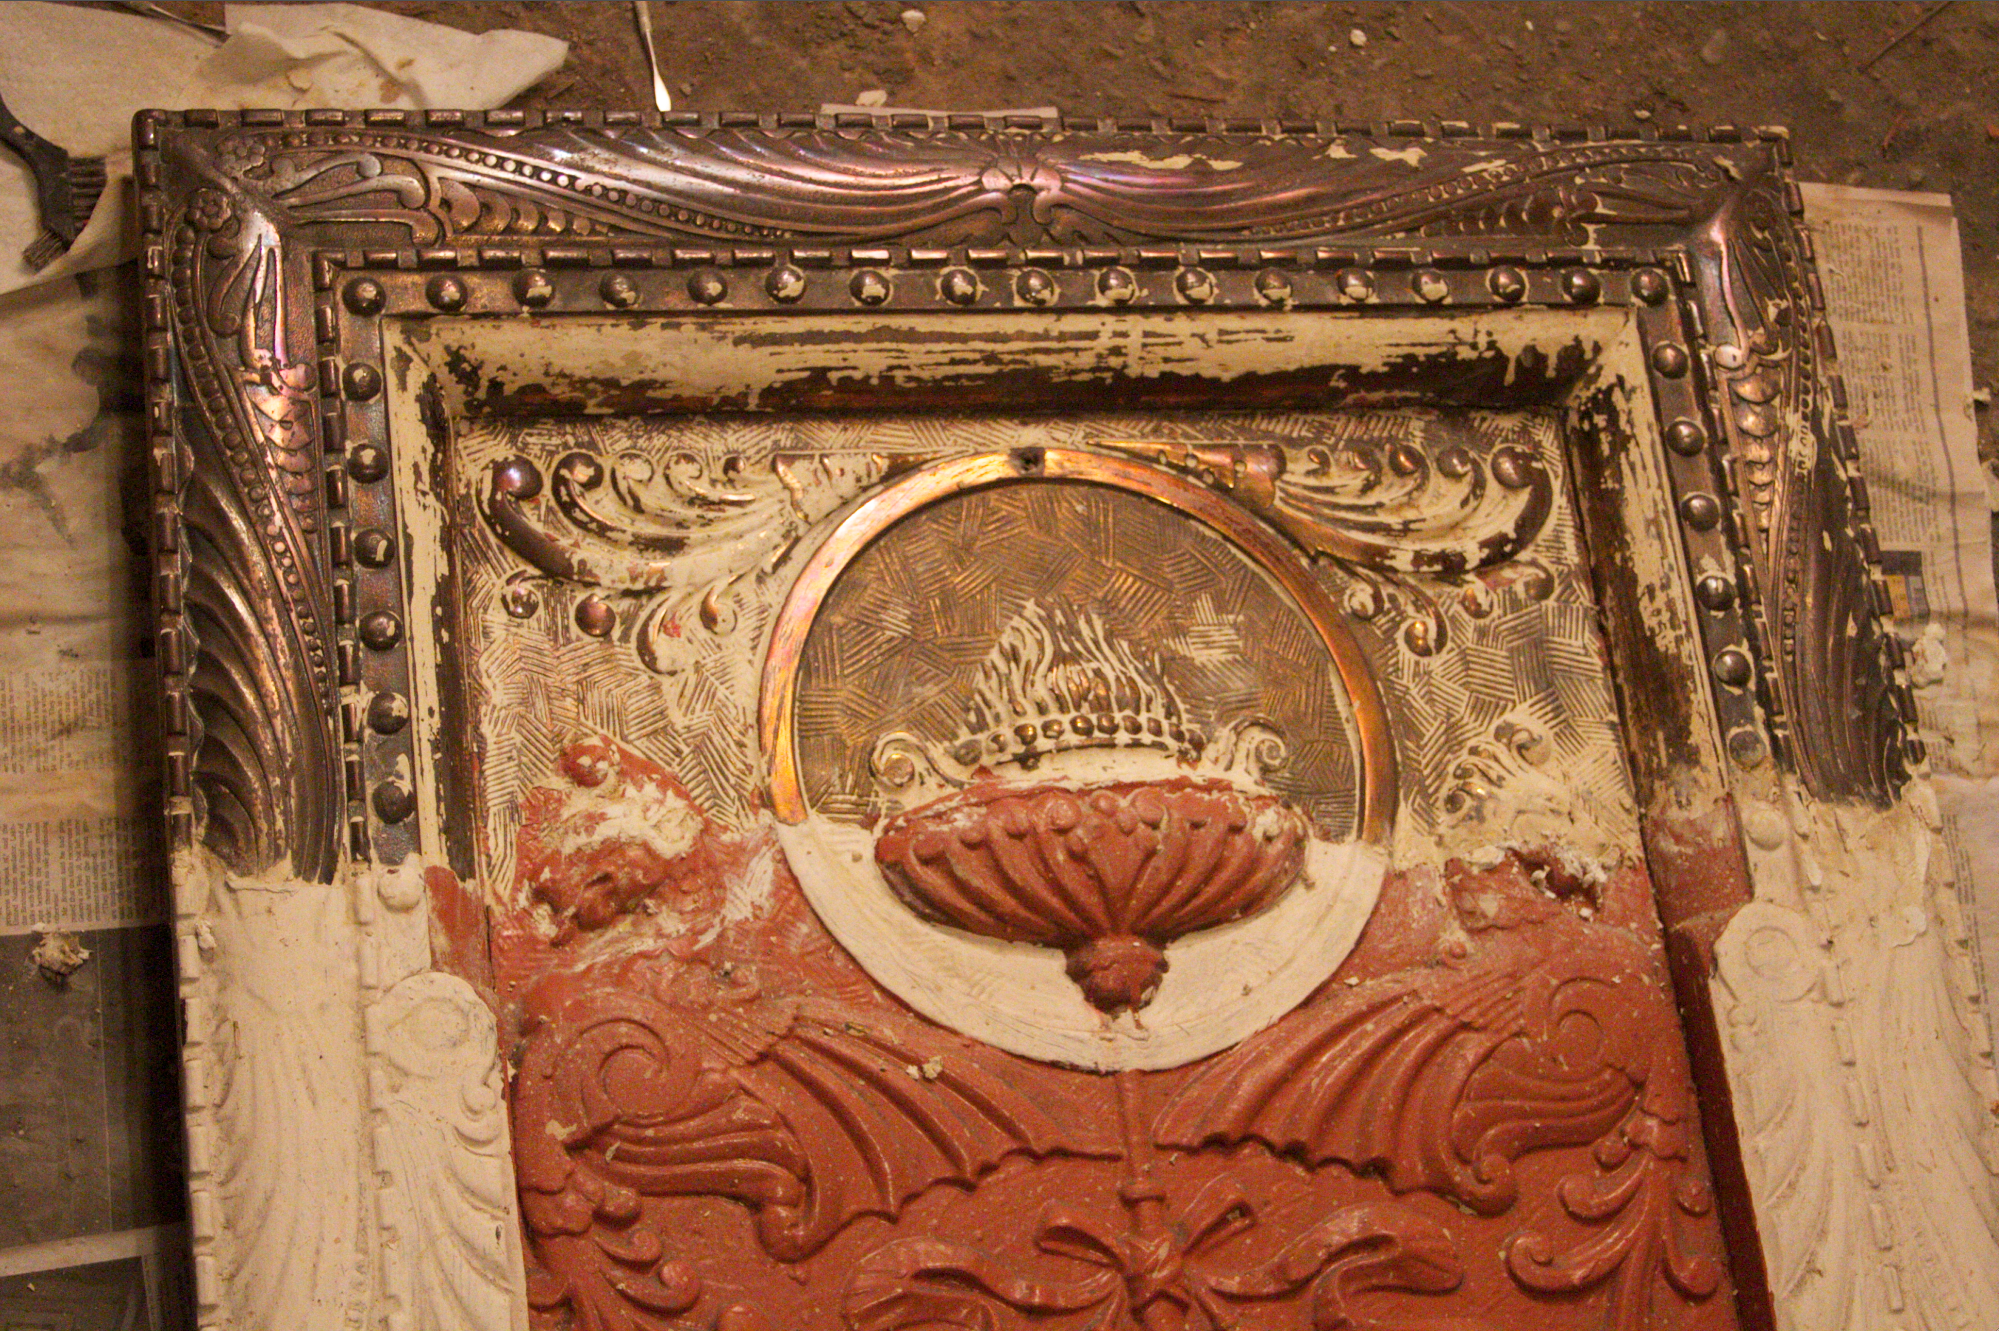
* Living room fireplace cover – strip paint, put it back in its original place (remove existing cover and take to Build It Green)

* Basement Cement Slab – The removal of the old asbestos tiles in the basement left the floor bumpy. Needs a layer of cement on top

* Closet of doom: demo dry wall and assess plumbing

* Top floor rear mantel – finish stripping

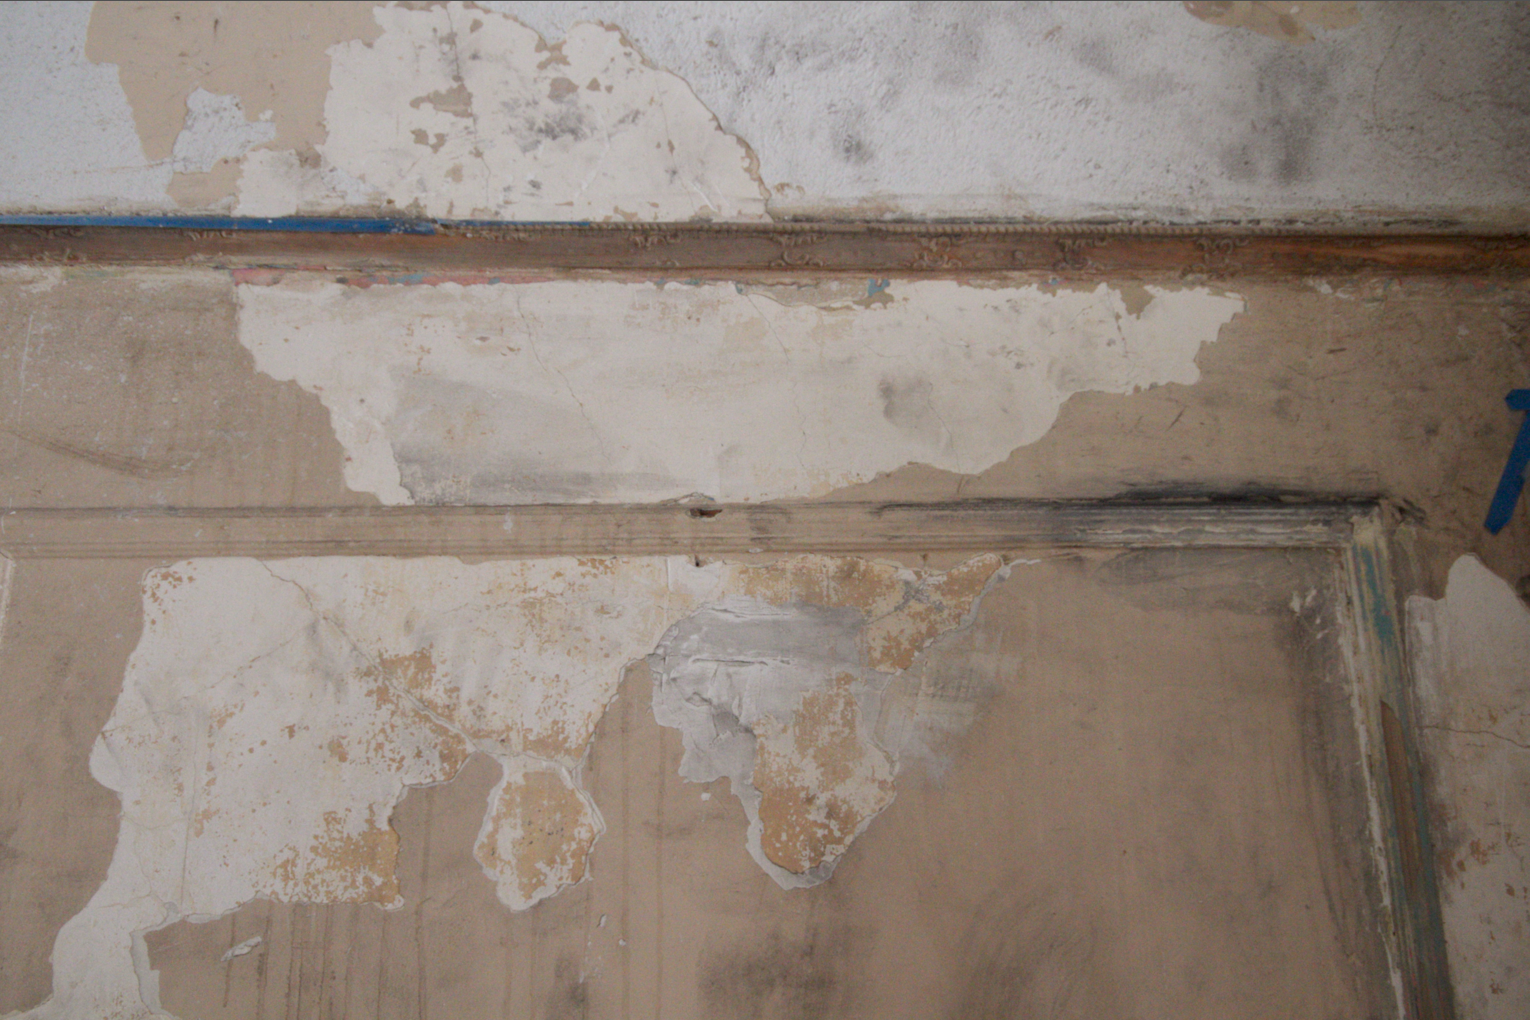
* Fix plaster in garden level vestibule.

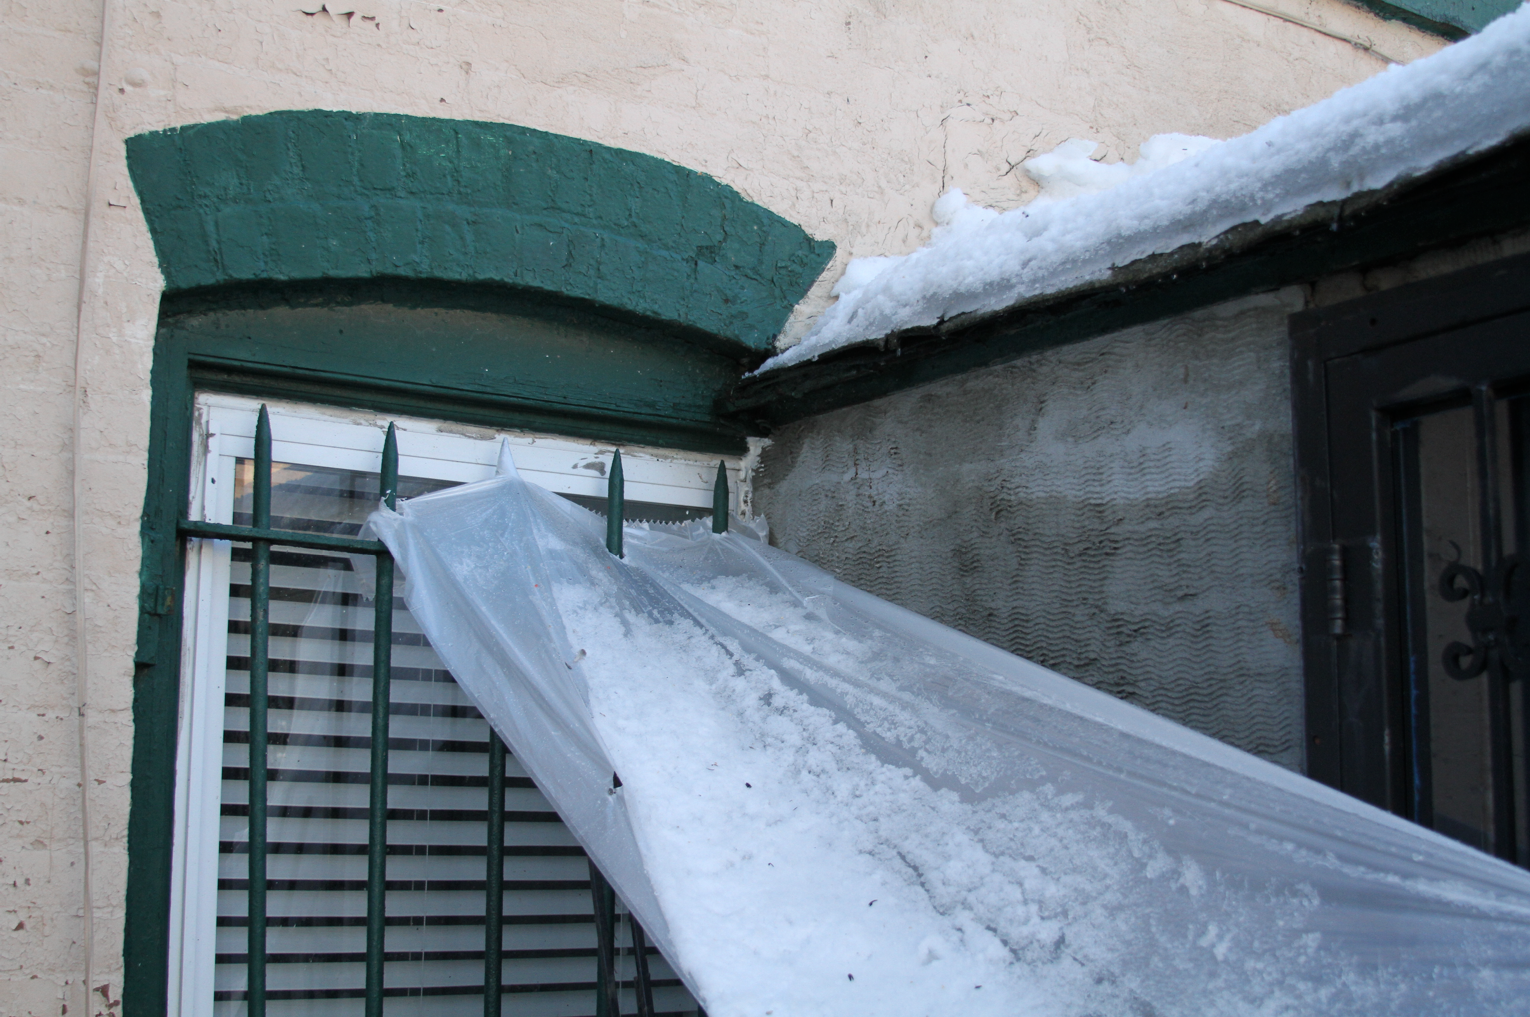
Spring Projects. These are important for a variety of reasons: moisture control, rust prevention, general safety,  and saving the brownstone from one more freeze-thaw cycle under all that paint.

* Complete façade stripping project

* Front & Rear hatches (replace)

* Stoop railing – finish stripping, paint

* Raise grape arbor to create enough space for seating area beneath

* Back yard drainage project

* Source of water for backyard hose

* Stoop – repair steps

Oh-God! Projects.  These are the most daunting projects on the list. The stripping of the façade should probably be in this category, but I remain deluded determined that “it’s no big deal.”

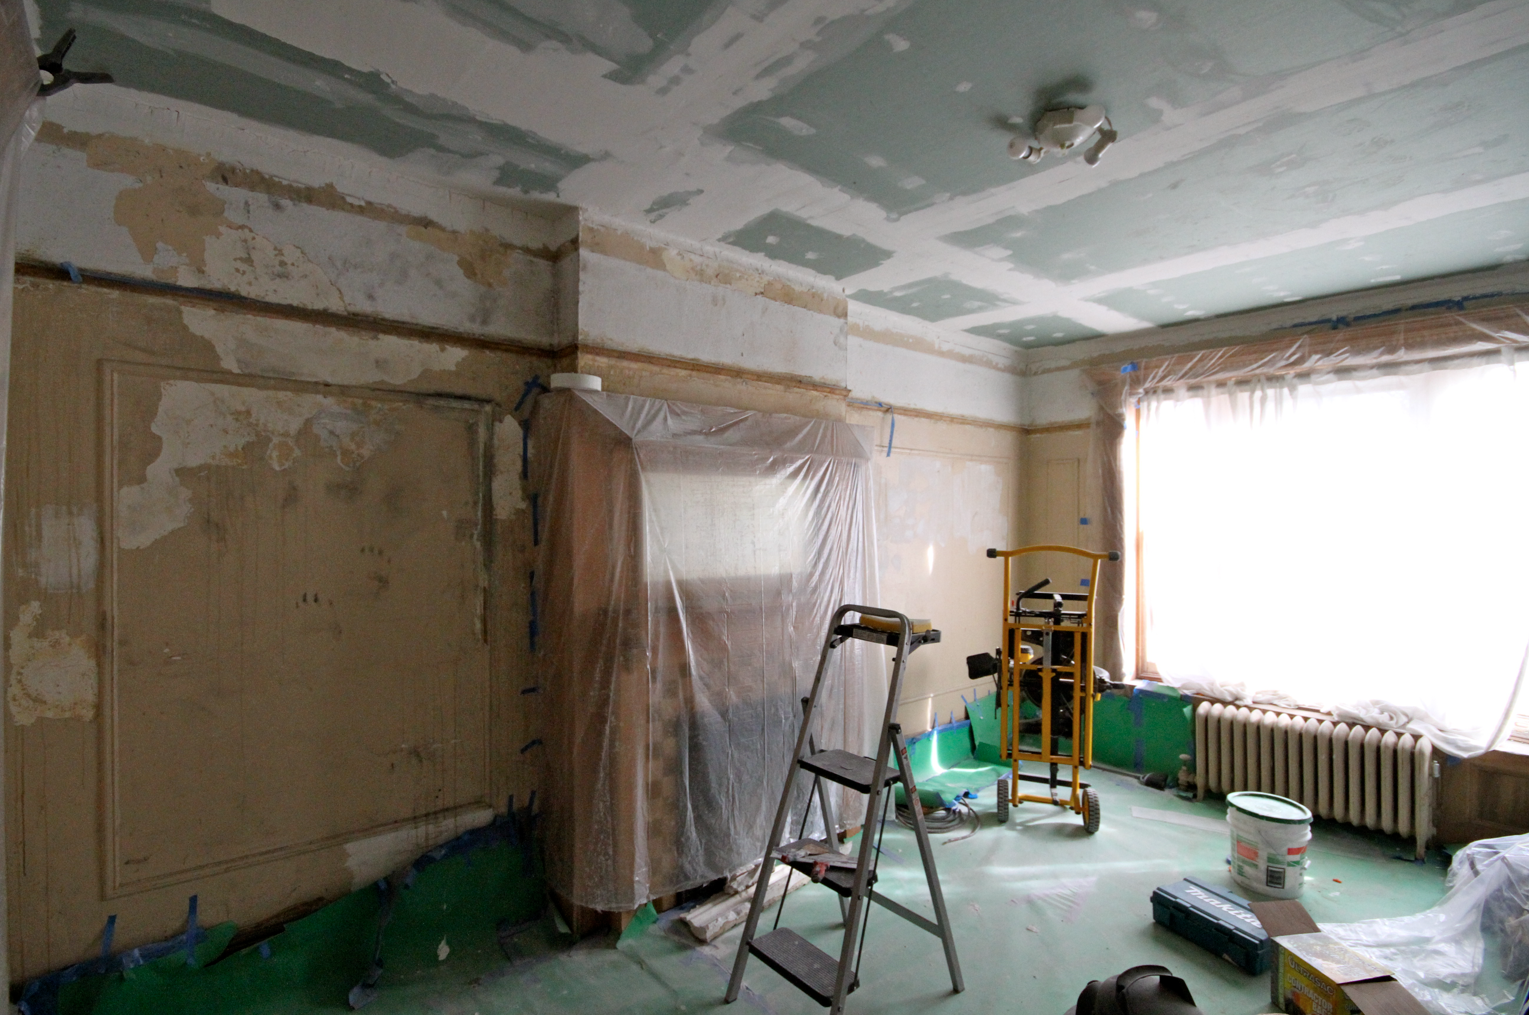
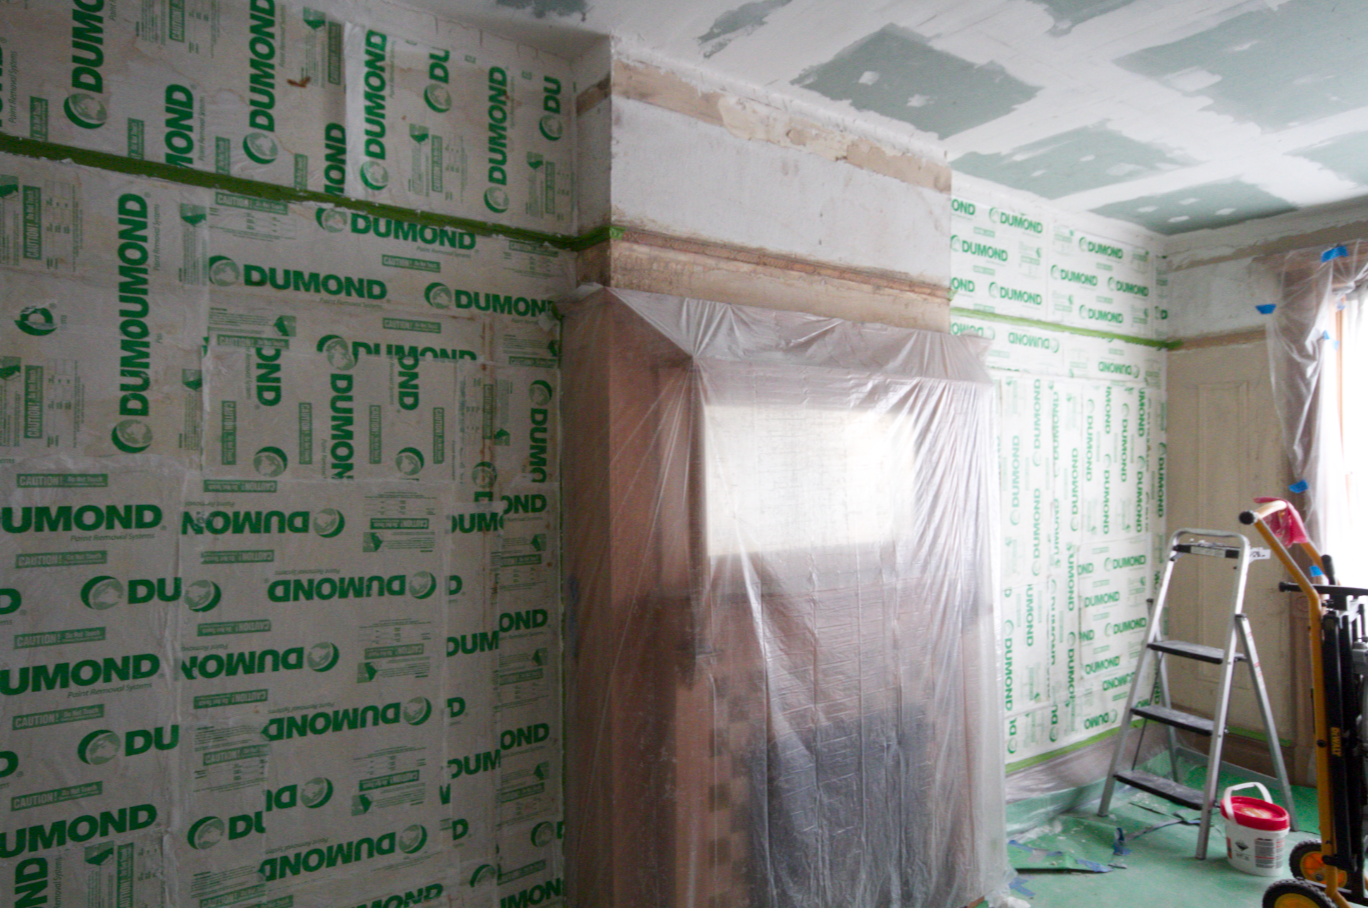
* Bedroom woodwork – sand and oil

* Bedroom ceiling – finish spackle, add moulding & trim

* Bedroom walls – strip, fix cracks, prime and paint

* Parlor flooring – replace cheap-o stick on parquet with actual flooring

* Fix plaster under stairs, fix squeaky stairs (the plaster is helping this along by falling off in chunks – yippie!)

* Closet room – fix plaster

* Closet of doom – fix plumbing

* Parlor woodwork – strip (muppet flesh paint be gone!)

And that’s about it for the year. I’m hoping things get it done, because there is a ton more where this came from.

The Cockloft – it’s a thing, apparently.

Brownstones don’t have attics. It’s really the one Victorian thing we’re missing, at least in my opinion. Attics are fun, old-timey and filled with treasures – well, at least in the movies they are.  Our flat roof structures are not conducive to such architectural fancy-ness, so instead, what exists between the ceiling and the roof is called a cockloft. Defined by the fine folks at Merriam-Webster as “a small garret,” this is what we saw when we pulled down the ceiling in the bedroom:

Looking up at the cockloft.

Looking up at the cockloft. 

It’s enough space to crawl through, but you can’t even sit up. Looking up here, you get to see a bit of how the house is put together – and also where it’s falling apart (sigh).

Cockloft

Small strips of wood help stabilize the beams. A lot of these were broken, causing the plaster ceiling to sag – or did the ceiling sag because they broke? Chicken or egg type situation. 

Check out that sweet water damage. We think the water made the plaster heavier, which pulled down on the little supports, which in turn broke. This caused the ceiling to sag and a huge chunk of plaster to fall down. Not an expert, but seems to make sense.

SmallSkylight

The smaller of the two skylights. This is the one in the middle room. It has been partially tarred over, because why not? Ugh!

bigSkylight

The big skylight over the stairs. It needs a good cleaning.

Despite the thick layer of black filth (what I imagine is a century worth of dust, cigarette smoke, oil residue and general grossness), a few treasures await:

DumbWaiterWheel

Big wheel mechanism from dumb waiter – a terrible cell phone photo. 

The mechanism for the dumb-waiter appears to be largely intact, although the dumb-waiter car is long gone, and the shaft is currently being used as closet space on some of the floors. Maybe some day we may restore it, but it is super low on the list of priorities.

The tyranny of water in its many forms

Fun fact: snow is made of water. Snow melts and turns into water. Water will follow the path of least resistance and end up in the basement. Given its liquid slinky-ness, water flows a lot faster than you’d expect.

Last night, as I was feeling pretty accomplished for asking the Hubs to check on the wonky dehumidifier in the basement. I thought “way to go! We’ll get ahead of all this humidity and make sure the basement is not damp. Yey me, the responsible homeowner.” Without a care in the world, I amused myself by taking the stupid Buzzfeed quiz on what profession should I have, or what Muppet character I should be (CEO, Animal). Hubs is in the basement a looooong time, and eventually resurfaces in a huff. Water is pouring in through the hatch. A lot of water, he says. Our basement is notoriously damp (hence the dehumidifier), but the look on his face makes it clear that this is worse. Much worse.

I immediately think it’s my pseudo snow moat in the front yard. I piled the snow pretty high on top of the coal chute. I thought it was fun. Stupid me, the silly and immature homeowner.

IMG_2093

My moat just needed some water and a drawbridge

Turns out the problem was with the rear hatch instead. A lot of water was coming through and it was hard to tell exactly where, because (of course) this happened around 10 pm. Down the fire escape we go with flashlights and shovels. Did I mention it was raining?

The culprit was a frozen downspout, actually  THE frozen downspout since there is only one for the whole roof. Why? Because in spite of its beauty, Victorian architecture doesn’t always make sense. Anyway, the rain was melting the snow and the water was finding alternate routes to the ground. It just so happens that the best path was into a puddle at the base of the hatch.

After a lot of shoveling and moving stuff out of the way, we concocted this makeshift gutter to channel the water away from the house.

Tarp gutter

Last night’s McGyver gutter as seen this morning.

It actually worked. The problem was this spot, where water was coming down super close to the foundation and just making an enormous puddle.

tarp gutter 2

Shockingly, this held up with the wind and all the rain. Yey 0.7 mil plastic drop cloth.

I don’t have any photos of the water in the basement, as we were in full crisis mode to make it go away. I think we probably vacuumed up about 1oo gallons or so, maybe more. Of course, the wonky dehumidifier that got us started on this is broken. So happy Valentine’s Day Hubs. Haven’t you always wanted a shiny new dehumidifier?

Mid-Strip

For the Why Did They Paint Over This? file:

Fireplace Cover Detail

I decided to take a break from stripping the bedroom walls and strip the front parlor fireplace cover. This poor thing  has been relegated to the basement since before we bought the house, as the previous owner replaced it with one of those awful Home Depot brass monsters. Here it is in its gaudy paint scheme (which incidentally matches the paint scheme of our front parlor/living room. So. Much. Muppet Flesh paint!)

Fireplace Cover before

I wasn’t expecting much from this cover, until the paint started coming off. Unlike the one in our bedroom, which is just black cast iron, this one has a little something-something going on:

Fireplace Cover Mid Strip

5 months, 23 days (and counting)

It’s been 147 days since we last occupied our bedroom. It all started back in August, when we treated ourselves to some professional help and had all the woodwork in our bedroom stripped. Our paint-caked walls were a casualty of the ferocious paint removal activity, and the room looked like an alien murder site. What started as 2-week project, has morphed into a monster of a redo – actually, I think it’s more aptly an undo, since we’re trying to undo what has been done to the space over the years and restore it to what it once was.

Alien Wall

This is what happens when ZipStrip drips down your walls.

After a full on chemical assault, details like this appeared.

But it’s totally worth it: after a full on chemical assault, details like this appeared.

Since the room was already an empty hot mess, we decided to tackle the ceiling next, and a bigger mess was made. (Never underestimate the filth that hides in a 120 year old house. Nothing can prepare you for that). Because the plaster was beyond saving, everything came down to the bare joists.  The ceiling was leveled and dry wall went up. (I intensely dislike dry wall, but that’s fodder for another post). Once the ceilings were closed up and the first layer of joint compound was applied,  we hit a bit of a morose patch and not much happened. Didly squat. Zilch. Nada. We camped out in the rear parlor and our lovely victorian home now resembles a very messy dorm room.

Things finally got back on track this weekend, when we tackled the walls and started removing all the evidence that an extra terrestrial being was slayed here. The advice we were given was to skim coat the walls, which basically means applying a thin layer of joint compound over the entire wall. I didn’t much like that idea, because just knowing all of this grossness would forever live beneath our pretty walls really bothered me.

Damaged plaster, filth from the ceiling demo, and splotches of paint stripper.

Damaged plaster, filth from the ceiling demo, and splotches of paint stripper.

The hot mess in all of its glory.

The hot mess in all of its glory.

Since my experience with removing paint from the brownstone façade was pretty straight forward, we figured it would be a total cake walk to strip the walls back to the plaster. Our old friend PeelAlway1 was called back into service. Ignoring all advice to work in manageable chunks, and still under the delusion that this would be easy, we decided to tackle one whole side of the room.

This is what more or less 4 gallons of paint stripper look like.

This is what more or less 4 gallons of paint stripper look like.

In a sign of uncharacteristic restraint, I decided that perhaps we should save that little sliver of wall above the fireplace for another time. About 18 hours later, it was time for this:

A glimmer of plaster somewhere back there

A glimmer of plaster somewhere back there

A previous resident of our home must have been a pink enthusiast: the house is pink on the outside, and at one point, it was pink on the inside too. Removing the paint from the interior walls proved to be much more difficult than I originally thought. Given the smooth surface of the wall, the paint will not let go without a fight. And fight we did. After about a half day worth of scraping, brushing and picking, most of the paint is gone. We’ll need another spot treatment for the stubborn patches and the wall trim. 3 guesses as to what we’ll be doing next weekend…

Stubborn paint and cracks galore

Stubborn paint and cracks galore

Update-ish

With the weather getting cooler stupid cold, the work outside has slowed  stopped. October/November were not particularly productive because work (as in we need to fund this restoration by actually working)  got in the way. Here is where we left things off:

Facade

The garden level is mostly done, but there are still some stubborn patches, primarily where the stone is deteriorating. It’s particularly bad where there are patches on the brownstone. I have yet to find a good method of removing paint from cement (at least I think it’s cement – I can’t tell for sure since it’s covered in paint).

Facade2

Not surprisingly, we are STILL waiting for estimates from the contractors for the stripping and repairing of the brownstone. Somehow, I have a feeling I’m in this for the long haul and I best get cracking and learn how to patch the stone myself.