It’s been 147 days since we last occupied our bedroom. It all started back in August, when we treated ourselves to some professional help and had all the woodwork in our bedroom stripped. Our paint-caked walls were a casualty of the ferocious paint removal activity, and the room looked like an alien murder site. What started as 2-week project, has morphed into a monster of a redo – actually, I think it’s more aptly an undo, since we’re trying to undo what has been done to the space over the years and restore it to what it once was.

This is what happens when ZipStrip drips down your walls.

But it’s totally worth it: after a full on chemical assault, details like this appeared.
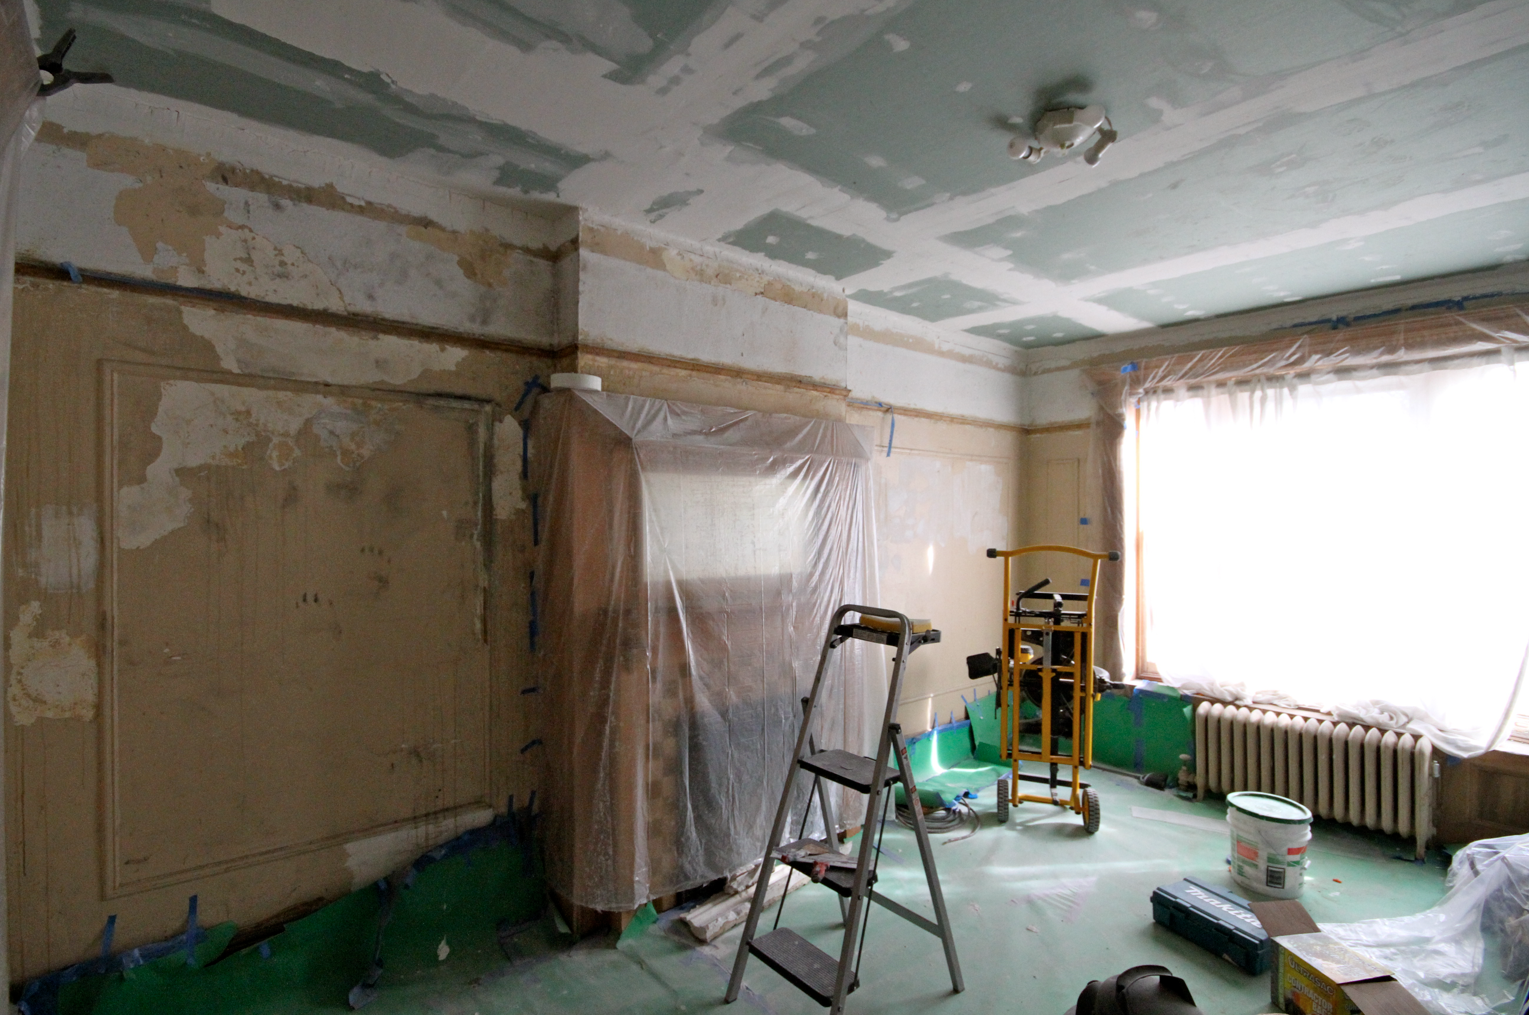
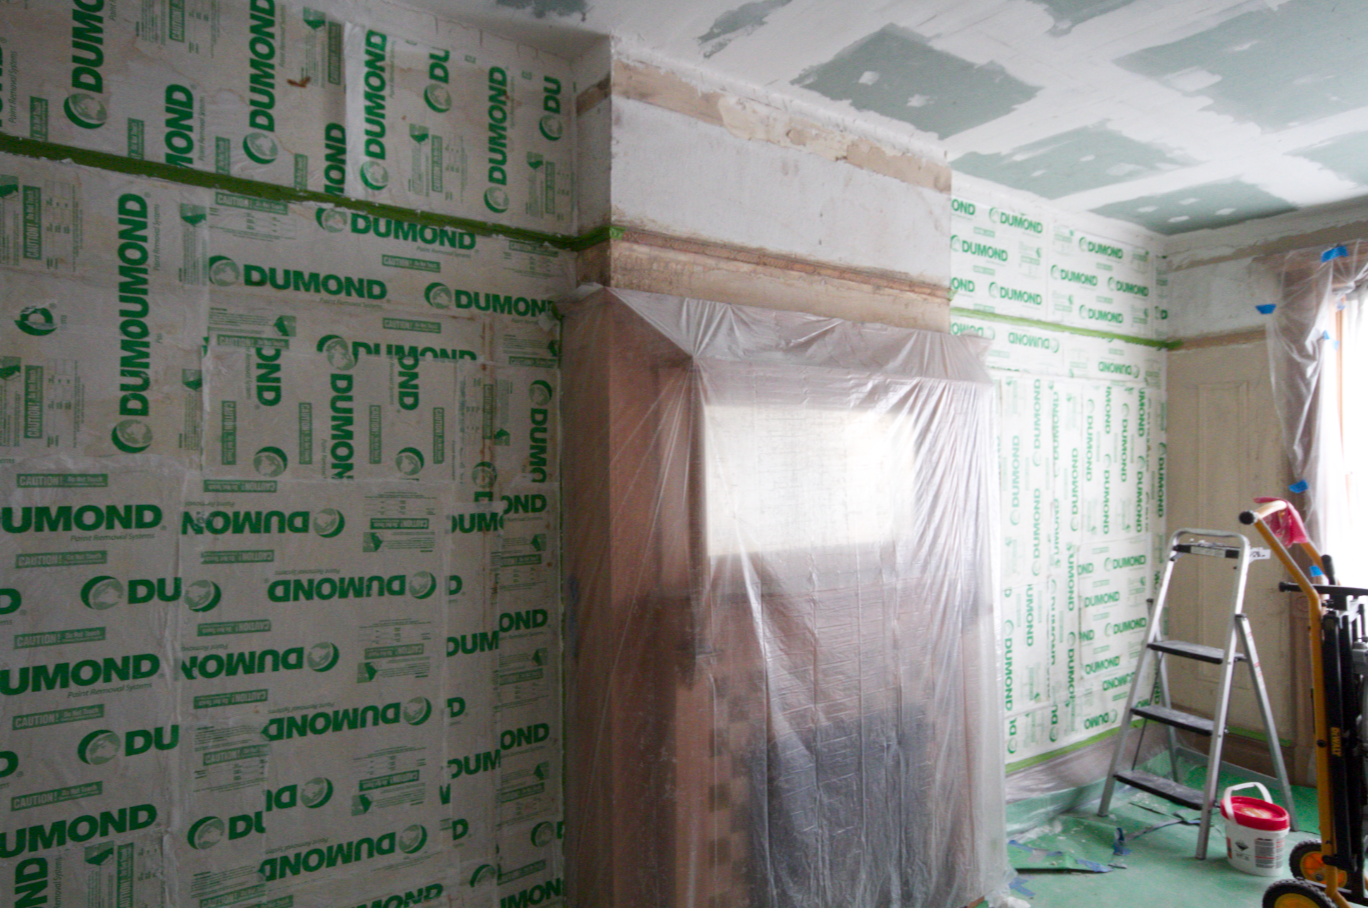
Since the room was already an empty hot mess, we decided to tackle the ceiling next, and a bigger mess was made. (Never underestimate the filth that hides in a 120 year old house. Nothing can prepare you for that). Because the plaster was beyond saving, everything came down to the bare joists. The ceiling was leveled and dry wall went up. (I intensely dislike dry wall, but that’s fodder for another post). Once the ceilings were closed up and the first layer of joint compound was applied, we hit a bit of a morose patch and not much happened. Didly squat. Zilch. Nada. We camped out in the rear parlor and our lovely victorian home now resembles a very messy dorm room.
Things finally got back on track this weekend, when we tackled the walls and started removing all the evidence that an extra terrestrial being was slayed here. The advice we were given was to skim coat the walls, which basically means applying a thin layer of joint compound over the entire wall. I didn’t much like that idea, because just knowing all of this grossness would forever live beneath our pretty walls really bothered me.
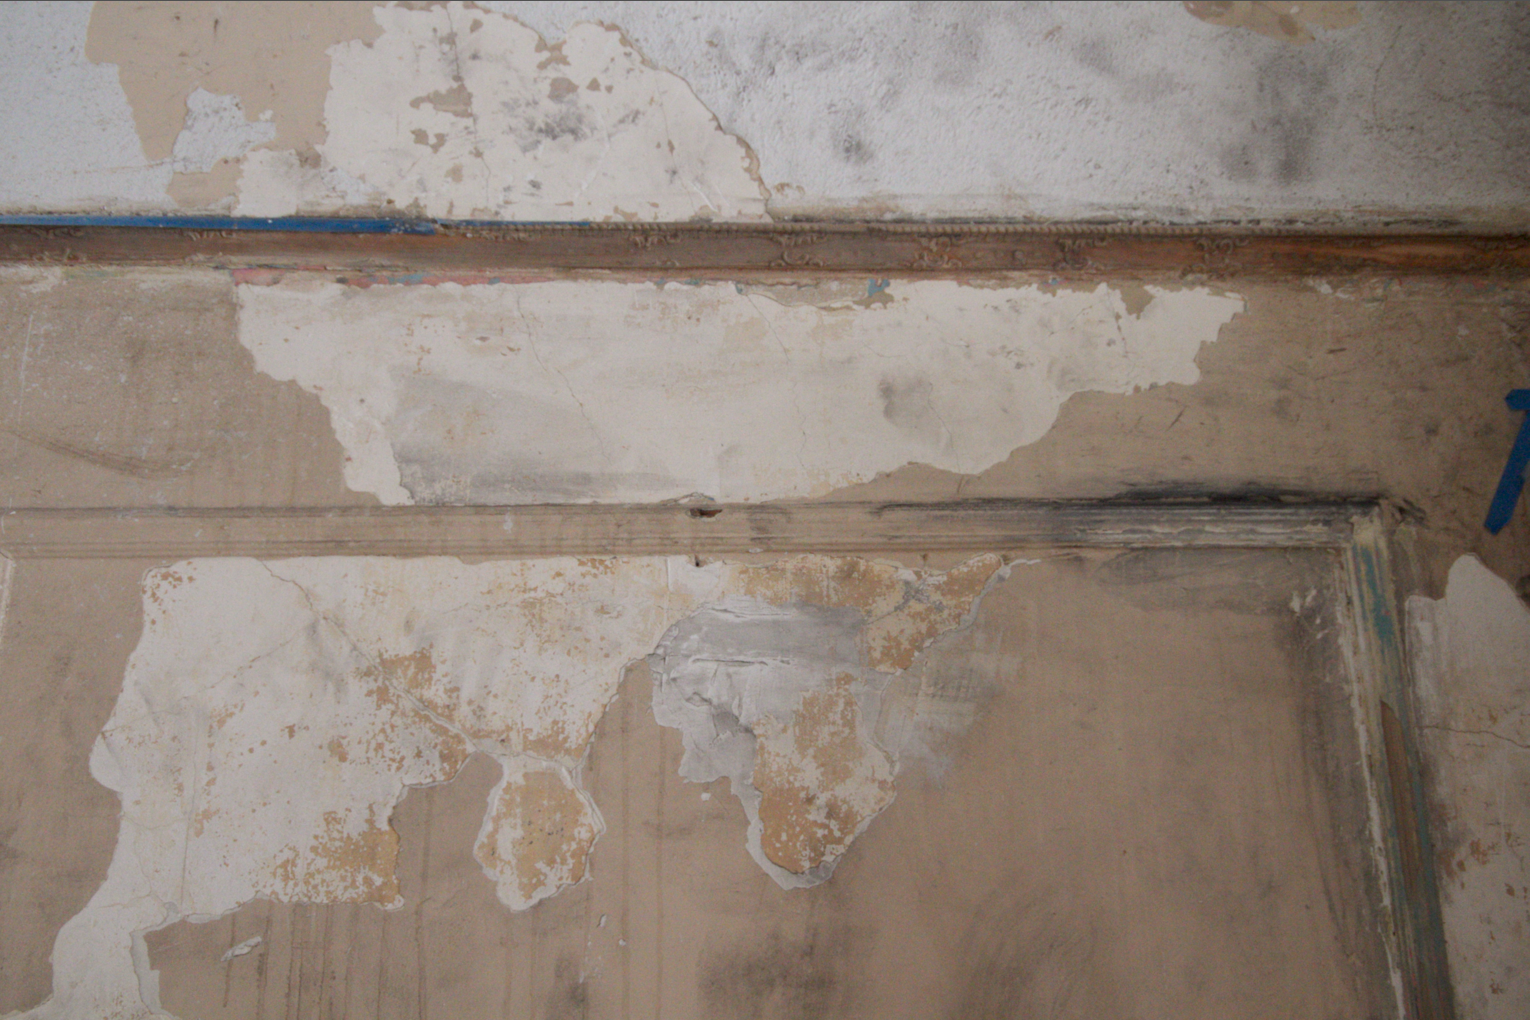
Damaged plaster, filth from the ceiling demo, and splotches of paint stripper.
The hot mess in all of its glory.
Since my experience with removing paint from the brownstone façade was pretty straight forward, we figured it would be a total cake walk to strip the walls back to the plaster. Our old friend PeelAlway1 was called back into service. Ignoring all advice to work in manageable chunks, and still under the delusion that this would be easy, we decided to tackle one whole side of the room.
This is what more or less 4 gallons of paint stripper look like.
In a sign of uncharacteristic restraint, I decided that perhaps we should save that little sliver of wall above the fireplace for another time. About 18 hours later, it was time for this:

A glimmer of plaster somewhere back there
A previous resident of our home must have been a pink enthusiast: the house is pink on the outside, and at one point, it was pink on the inside too. Removing the paint from the interior walls proved to be much more difficult than I originally thought. Given the smooth surface of the wall, the paint will not let go without a fight. And fight we did. After about a half day worth of scraping, brushing and picking, most of the paint is gone. We’ll need another spot treatment for the stubborn patches and the wall trim. 3 guesses as to what we’ll be doing next weekend…

Stubborn paint and cracks galore

I love your blog, but this seems like a huge waste of time. We had a very similar situation (our walls were in worse shape), but just skim coat the walls. You can use actual lime plaster instead of joint compound to give you a hard, glassy finish, and all the stuff you are worried about will be encapsulated forever.
There is definitely a lot of skim coating that will happen in this house. Pretty much every wall needs attention. The bedroom is a special case because of the trim detail still covered in paint, and the fact that the last few coats of paint seem to have been applied with a mop. So much paint…
Pingback: An ode to our pine floors | A Pink Brownstone in Brooklyn
Pingback: Finished floors | A Pink Brownstone in Brooklyn