Kitchen Floor Band Aid

Our 1895-ish brownstone was originally designed as a 2-family house.  The rental apartment was on the top floor, with an owner’s duplex occupying the garden and parlor floors. But you knew that already.

This arrangement has always seemed weird to me, because it means that the most ornate floor of the house, the parlor with it’s fancy-ish entrance, is mostly closed-off. When we bought our house, after more than a decade of having upstairs neighbors (and all the fun that goes along with that – water leaks, office chair derby, loud children), we decided it was enough. We set up our house as an owner’s duplex over a garden rental. This means we get to use our fancy-ish entry way, but in return we also have the very small top floor rental kitchen, as the original owner’s duplex kitchens in brownstones were always on the back of the garden level.

Some day when we win the lottery save enough money, we will move the kitchen to the parlor level and create the 1920s kitchen of my dreams. Until then, we make do with tight cooking quarters. How tight of cooking quarters, you may ask? Tight enough that the fridge is in a separate room.

Continue reading

Fun with cement

File this under “things only people who own old houses know and/or care about:” Brick re-pointing (or tuck pointing). The rest of the world is oblivious, just going about their lives doing things like meeting friends for dinner, or going out of town for the weekend. You know, those people who have a life – I myself used to be one of them.  I had no idea what re-pointing was and why it was important. After all, why would anyone want to make their bricks point-y?  Well, let me show you what I learned:

This is a brick wall in dire need of re-pointing. In this case, re-point or fall over! Re-pointing, it turns out, is simply the removal/replacement of the external portion of the old mortar. No big deal right? Well, what makes it tricky is that you have to use the correct type of mortar, or else very bad things happen.

IMG_0237

In the first 3 rows of bricks, it seems as the mortar just ever so helpfully removed itself (over the course of the past 120 years or so).

IMG_0247

This is our front coal chute, as seen from within and from above. For extra credit, the roots of the street tree pushed up against the brick, causing it to jut out. Awesome, right?

We tend of be a little precious in terms of period accuracy around here, however using period appropriate cement mix has nothing to do with being historically accurate: it’s a necessity. Modern cement (Portland cement) is too hard and can cause old bricks to crack. Regardless of your feeling about history, you definitely don’t want that to happen. Nope. No stinkin’ good.

Considering we live in a part of New York that has a lot of old houses like ours, you’d think finding the correct cement to make this type of repairs would be super easy. Well, you’d be wrong. Turns out you have to mix your own, after you manage to track down the elusive Hydrated Lime (shocker, you won’t find it at the big box store).

The mix is basically this: 9 parts sand, 2 parts lime, 1 part Portland cement. Mix it with water and you’re good to go.

For this project, we removed the bricks, cleaned them of any remaining mortar and re-built the wall.

IMG_0249

IMG_0248

It’s certainly not perfect, but given that it’s our first attempt at brick re-pointing,  it’s certainly an improvement over falling bricks. The coal chute was the perfect place to try it and get the hang of it, since it’s tucked away and no one will ever see it.

This is what the chute looks like now:

IMG_0256

Old House Journal has a great article on historic mortar. You can find it here.

A (very long) post about drainage

Water will do what water wants to do. Water is a formidable adversary. Water seems to like our basement. Yes. We have issues with water.

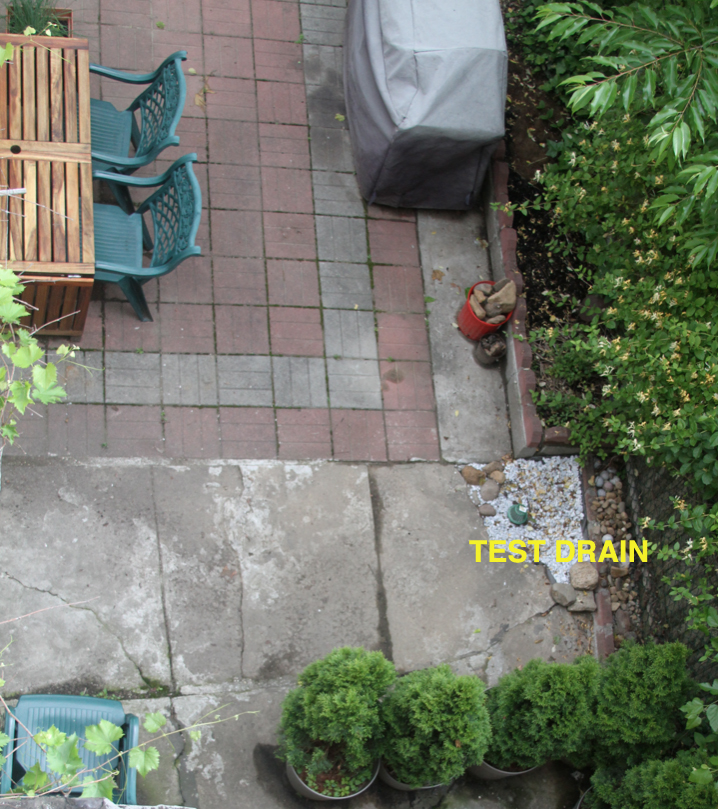
After a good rain, our backyard used to look like this:

Puddle

If you are familiar with Brooklyn brownstones, you know that they were typically built over a stone cellar. You may also know that brownstones typically have only one downspout. That means that the whole roof drains to just one area. Not only our roof, but all of our neighbors’ roofs do the same. Some people have connected their downspouts to the sewer line, but most have not. This means that a whole lot of water ends up pudling in the back yards – and water being water, it will follow the path of least resistance to go someplace else (which in our experience leads straight to our cellar).

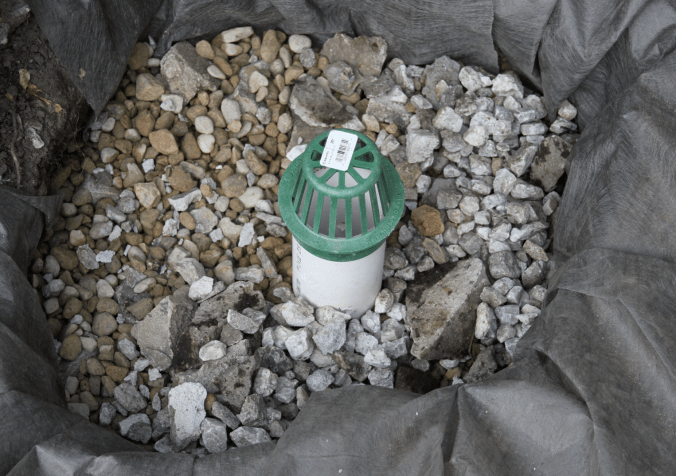
There are a few things you can do to gently persuade water to go the other way: you can improve the grading so that it slopes away from the house, for example. But given the volume of water our backyard collects, that in itself is not the solution. We needed to do more. The easiest solution is to do something like a French drain: dig a hole, line it with landscaping fabric. Place a PVC pipe, with holes drilled into the sides, into the hole. Fill the hole with gravel. Cover with landscape fabric and the surface material of your choice. Add a drain cover to the pipe. Voilá. You have made a drain.

Last spring, I dug a test drain. It was about 2 1/2 feet deep and about 18 inches wide. It improved the moisture situation in the basement by about 75%. If one drain is good, 3 more would be much, much better!

Test Drain

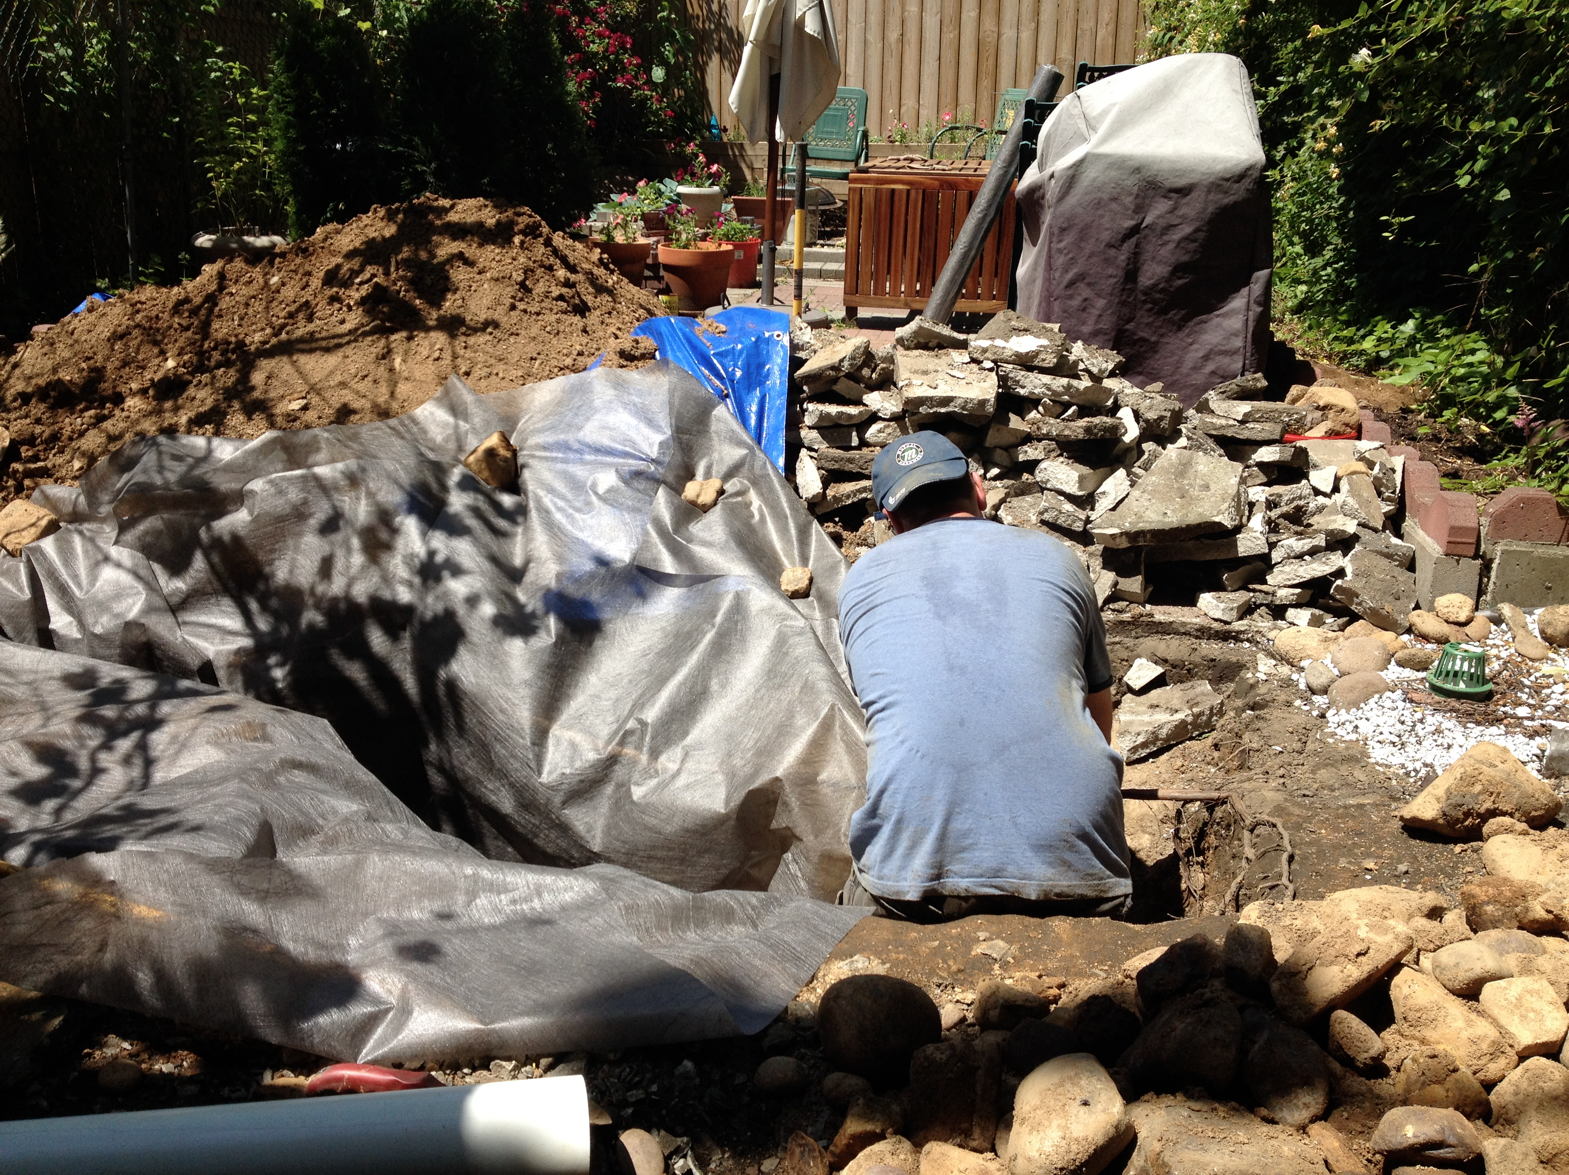
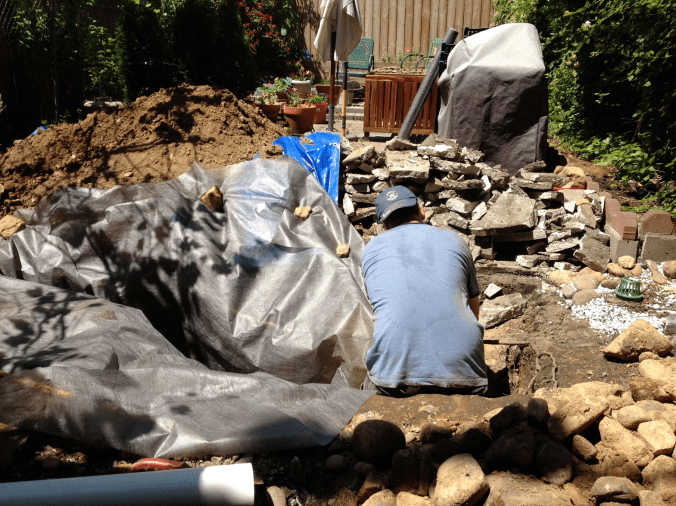
Armed with a brand new sledge-hammer, shovels and the enthusiasm of people who just don’t know any better, we set out to dig one blissful Saturday afternoon in July. Not 30 minutes in, this happened:

Thumb

In our eager enthusiasm, the rhythm of drop chunk of concrete/pick up chunk of concrete fell out of sync and I ended up with the raddest manicure in all of Brooklyn (I also didn’t do a damn thing for the rest of the drainage project, because I had a boo-boo).

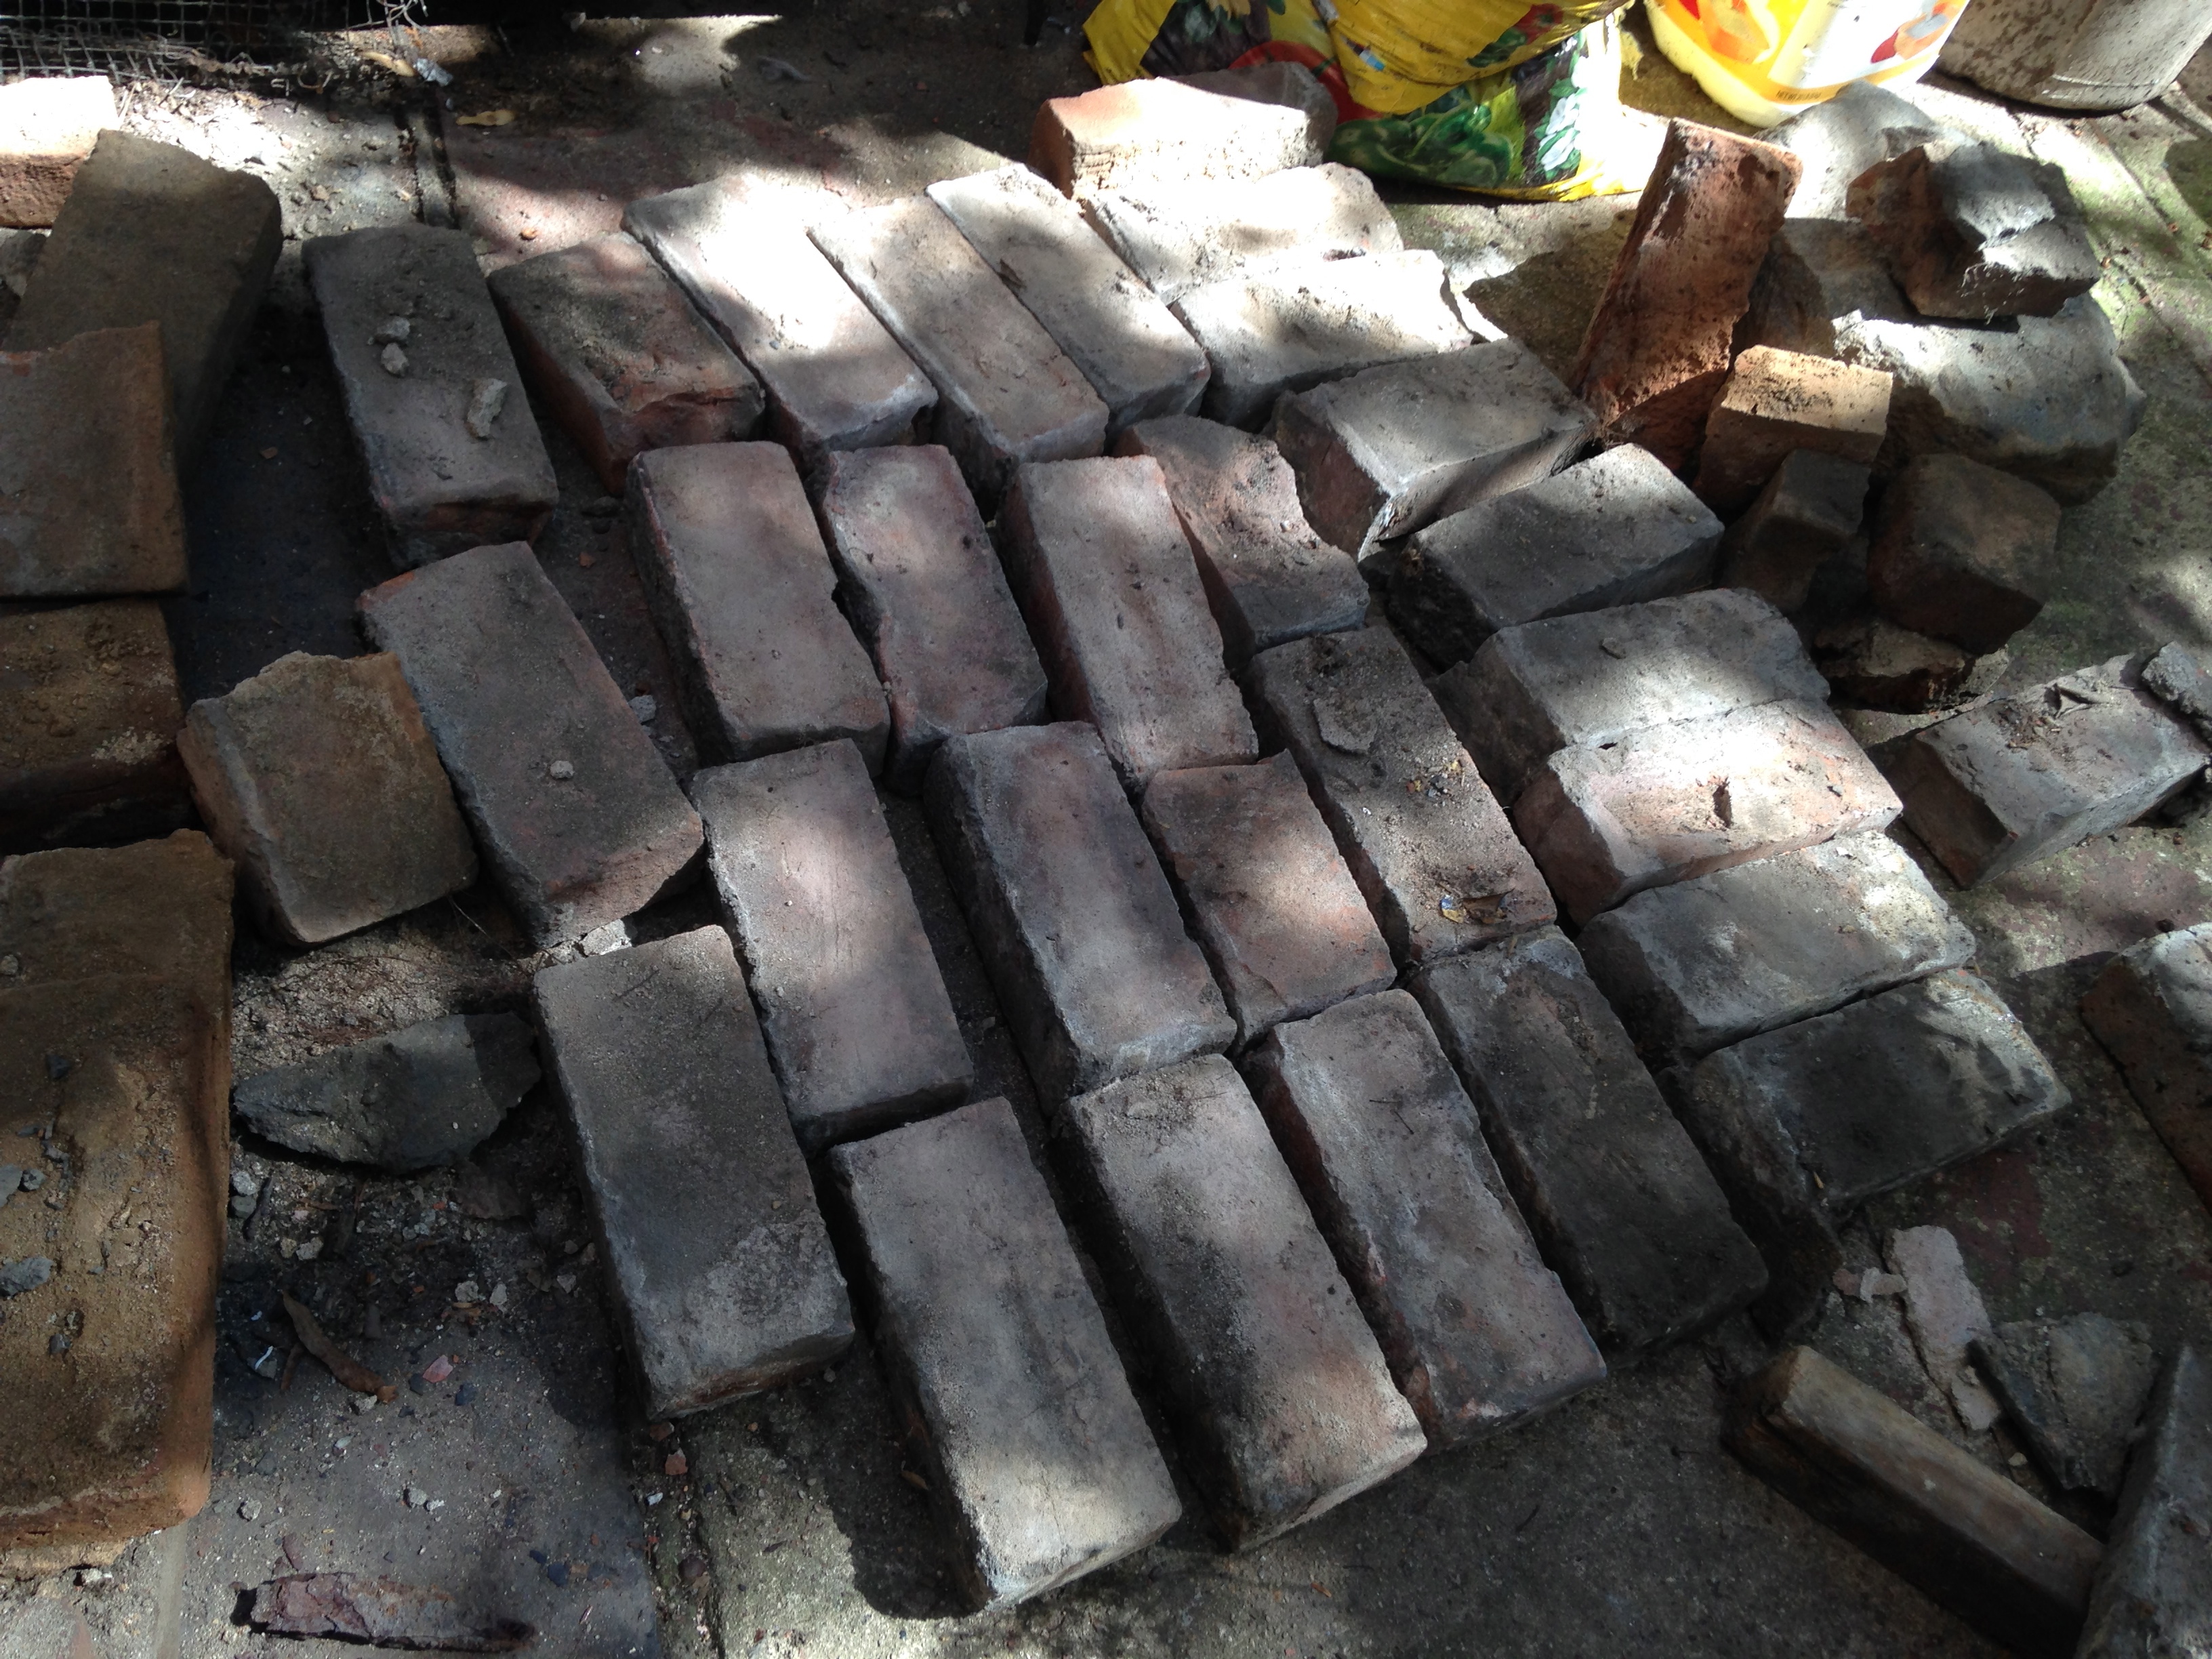
With me out of commission, the Mr pushed on. The first thing we learned is that our backyard is made up mostly of rocks. This sort of makes sense, since these seem to be left over rocks from the foundation. I suppose whatever didn’t get used, just got left behind and eventually buried. This is a small sample of the huge pile of rocks we dug up:

Backyard rocks

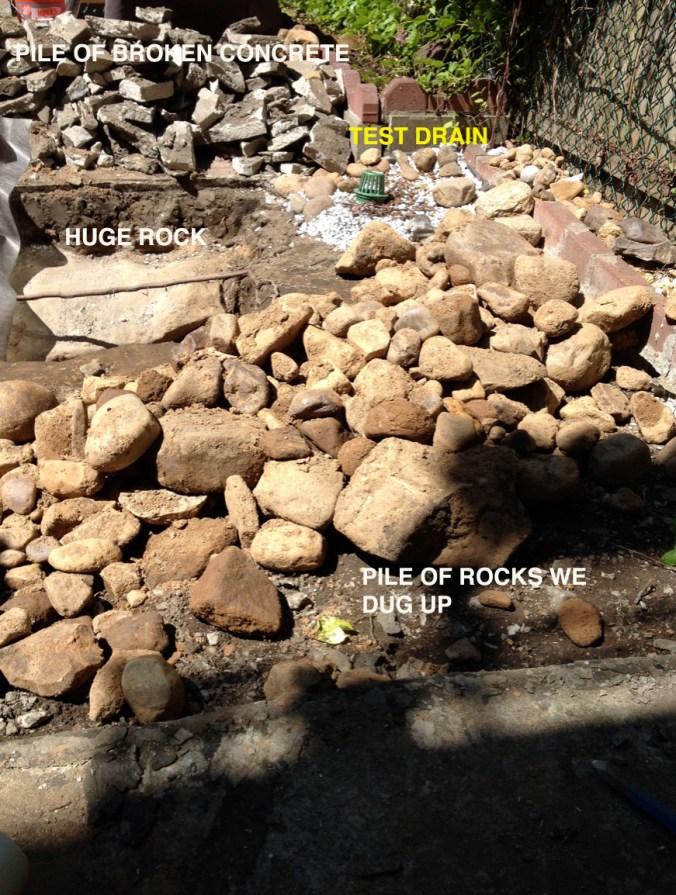
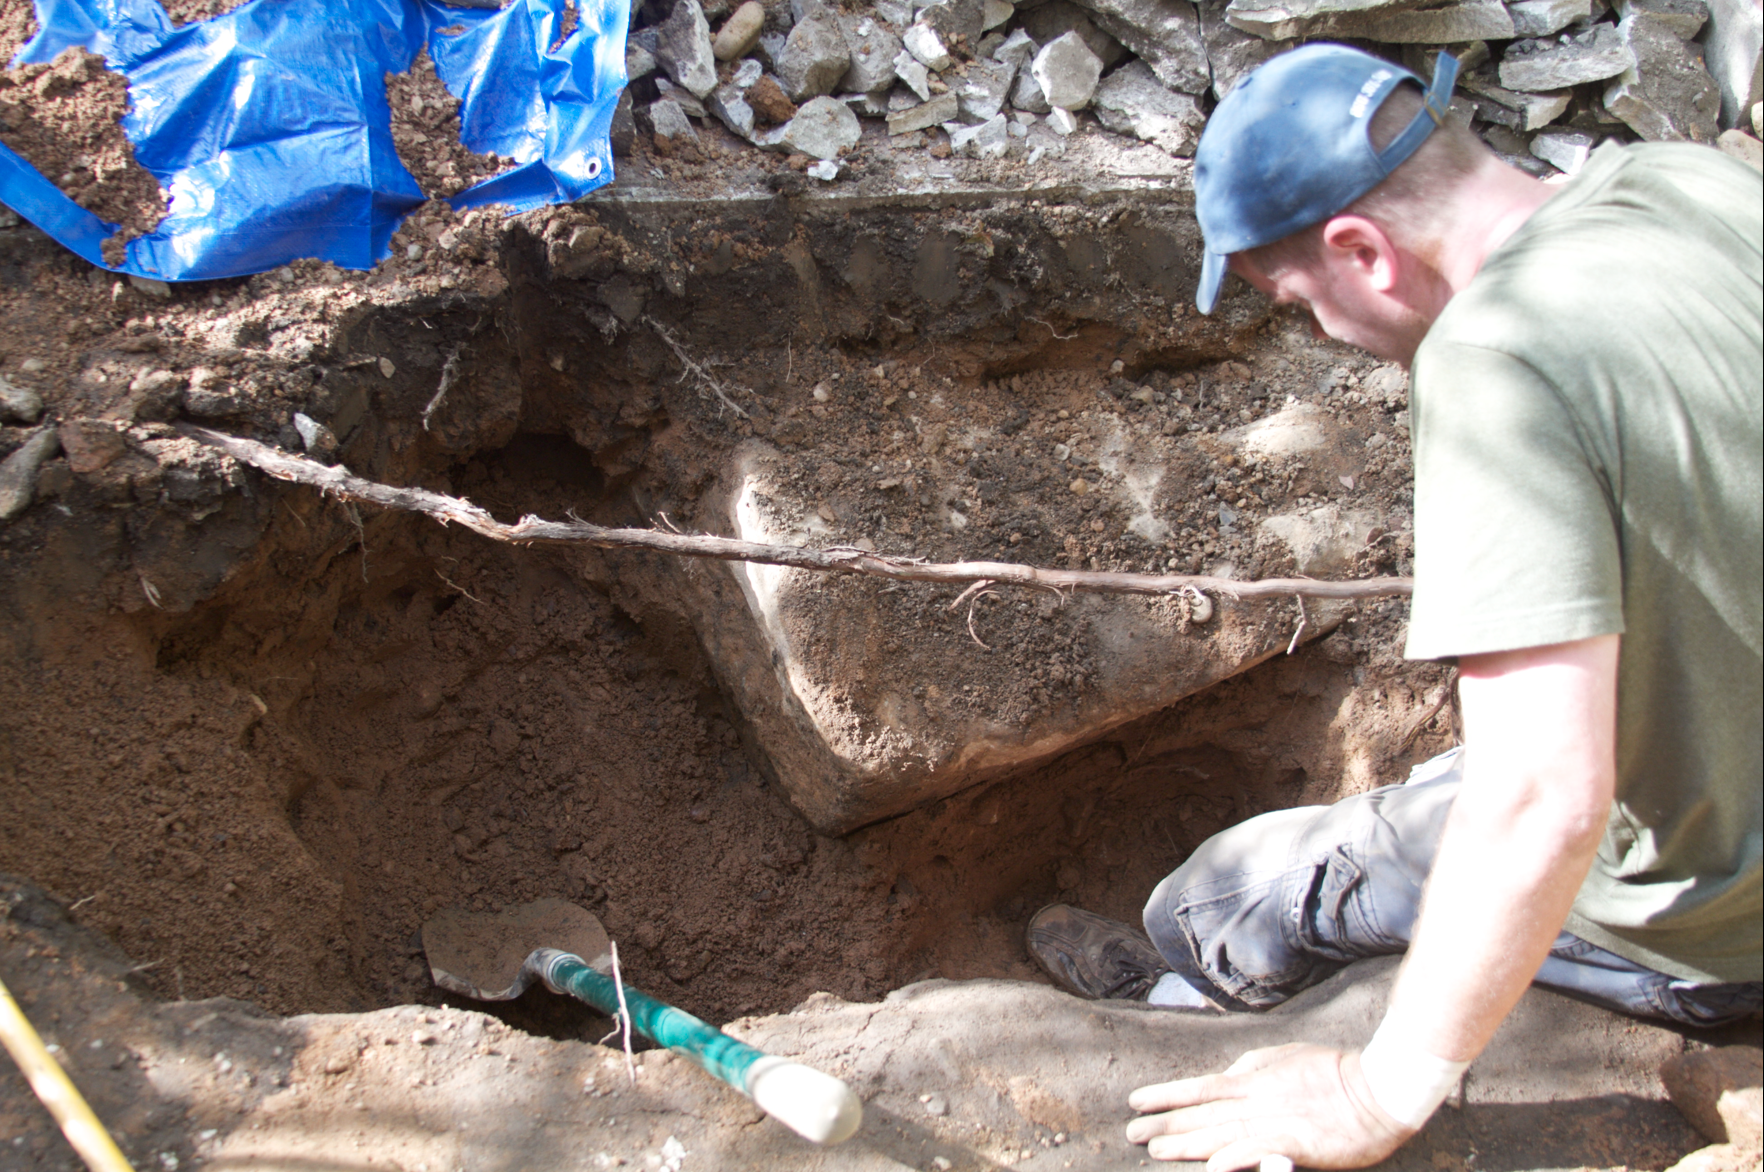
The plan was to dig 3 separate holes, but they quickly morphed into more of a trench because we had to un-earth SO.MANY.ROCKS! We found this super giant rock, which could have been an awesome addition to our landscaping, but too damn heavy to move.

Giant Rock

This is the mess we made, put into perspective.

Big Mess

Making the drains is quite simple: Dig a hold about 3 feet deep and line it with landscape fabric. Place a couple of inches of pebbles at the bottom. Take a PVC pipe and drill holes all up and down the sides (we used a 3 inch pipe), and place the pipe vertically into the pebbles. Fill the rest of the hole with pebbles/gravel, then cover with landscape fabric.

Drain schematic 1

Place whatever surface material on top (soil, pavers, etc), and put a drain cover on the pipe. Ta-da! You’re done.

Drain schematic2

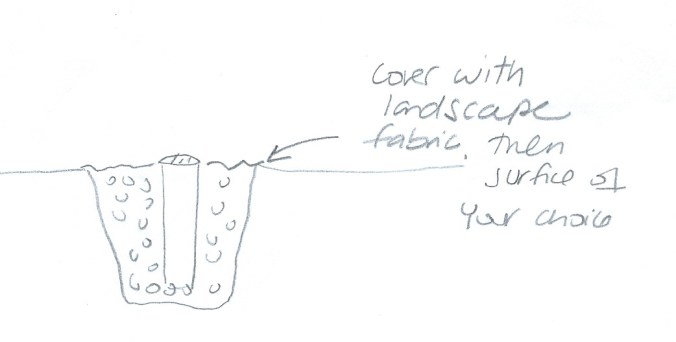
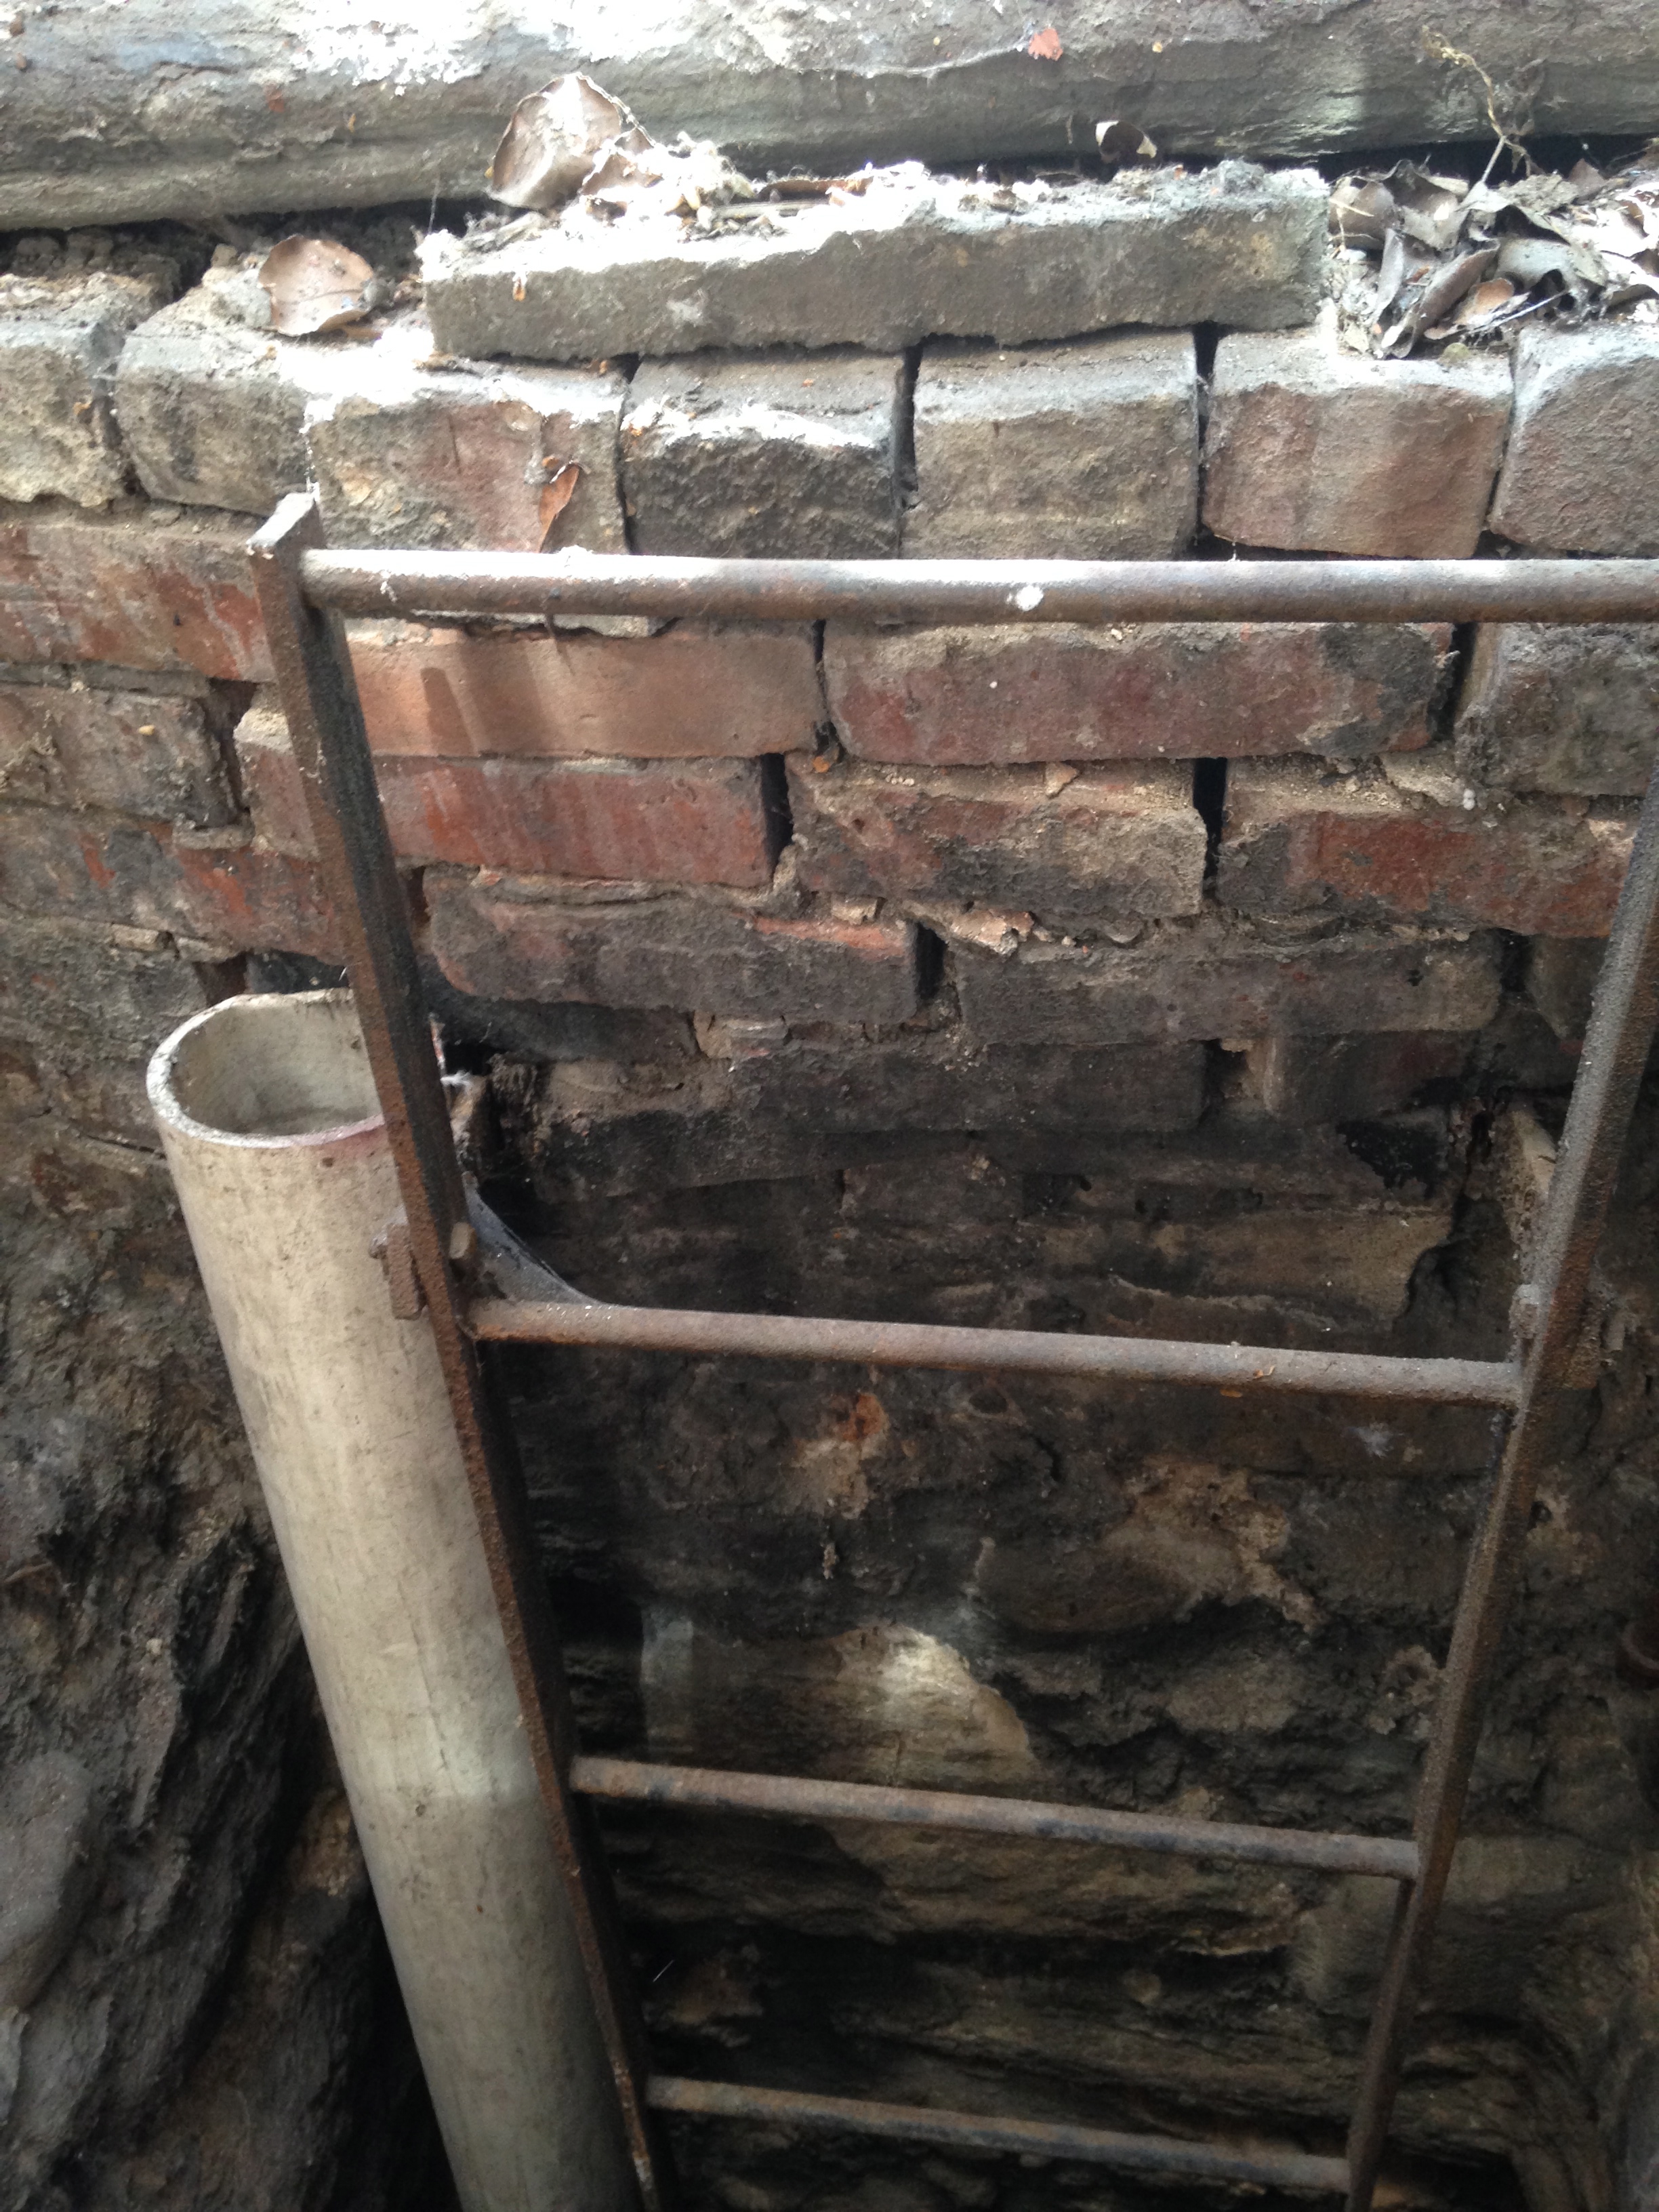
This is what the test drain looked like, half way done:

Screen shot 2014-10-15 at 4.29.32 PM

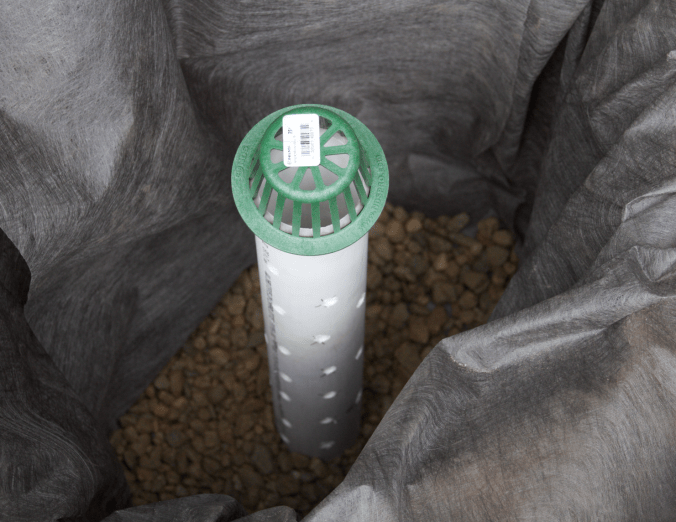
Test drain almost finished:

TestDrain in Progress

Instead of gravel, we crushed up the concrete we removed to dig the drains. That solved two problems: what to do with the concrete, and having to buy gravel and then carry it through the house to the back yard. Also, it’s immensely satisfying to bust up things with a heavy sledge-hammer (so long as you are careful not to smash your thumb).

The drainage project has been finished for a few months, and our basement has been dry ever since. Unlike many of the projects we take on, this one was relatively quick and simple – but it was hard work (I’m told…)

Black Doors

Things have been a bit sluggish over the past few months, but a few projects did get crossed off the list. First up: front doors.

The doors are not original, but they are close enough. The previous owner installed these and overall, we’re really happy with them. They are a close match to what the original doors looked like. The problem was the finish – or lack thereof. Our house has southern exposure and it gets quite a bit of morning sun, which was unkind to the varnish.

Here is a before/during shot (of course I forgot to that a proper before photo). Both sides used to look like the one of the left.

Door (before)

Removing the finish (with ZipStrip)

removing the finish

Once free of the varnish (and whatever else coated the door), we gave it a light sanding and filled in some holes with putty.

sanded and puttied

The wood was quite damaged in some spots, and we decided it would be better to paint rather than stain it.  We decided on black with just a tad of shine (which is a fun thing to go buy at the Benjamin Moore paint store).

– You just want black?

– Yes.

– We have this new onyx color that has a little bit of gray…

– No thanks. Just black.

Anyway, here is what it looked like with one coat of paint:

painted

And this is what the doors look in place. Of course, we forgot to paint the outside of the trim holding the glass. We also learned that entry door hardware is absurdly expensive (particularly the period appropriate kind I want), so the full makeover of the door will have to wait a little longer. Considering I’ve been slacking on the façade job, pretty sure no one will notice the unpainted trim…

(almost) done