File this under “things only people who own old houses know and/or care about:” Brick re-pointing (or tuck pointing). The rest of the world is oblivious, just going about their lives doing things like meeting friends for dinner, or going out of town for the weekend. You know, those people who have a life – I myself used to be one of them. I had no idea what re-pointing was and why it was important. After all, why would anyone want to make their bricks point-y? Well, let me show you what I learned:
This is a brick wall in dire need of re-pointing. In this case, re-point or fall over! Re-pointing, it turns out, is simply the removal/replacement of the external portion of the old mortar. No big deal right? Well, what makes it tricky is that you have to use the correct type of mortar, or else very bad things happen.
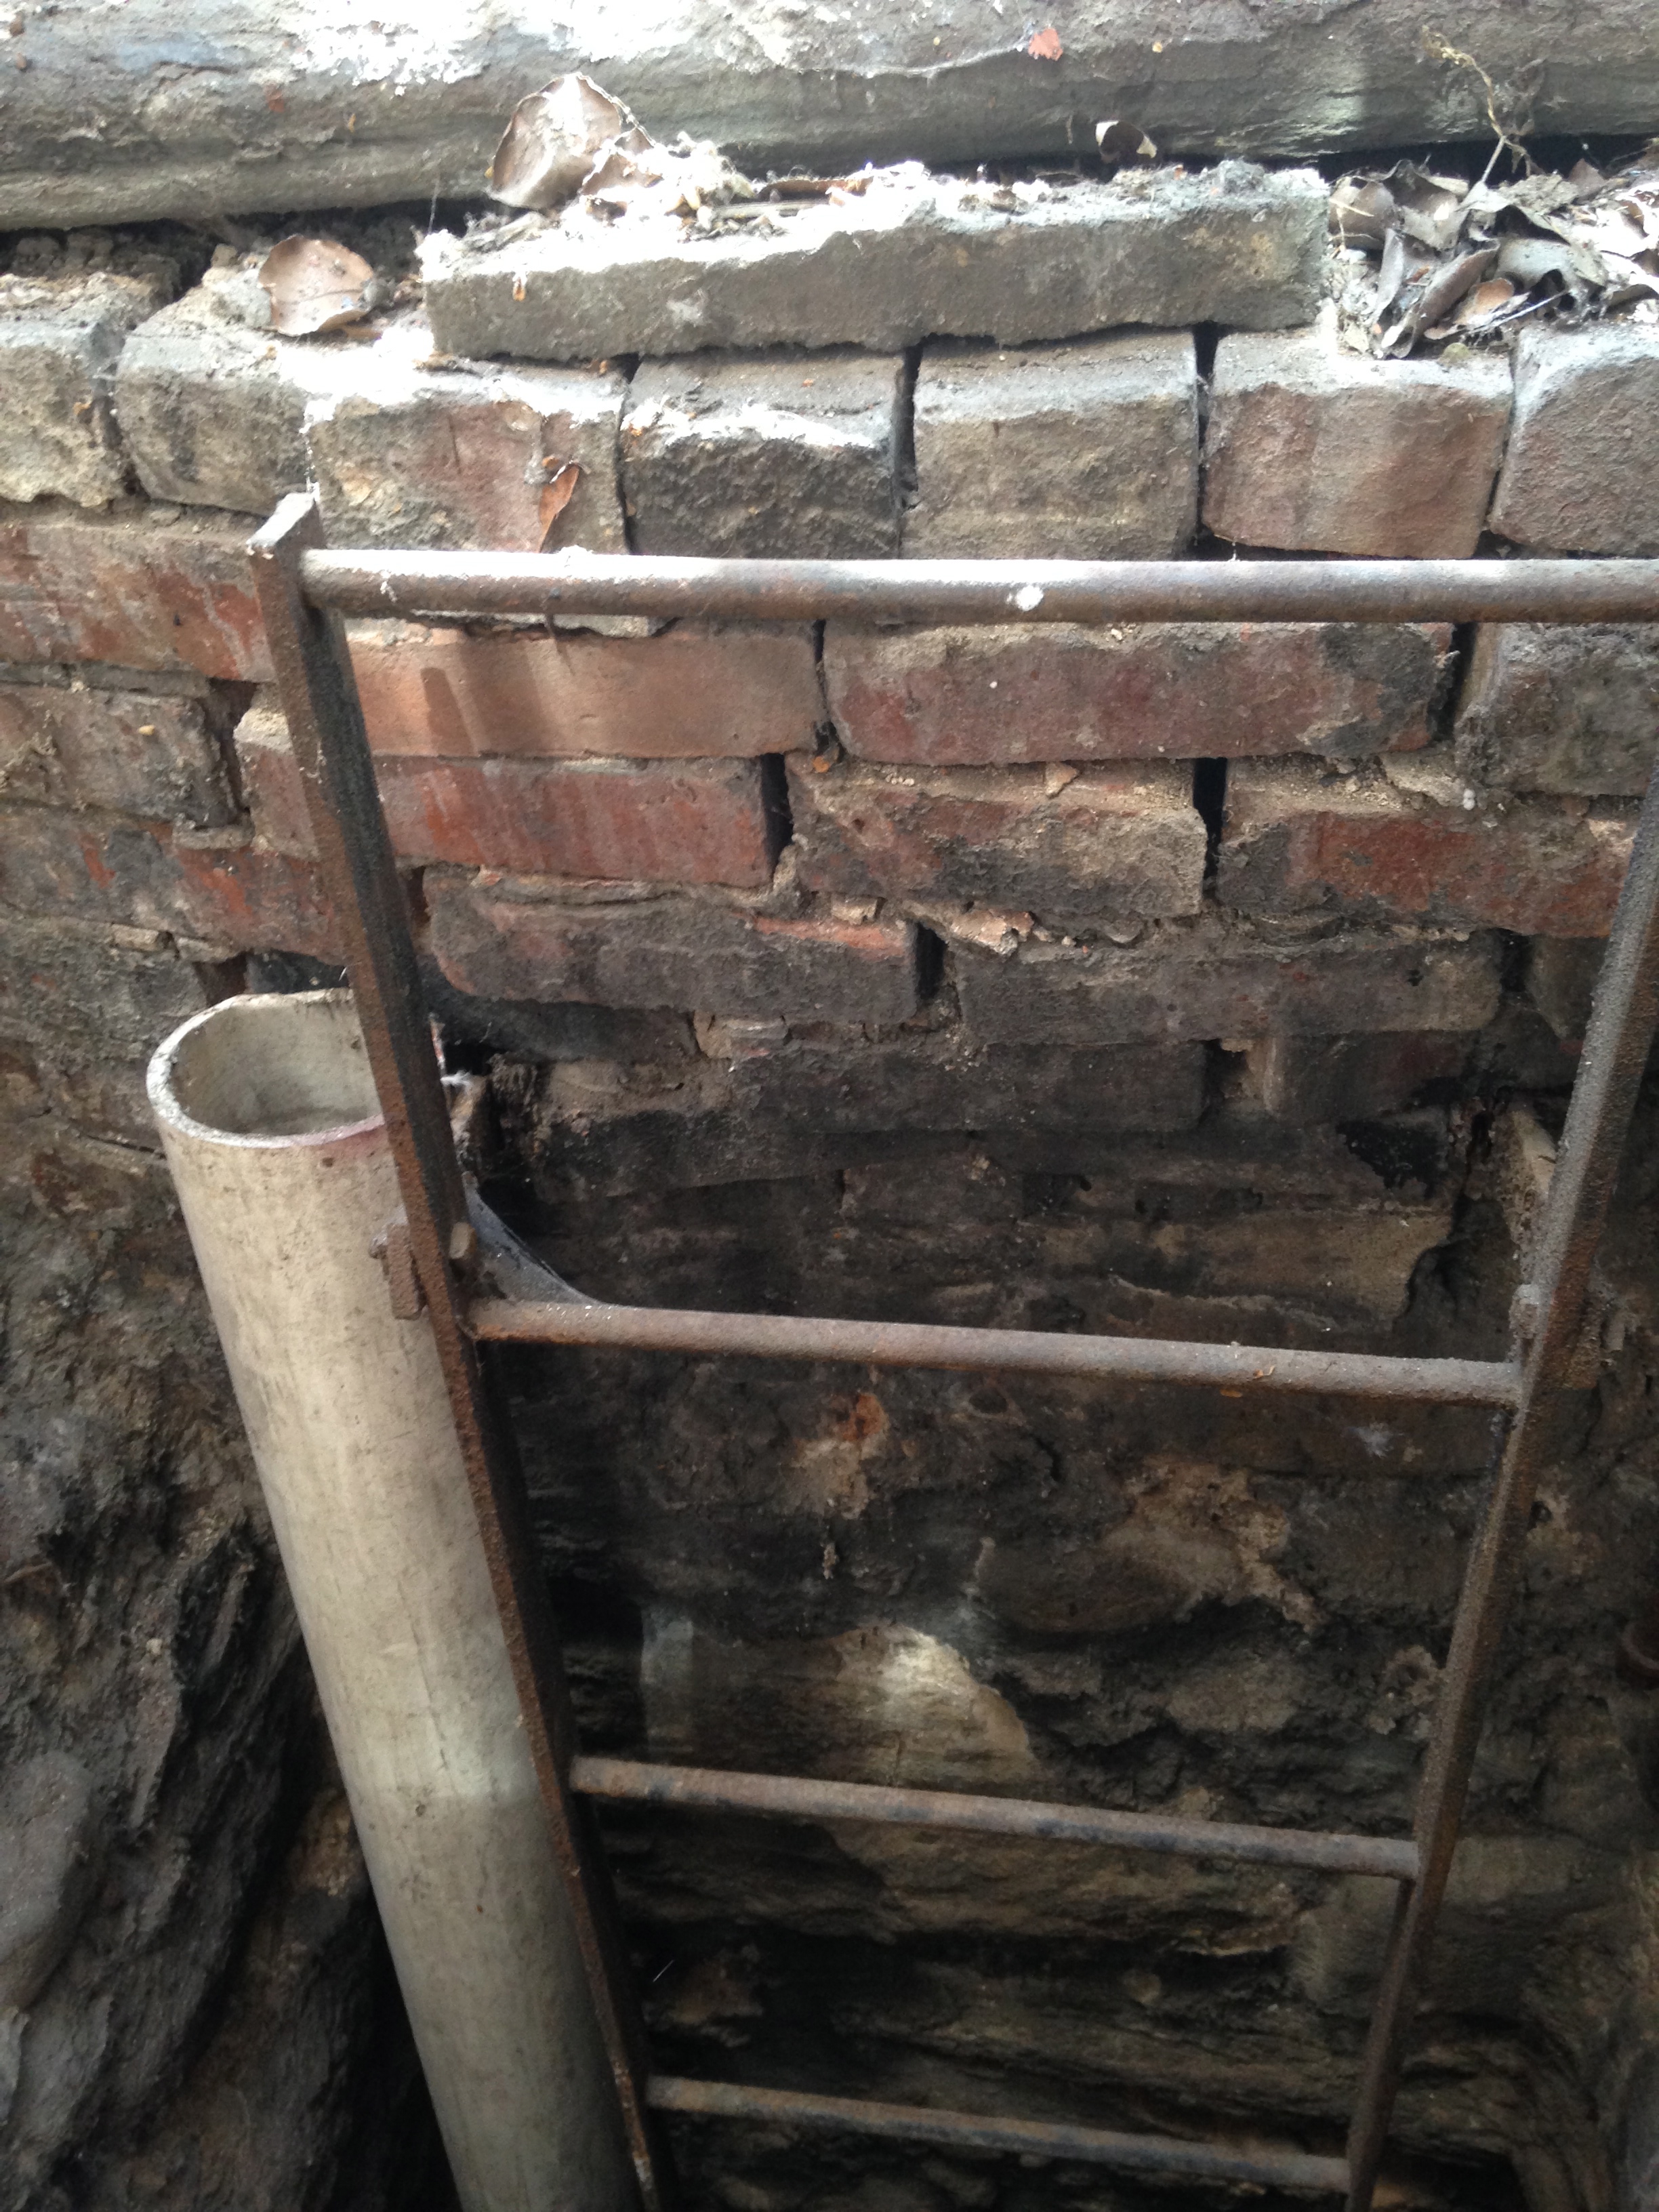
In the first 3 rows of bricks, it seems as the mortar just ever so helpfully removed itself (over the course of the past 120 years or so).

This is our front coal chute, as seen from within and from above. For extra credit, the roots of the street tree pushed up against the brick, causing it to jut out. Awesome, right?
We tend of be a little precious in terms of period accuracy around here, however using period appropriate cement mix has nothing to do with being historically accurate: it’s a necessity. Modern cement (Portland cement) is too hard and can cause old bricks to crack. Regardless of your feeling about history, you definitely don’t want that to happen. Nope. No stinkin’ good.
Considering we live in a part of New York that has a lot of old houses like ours, you’d think finding the correct cement to make this type of repairs would be super easy. Well, you’d be wrong. Turns out you have to mix your own, after you manage to track down the elusive Hydrated Lime (shocker, you won’t find it at the big box store).
The mix is basically this: 9 parts sand, 2 parts lime, 1 part Portland cement. Mix it with water and you’re good to go.
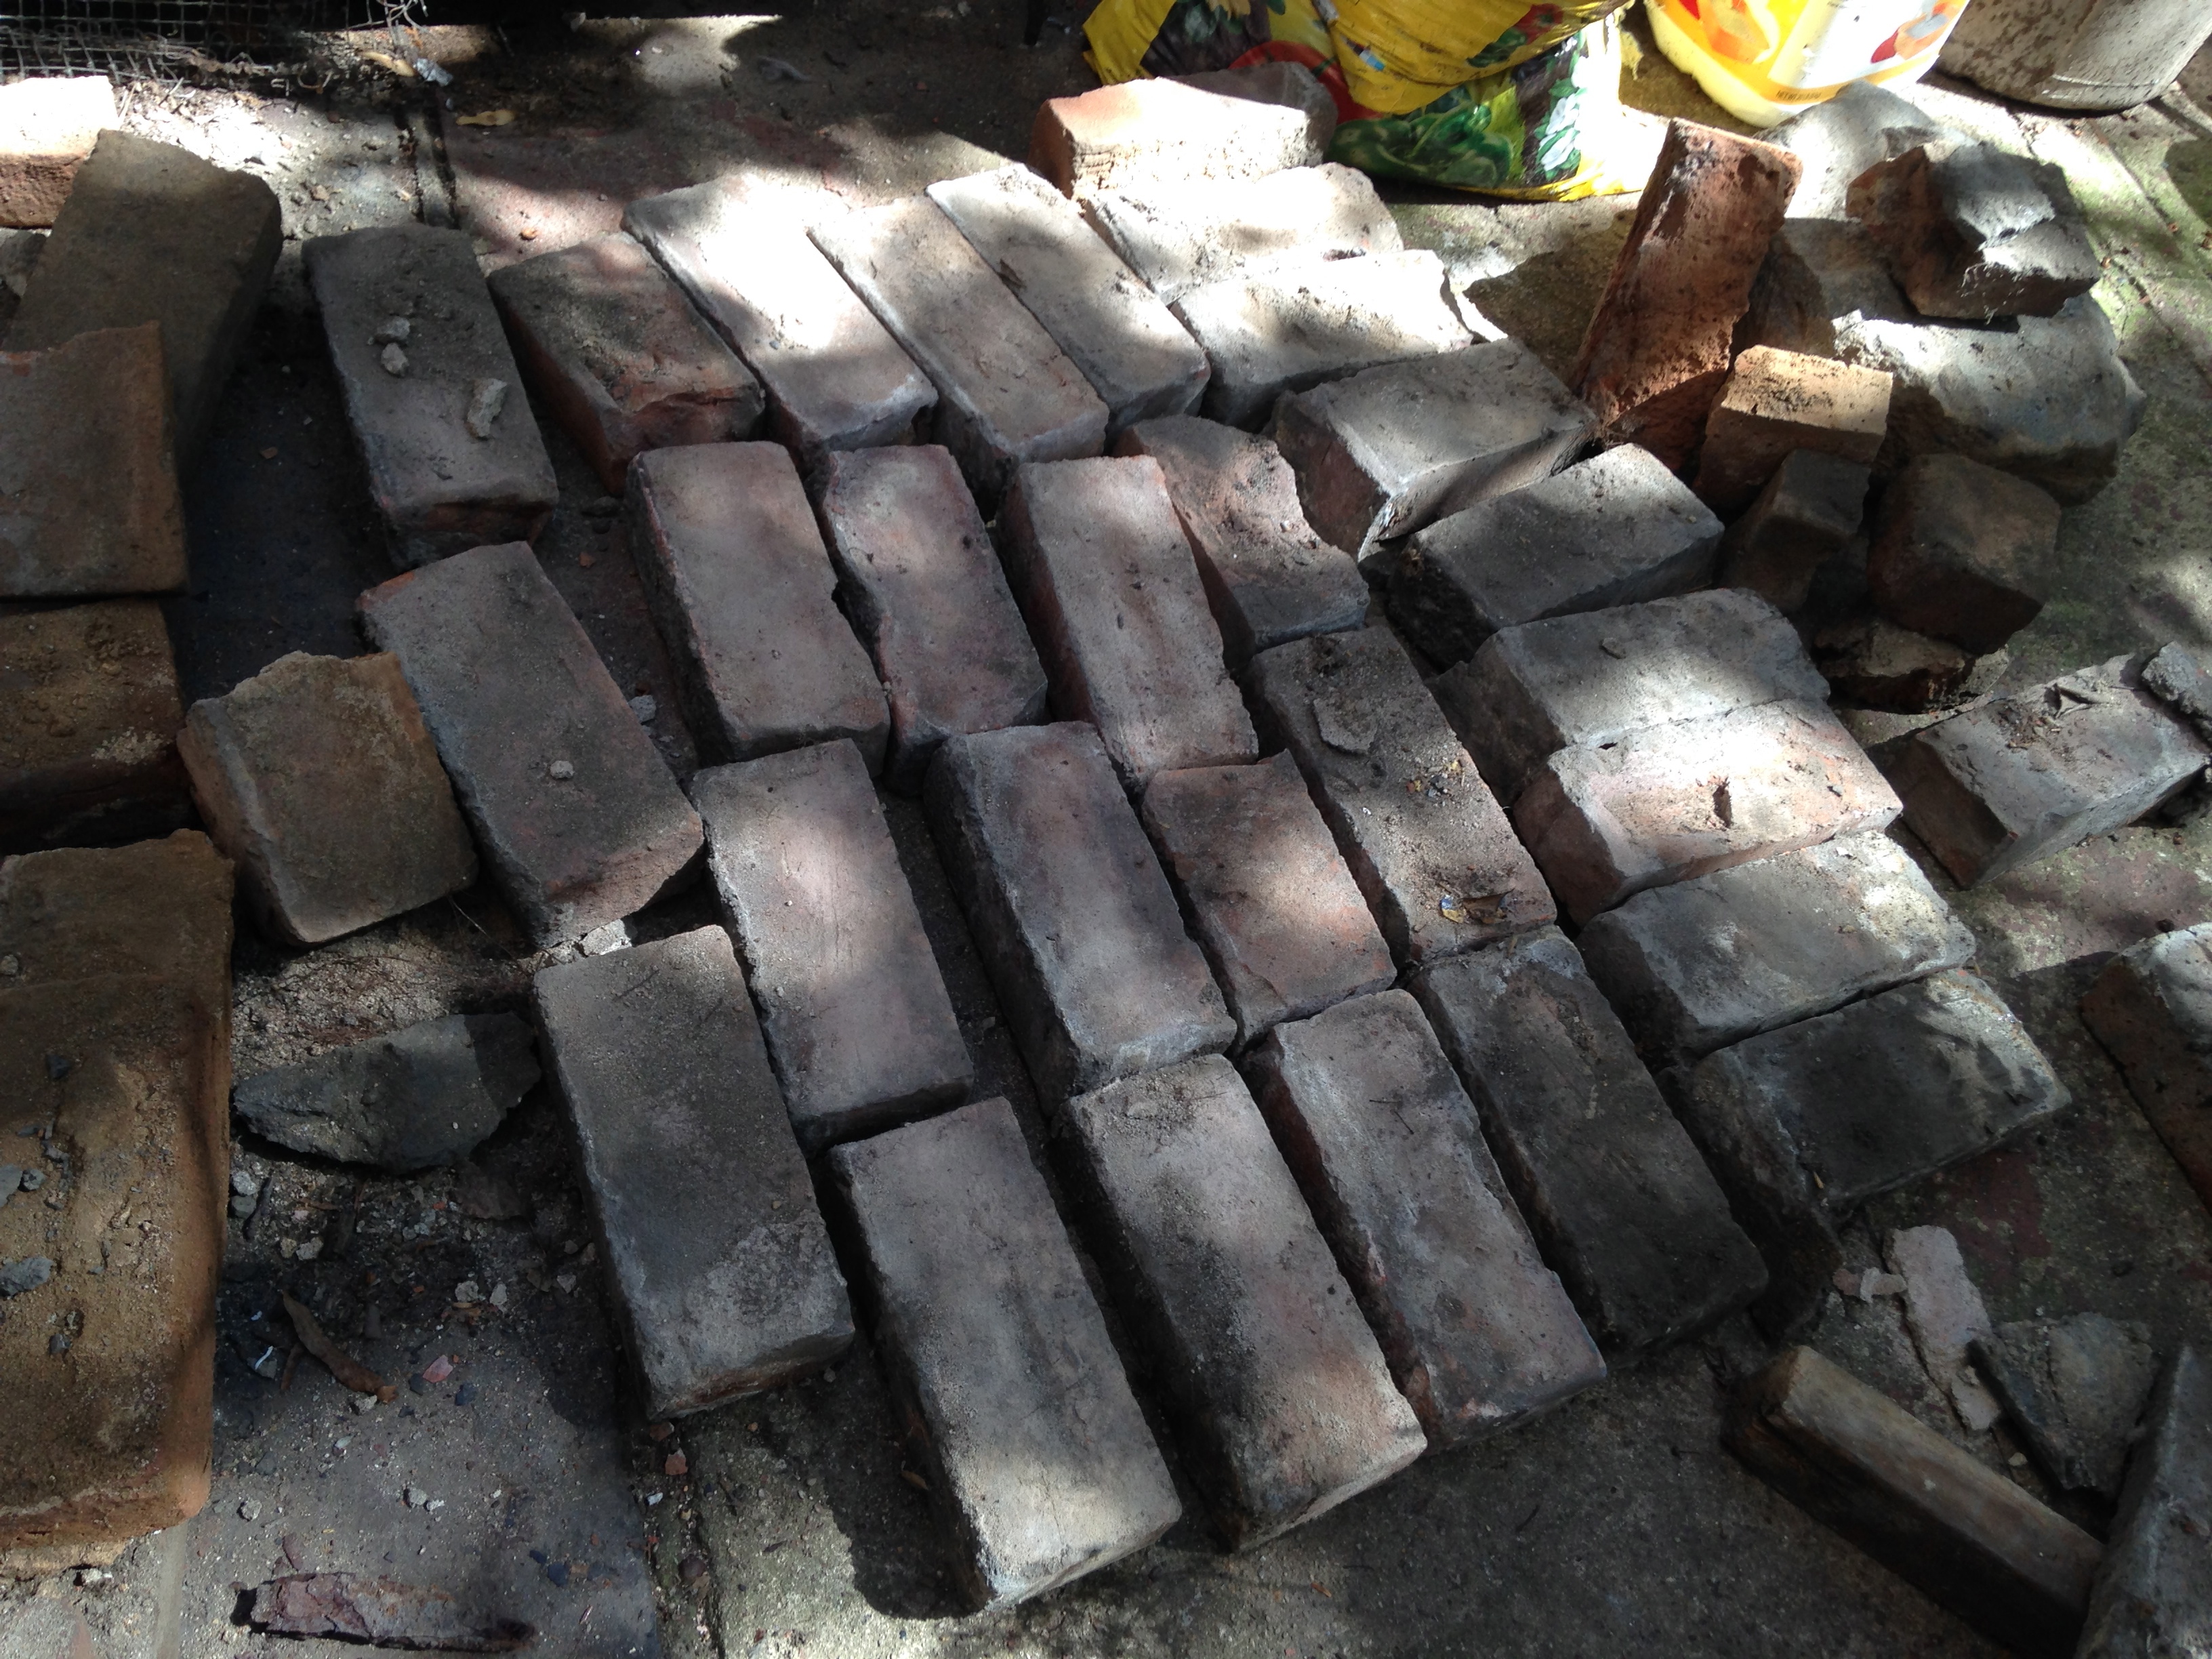
For this project, we removed the bricks, cleaned them of any remaining mortar and re-built the wall.

It’s certainly not perfect, but given that it’s our first attempt at brick re-pointing, it’s certainly an improvement over falling bricks. The coal chute was the perfect place to try it and get the hang of it, since it’s tucked away and no one will ever see it.
This is what the chute looks like now:

Old House Journal has a great article on historic mortar. You can find it here.

Our basement (the area below the bricks in your final photo) walls need repointing. There are not nice rectangular bricks but old irregular stones and between the old stones is basically loose dirt on at least one wall. Have you tackled this yet? You just need to tough ours and the dirt pours out between them.
We’re actually in the process of repointing the stone walls in the cellar. The process is basically the same: remove whatever is left of the old mortar and fill in with new. We’re using the same mixture we used for the old bricks (heavy on the sand, light on the portland cement). I think you might be able to use modern cement, but we’re sticking to what we have at hand. I’ll try to get some pictures this weekend, as I put the basement back together after the flood.
Pingback: Silly deadlines… | A Pink Brownstone in Brooklyn