(this is long).
(I promise I will make a point eventually).
(or not).
As part of the epic never-ending bedroom restoration, it’s time to tackle the floors.
The third floor of our house was covered with vinyl tiles. Way before we knew better, we had high hopes of peeling back the stick-on tiles and finding beautiful hardwood, just waiting to be re-finished. The reality was a sticky mess of 4 (sometimes 5) layers of vinyl tile and a couple of layers of paint on a pine floor. Pine! Not hardwood: we have pine. Sticky, icky pine.
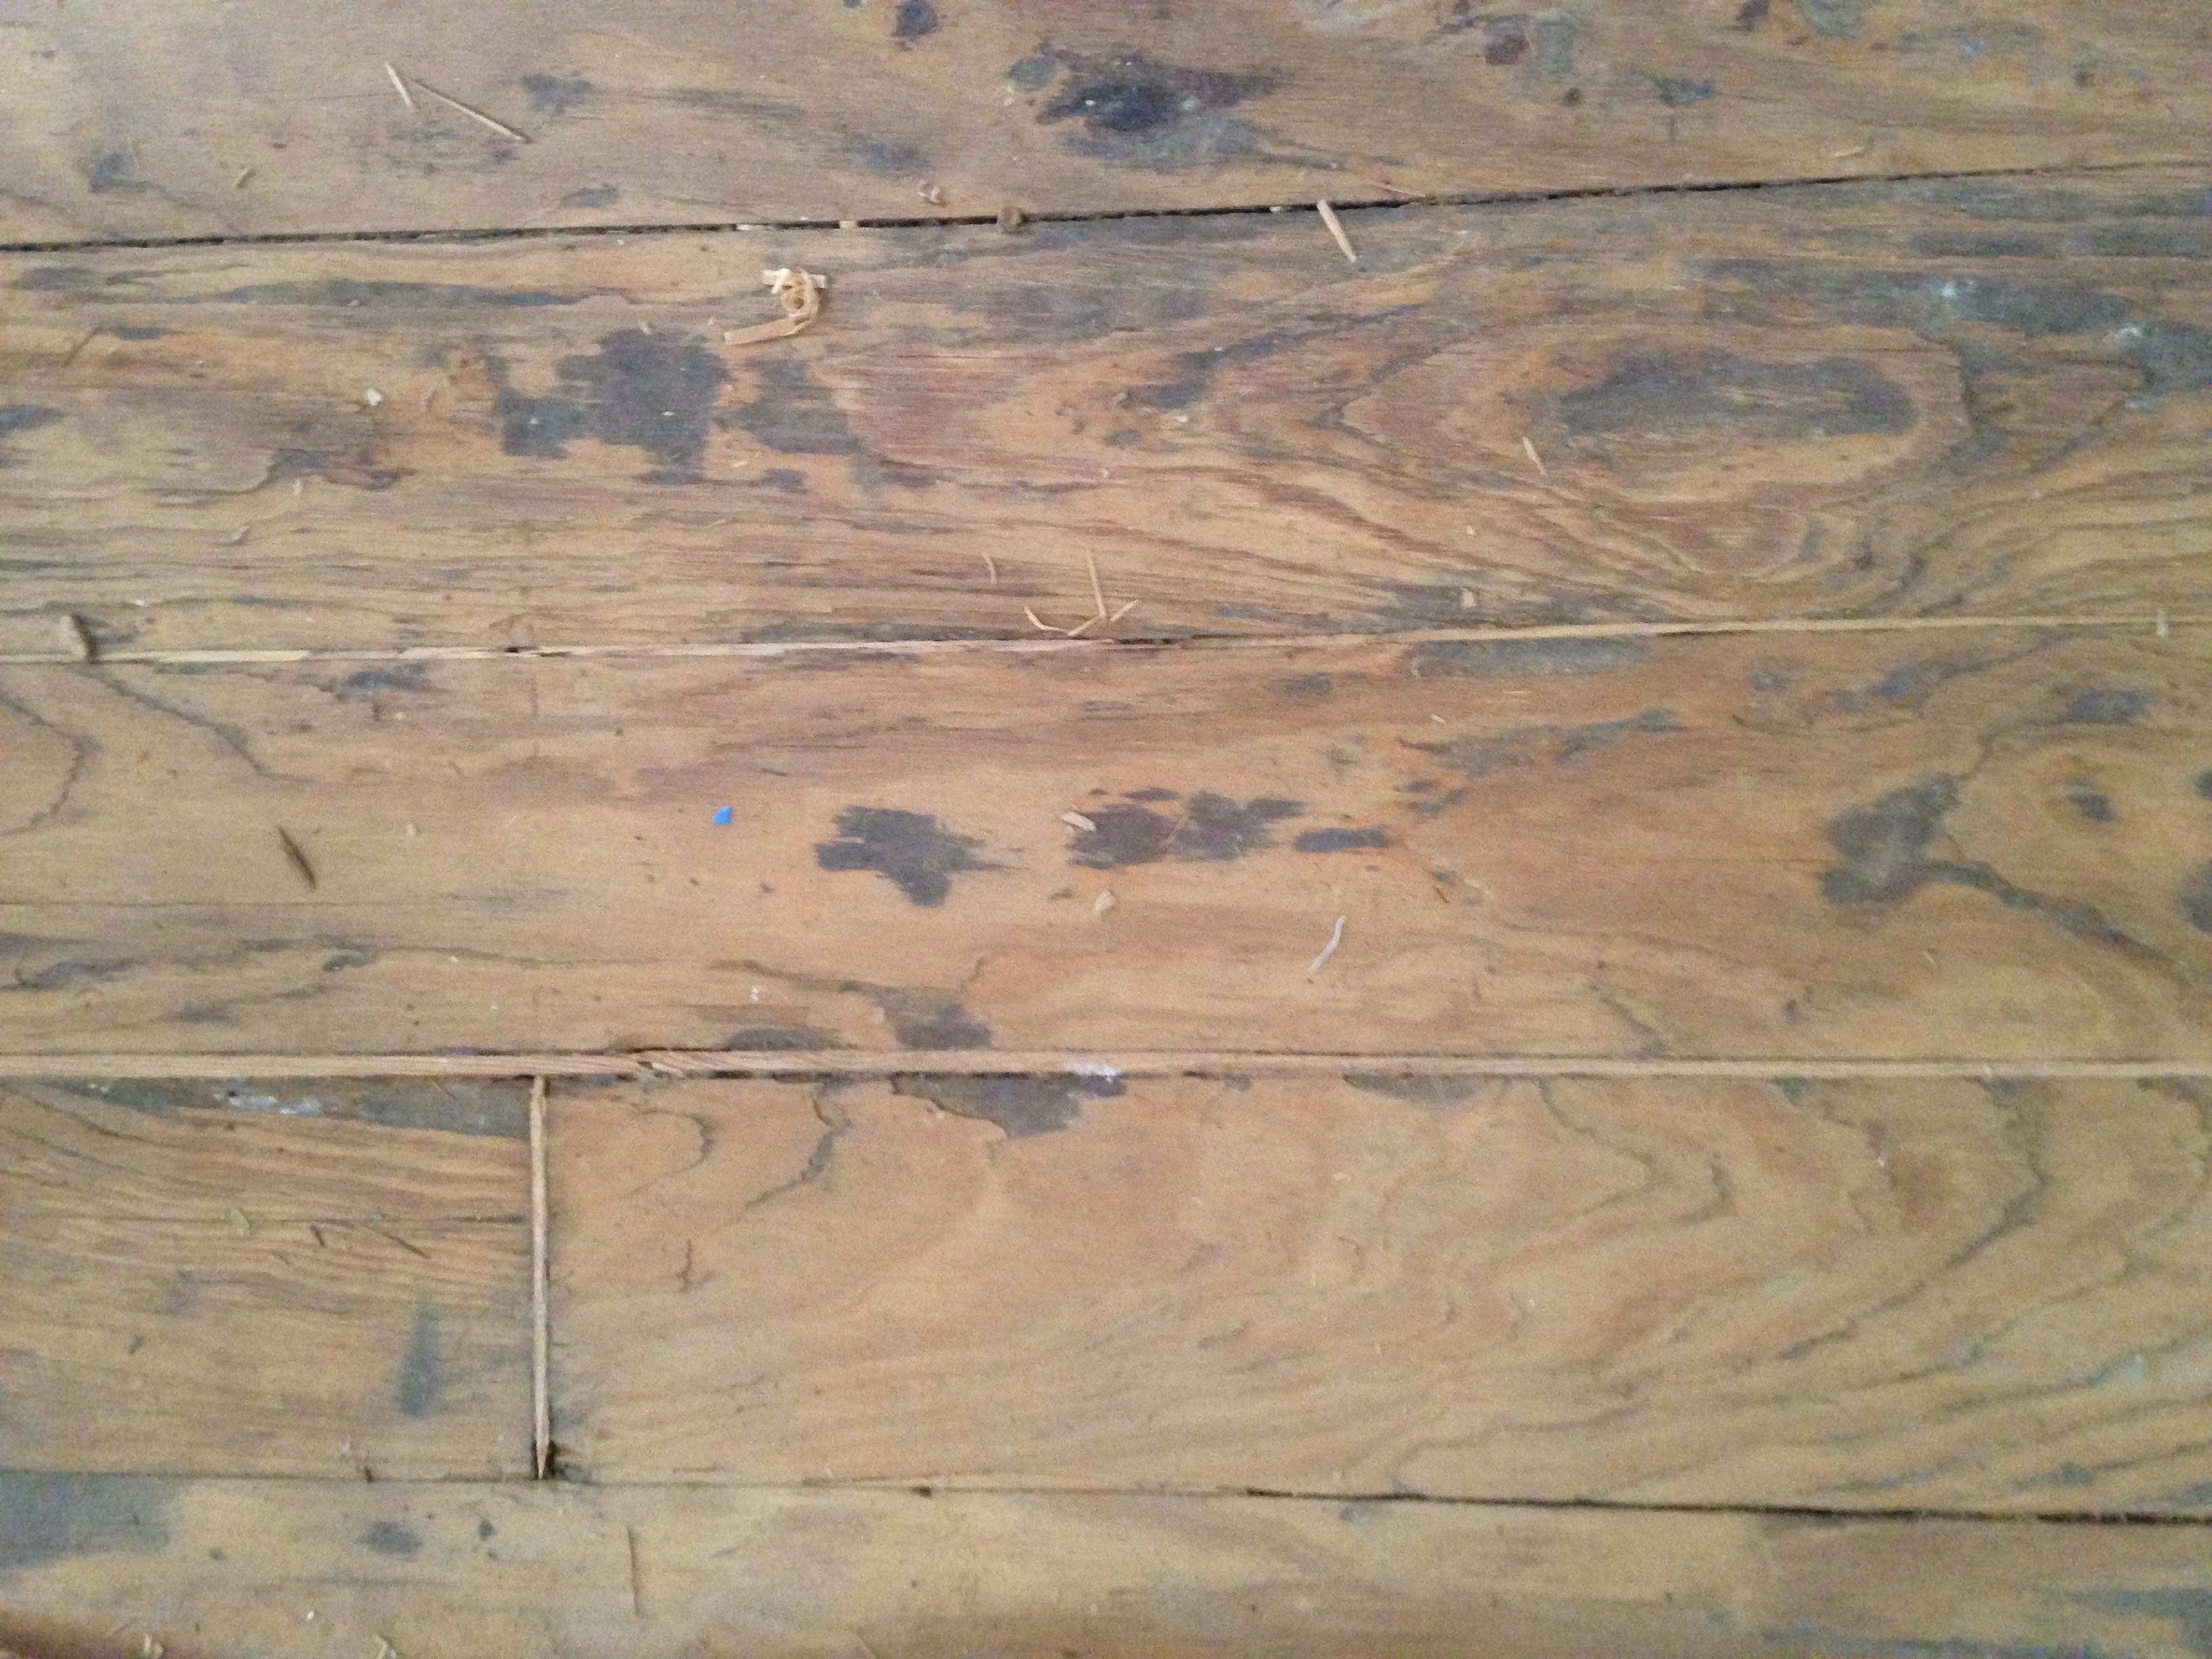
After pulling up all the stick-on tile, and stripping the paint, we were left with a floor that was in OK shape, except for where it was not. We did some sanding and slapped on a coat of Tung Oil, figuring these floors would eventually get covered up with proper hardwood – after all, pine is soft and does not a proper hardwood floor make. We figured we’d probably destroy it with our chairs, our cats and their never-ending supply of puke. Yet 3 years and 1 2 5 cats later, the floors are still fine (except for where they are not, but that was a pre-existing condition). What I mean is that the pine held up beautifully – no nicks or dings and cat vomit cleans right up. The bigger problem is that some boards are splintering, which is not only unsightly, but also unpleasant to walk on in bare feet. We have splintering boards, broken boards and enormous gaps in some areas.
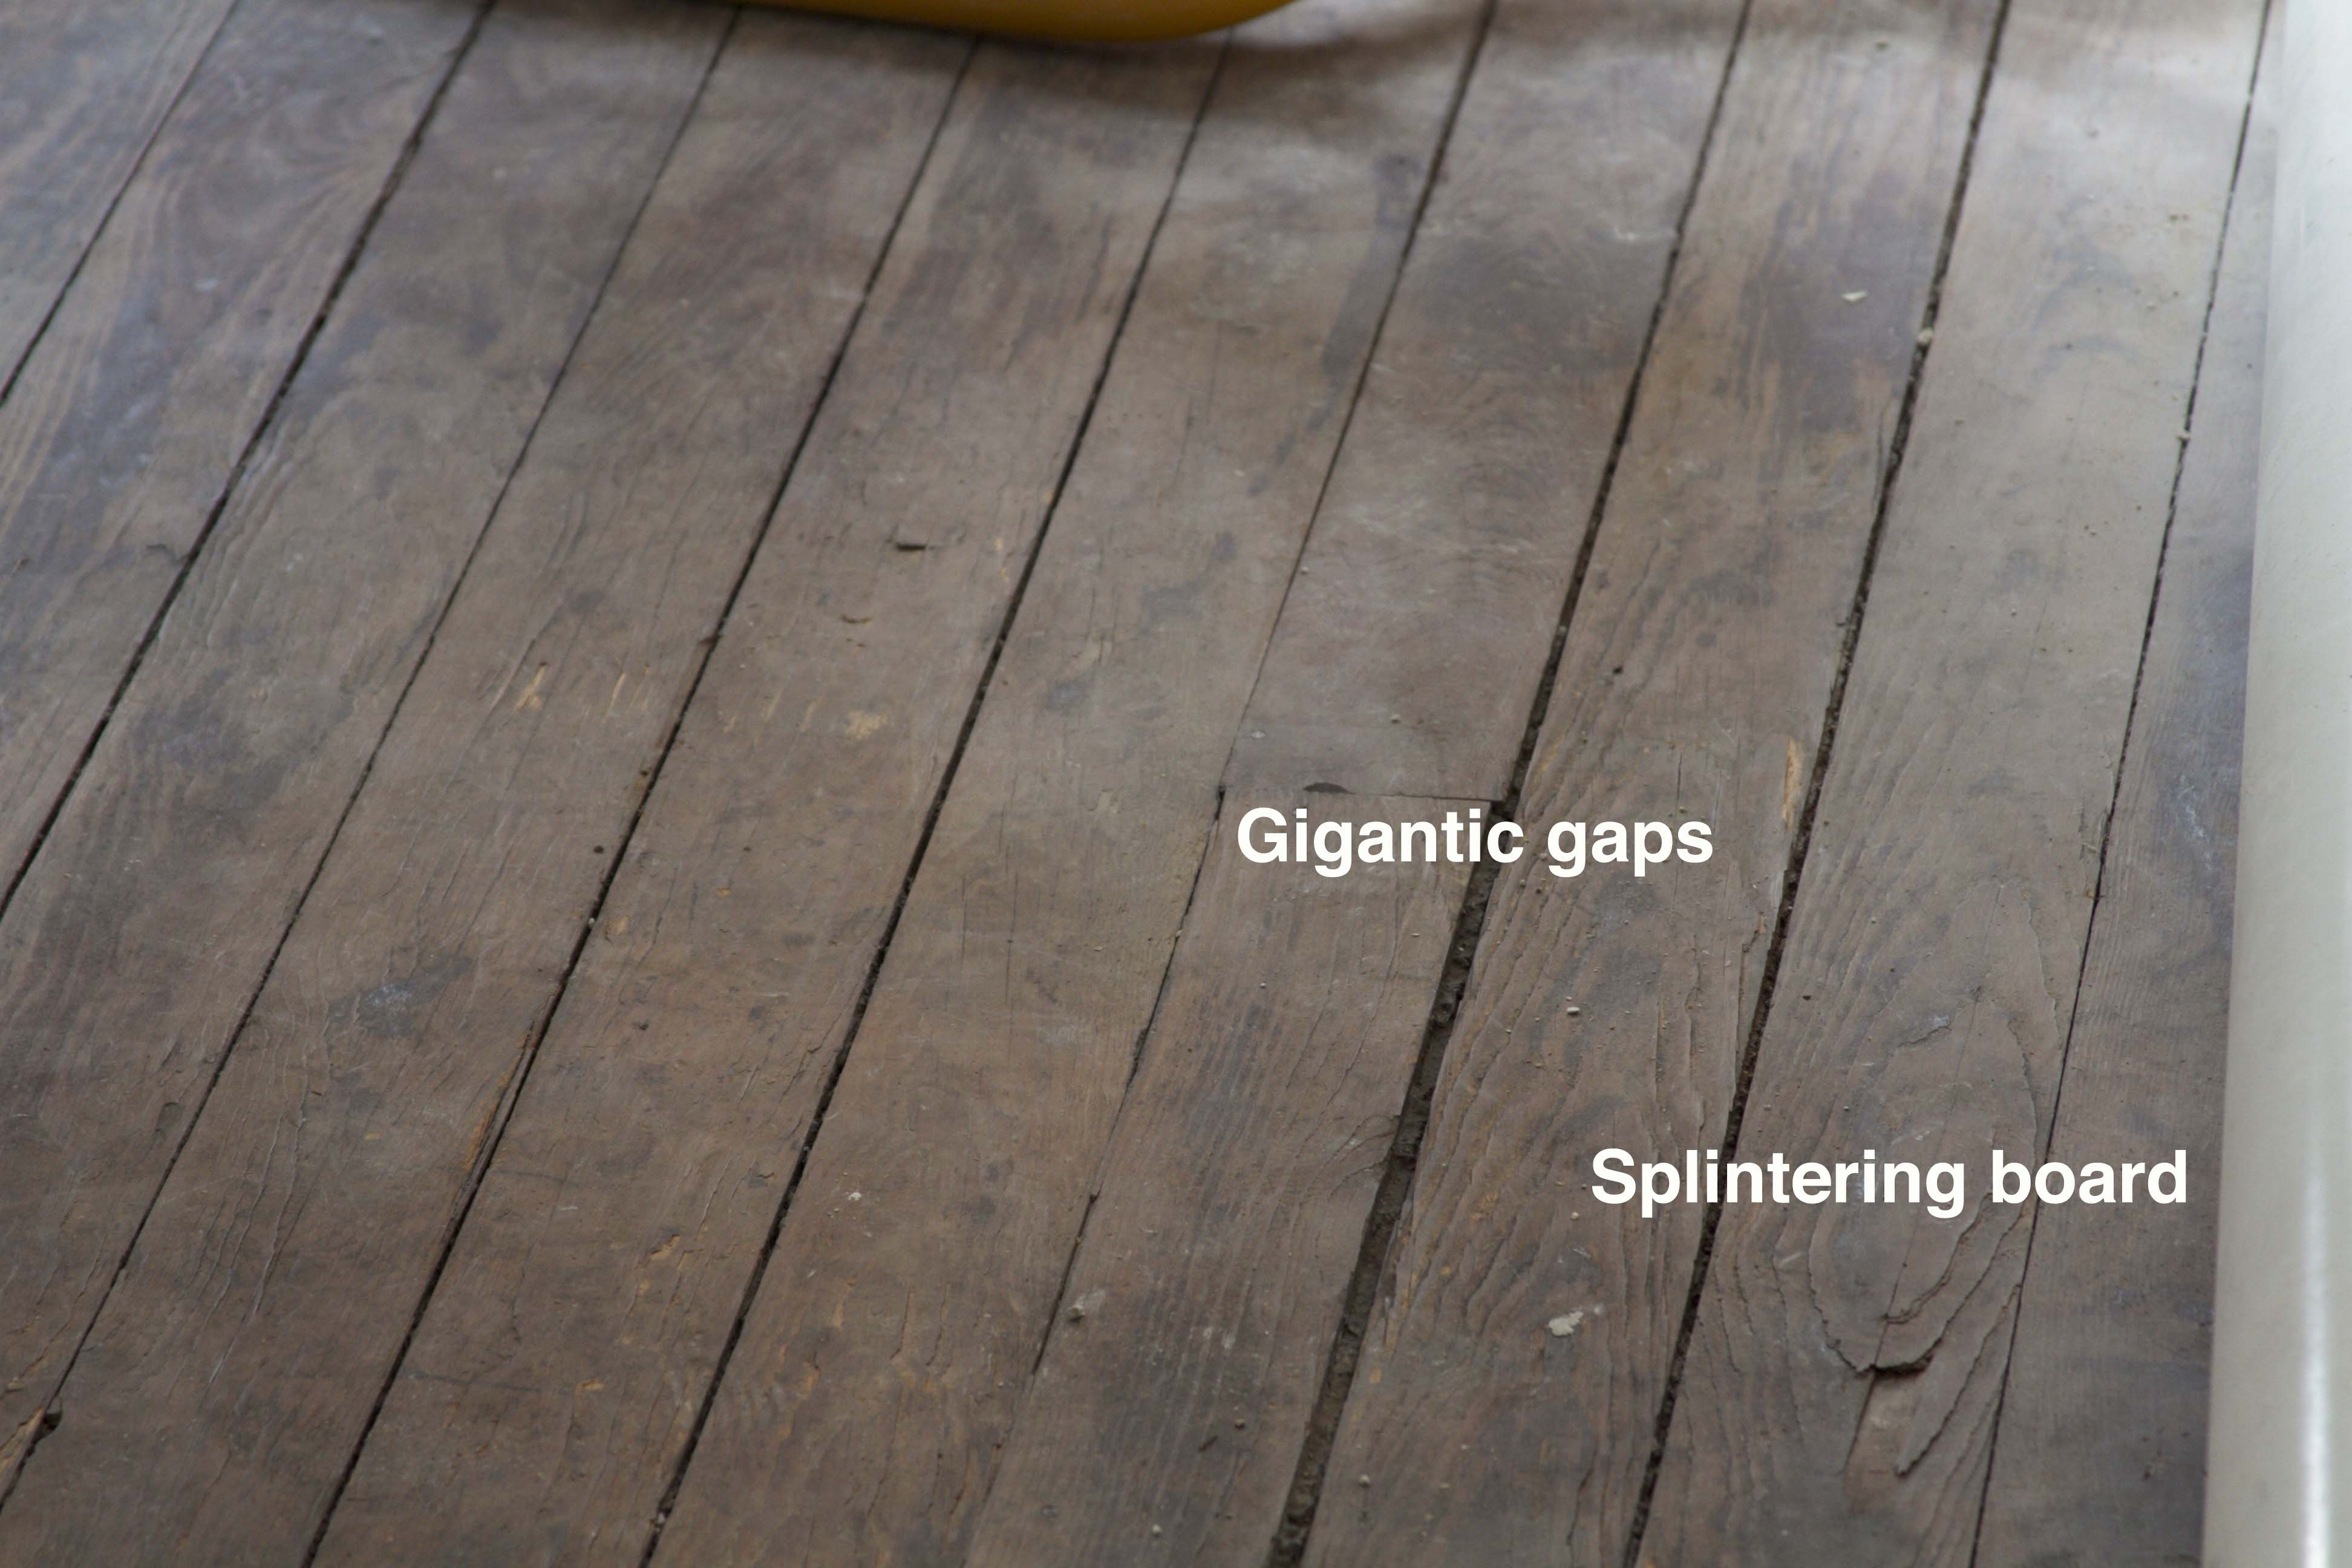
Please excuse the filthy floor. This was taken in the bedroom construction zone.
Because wood floors will contract and expand, fixing the gaps can be tricky. Some suggest using sawdust and wood filler. A lot of people say to just leave them as is. The problem is that in some spots, the gaps are so wide that you can actually drop things in it – valuable things like heirloom jewels (not that we have any), and of course, the gaps also collect a spectacular amount of dirt (which we do have copious amounts of). So the problem needs to be addressed.
A few months ago, when the house behind us was being gutted, I asked the demo crew if I could have some of their “trash.” I salvaged a huge pile of lumber (trim, crowns, fireplace mantels, wainscoting, shutters), and also a big pile of pine subfloor. The pine used for sub-flooring in these houses is not your average Home Depot cheap-o pine. It’s old growth/slow growth stuff. It’s the type of wood you can’t get anymore, since all those trees are gone (probably because the Victorians used ’em all up). In order to repair our floor we needed a stockpile of similarly old floorboards, of the same type of tree. This is what old growth pine looks like (this is a piece of the salvaged floor):

Look at all those pretty tightly packed growth rings. This was a slow-growing old tree. The piece above is about 1″ thick.
Overachievers as they were, the Victorian-era builders ran their floorboards from end to end of the house: they go into the walls in the front and back and under all the walls in between; frequently it’s one board running most of the length (some really old, really tall trees). This also means that the demo crews destroy a lot of the floors when pulling them up (the tongue and groove usually gets broken and the boards just get hacked into smaller pieces). We salvaged a good pile, but in hindsight, I wish I had not been so picky and grabbed more. Regardless, we have enough to get us started on the upstairs projects.
The hubs did some research and came across the English way to fix old floors. Given that the Brits have lots of old buildings, we figured it was probably sound advice. So here is what we did (and by we, I mean he – my only involvement was befriending the demo crew, transporting and hoarding all this lumber).
First he took a stack of the salvaged floor to a wood shop, where things whirl and buzz and bigger things get milled town to smaller things, and tongue and grove thing-a-ma-jigs get made (luckily the boards salvaged were wider than ours, so milling them down and shaping new tongue/groove is no problem):
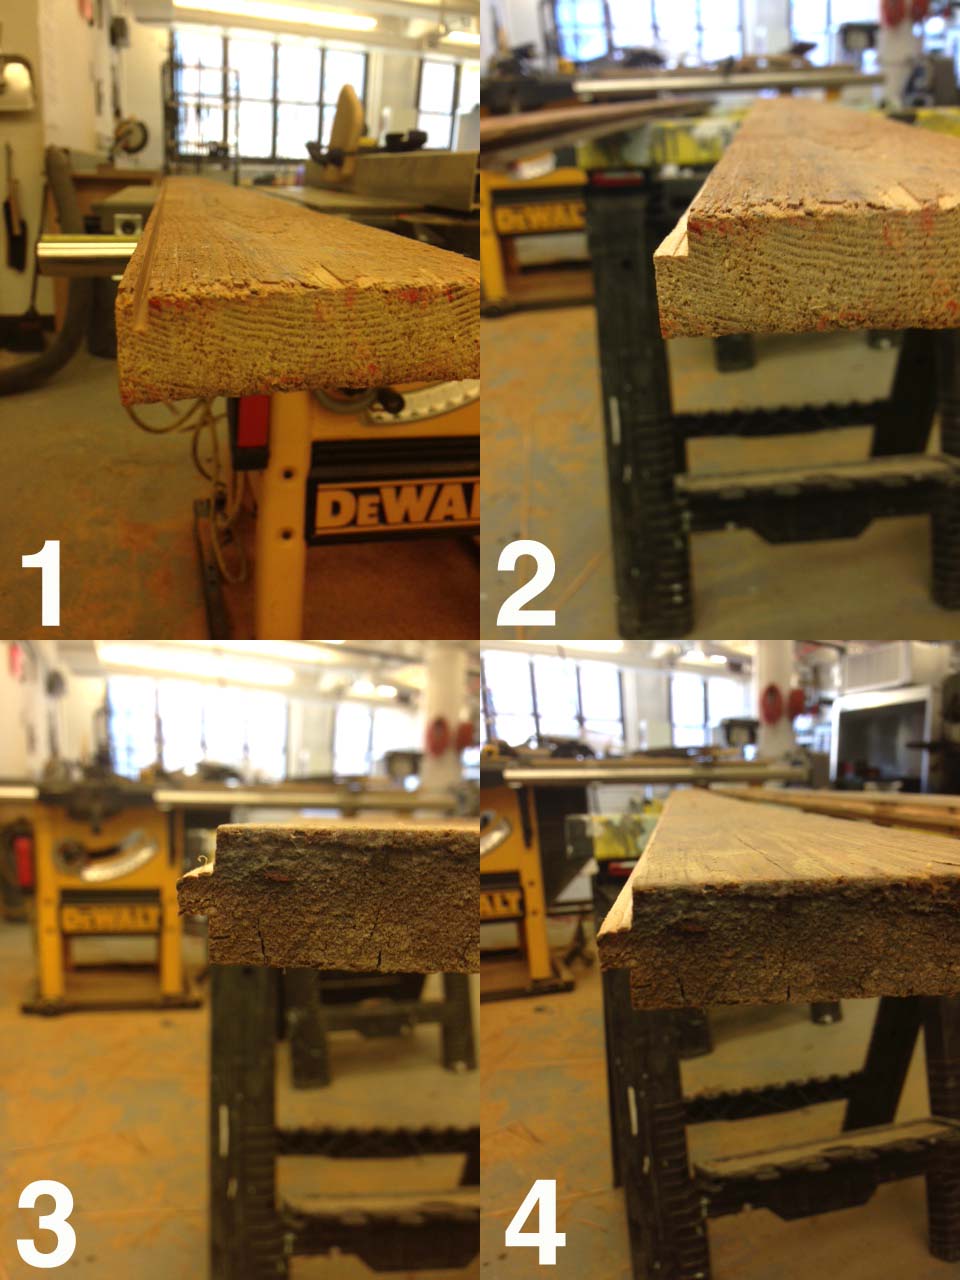
The re-making of tongue and groove. These became the replacement boards for the broken ones.
He also made a pile of very thin strips of the same old-growth pine to be used as gap-fillers:
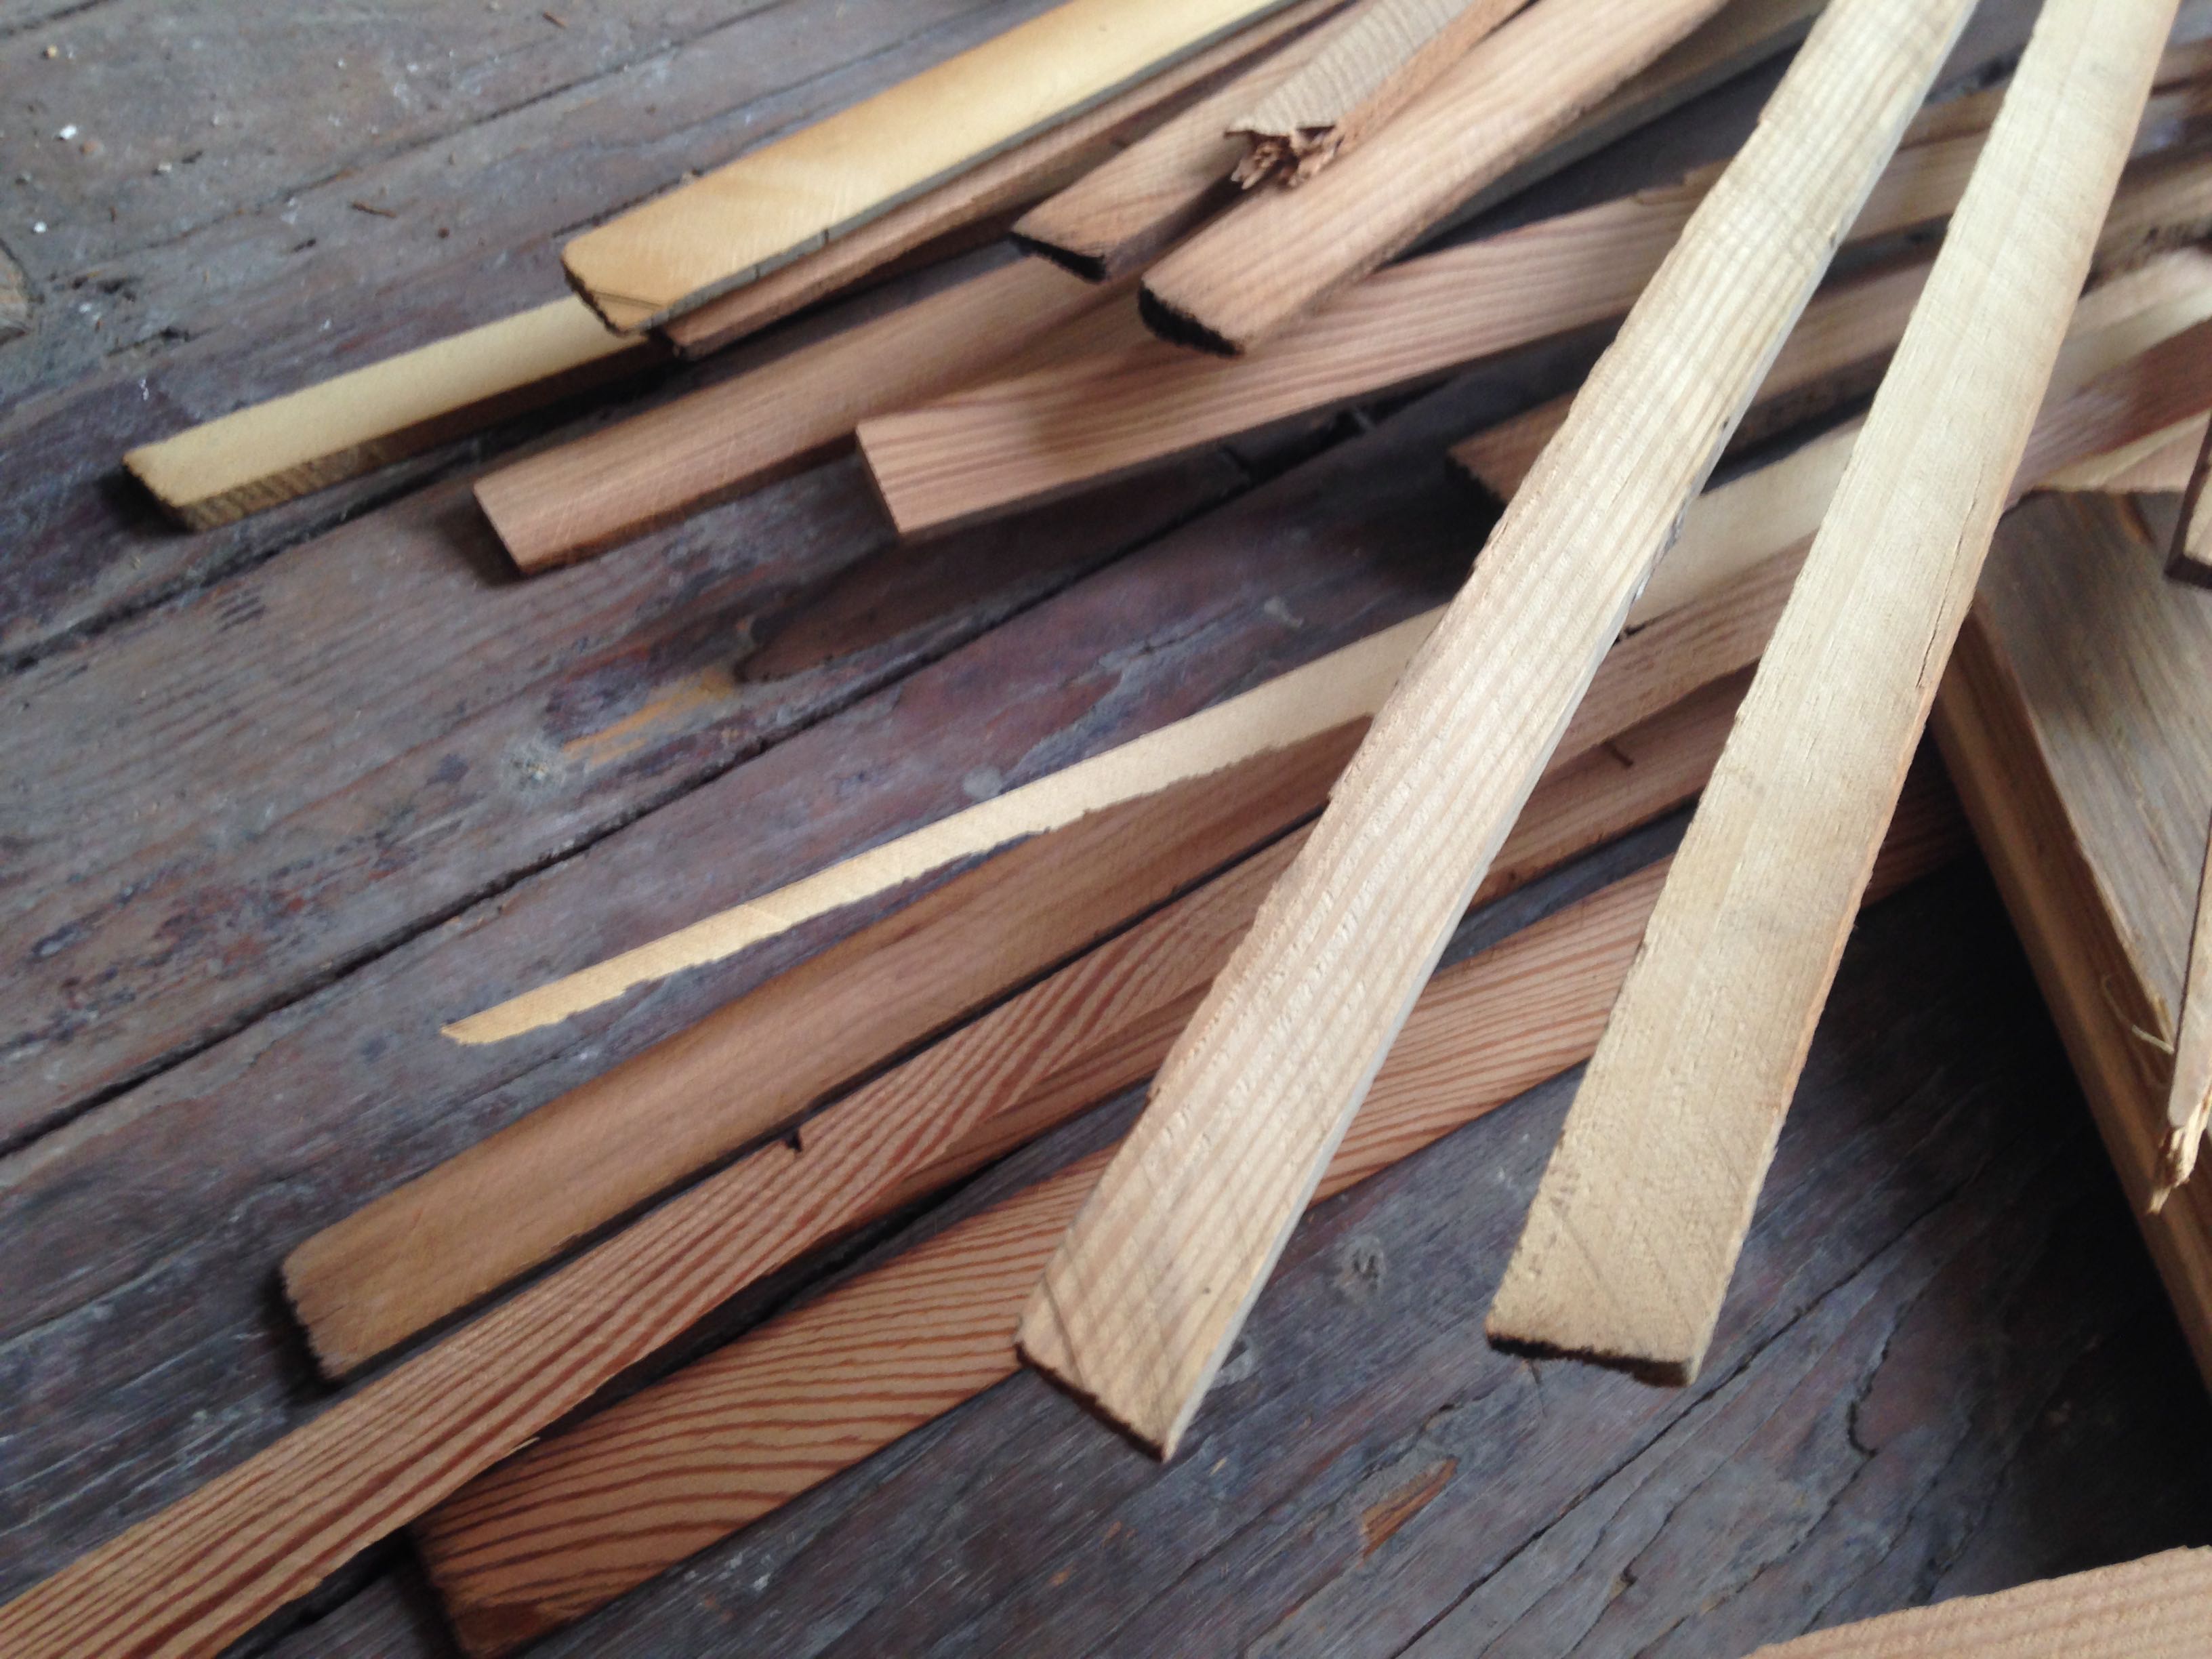
If flooring could be a potato chip, it would look like this.
Back home, he shimmied the strips into the gaps:
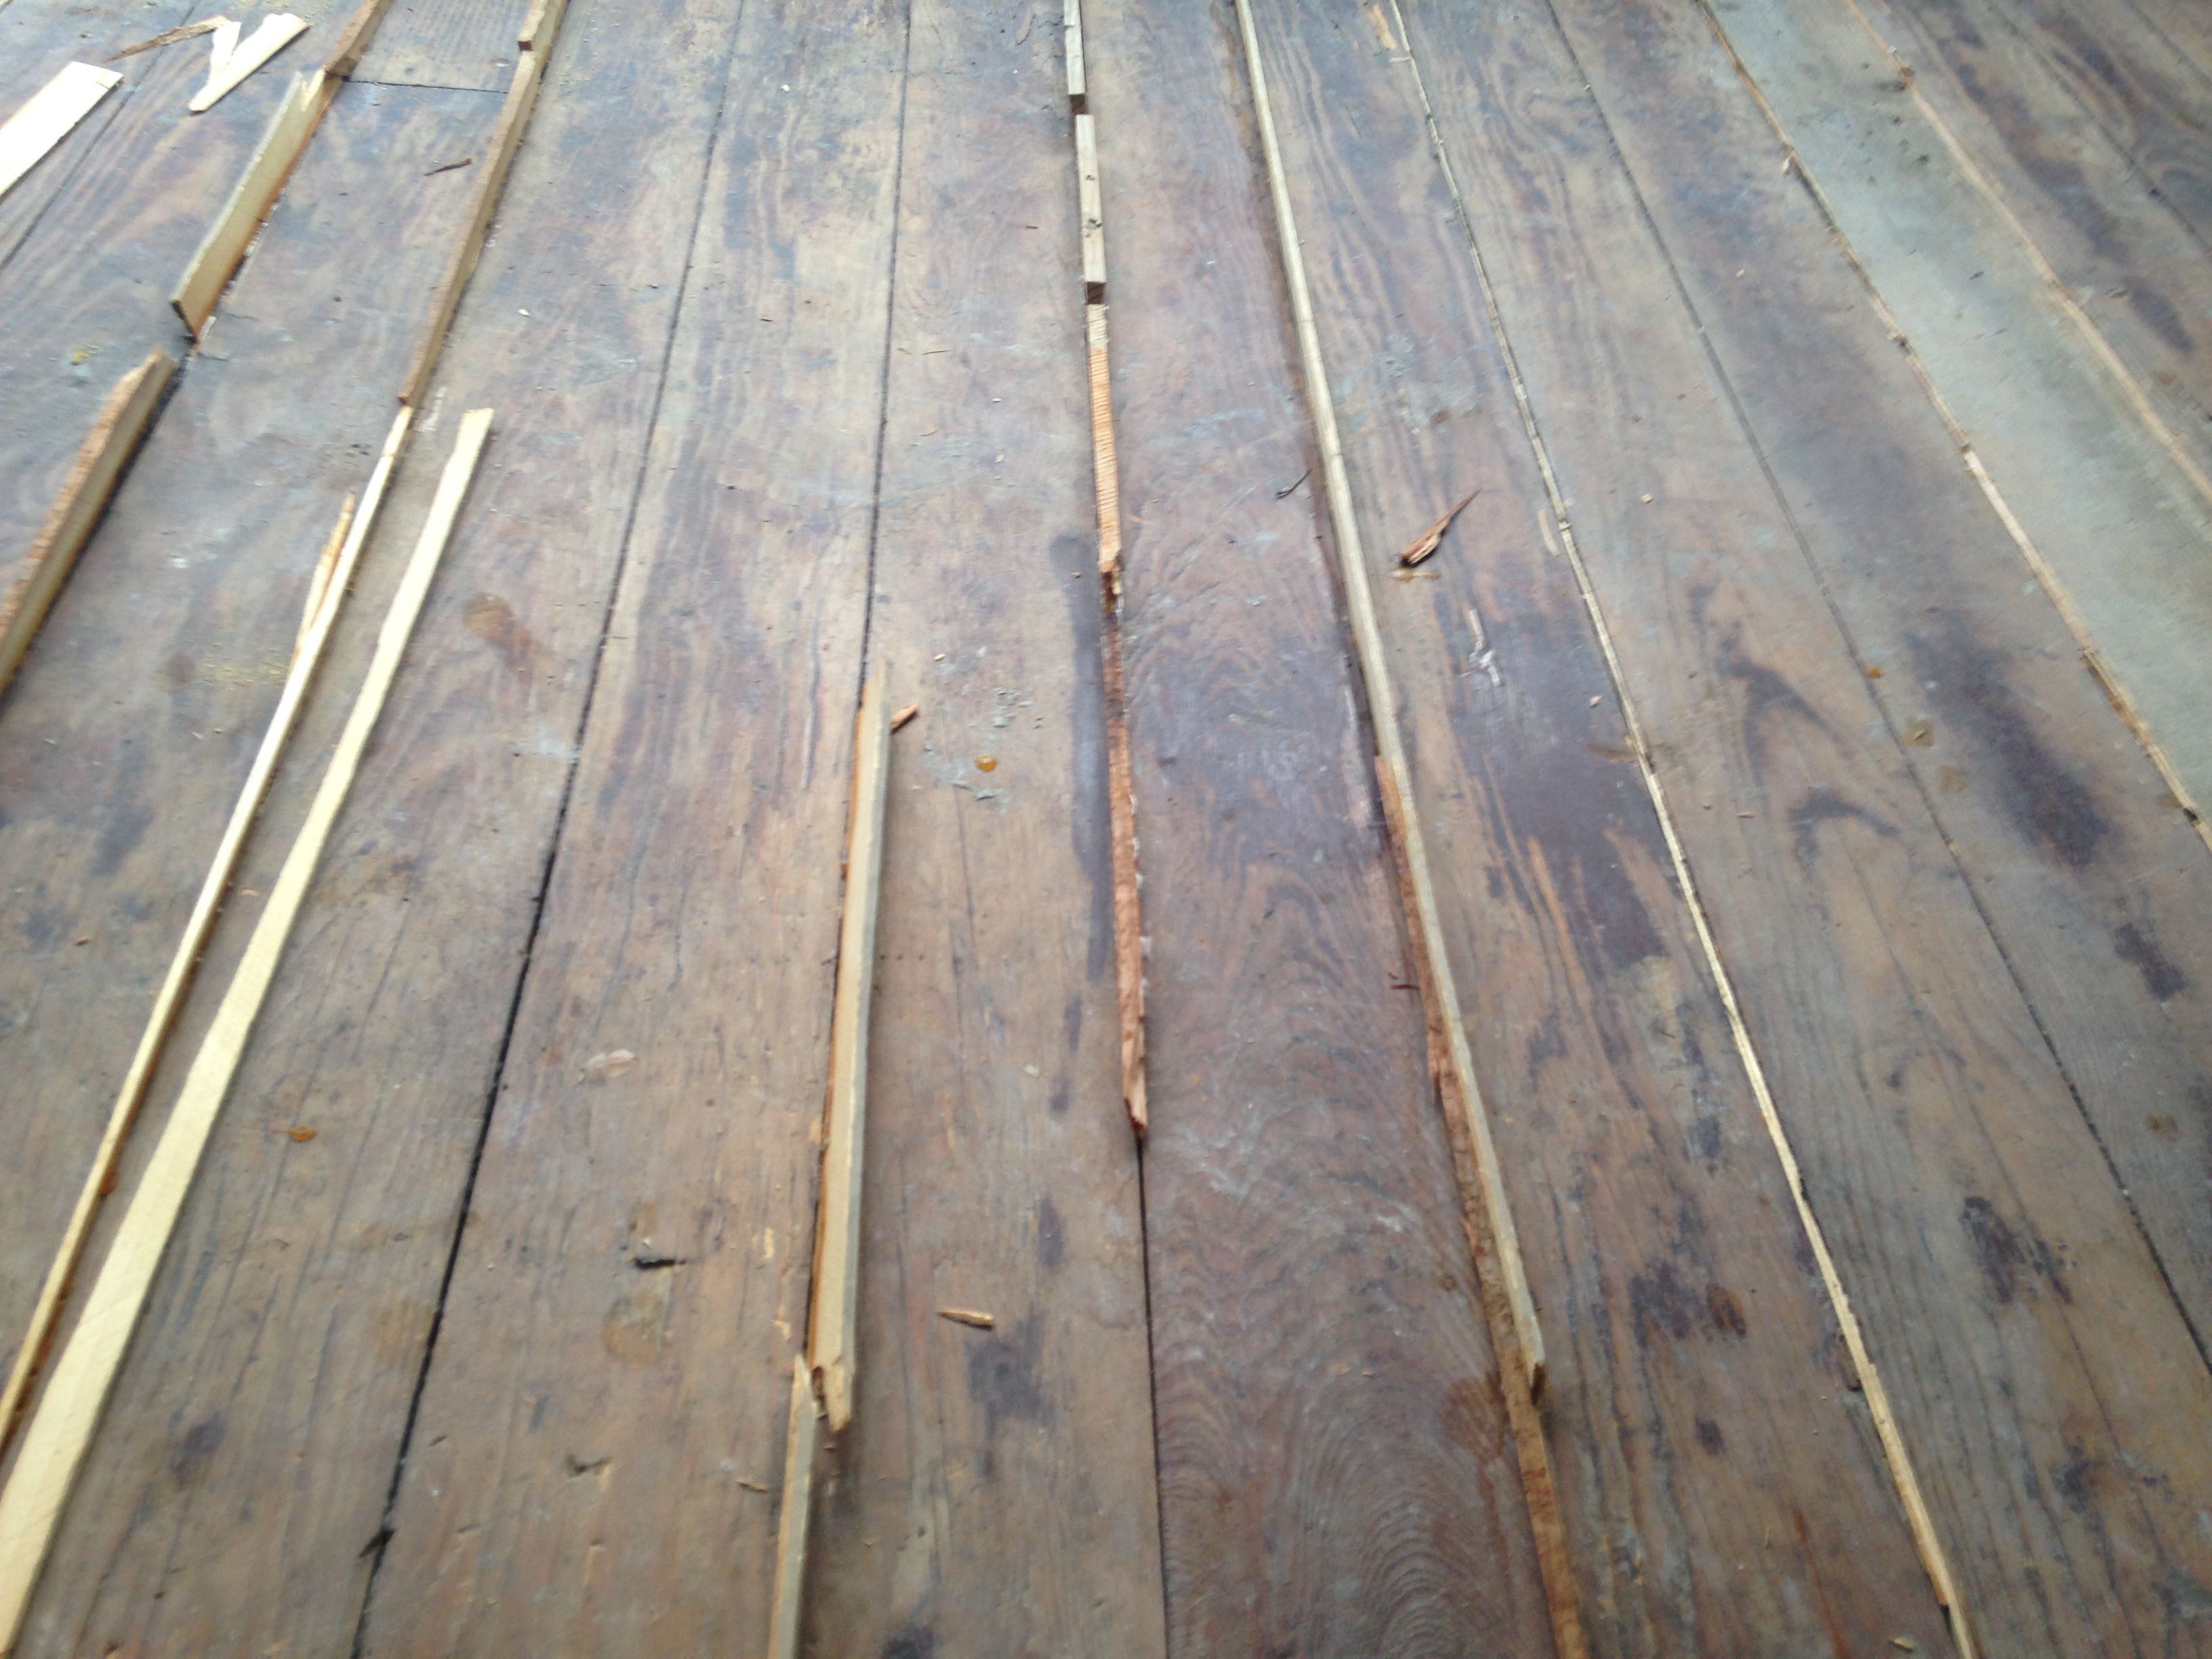
Always looks worse before it looks better
He then trimmed off the excess and sanded everything down.

Gaps gone!
The broken boards were replaced in sections, so that only the bad parts were removed (given our limited supply of replacement parts).
Once all the shims have been trimmed and the bad sections of floor replaced, the whole thing will get sanded and finished.
(we can’t agree on what type to finish to use – but I suppose we’ll cross that bridge once we get there).
About the point I promised to make: floors are usually not too far gone to be brought back. No living trees were harmed in the fixing of this floor. This didn’t really cost us anything, except for some wood glue and sand paper. So there is that.
(I think that’s 3 points – and a whole lot of rambling)
But the bigger question remains: will this be ready in 42 days before our guests arrive?

Pingback: Front parlor floor | A Pink Brownstone in Brooklyn