Front parlor floor

Our house has many beautiful period details: mantels, moldings, pier mirrors, wainscoting… but the floors are a whole different matter.

When we moved, every single room had some kind of floor covering. The third floor, was all stick-on tile. The parlor floor was mostly parquet laminate and ceramic tile and the same for the garden level. Unlike carpet, removing sticky tiles or glued-on laminate usually leaves behind a trail of destruction and an unholy mess, so we proceed with caution.

Continue reading

Black Doors

Things have been a bit sluggish over the past few months, but a few projects did get crossed off the list. First up: front doors.

The doors are not original, but they are close enough. The previous owner installed these and overall, we’re really happy with them. They are a close match to what the original doors looked like. The problem was the finish – or lack thereof. Our house has southern exposure and it gets quite a bit of morning sun, which was unkind to the varnish.

Here is a before/during shot (of course I forgot to that a proper before photo). Both sides used to look like the one of the left.

Door (before)

Removing the finish (with ZipStrip)

removing the finish

Once free of the varnish (and whatever else coated the door), we gave it a light sanding and filled in some holes with putty.

sanded and puttied

The wood was quite damaged in some spots, and we decided it would be better to paint rather than stain it.  We decided on black with just a tad of shine (which is a fun thing to go buy at the Benjamin Moore paint store).

– You just want black?

– Yes.

– We have this new onyx color that has a little bit of gray…

– No thanks. Just black.

Anyway, here is what it looked like with one coat of paint:

painted

And this is what the doors look in place. Of course, we forgot to paint the outside of the trim holding the glass. We also learned that entry door hardware is absurdly expensive (particularly the period appropriate kind I want), so the full makeover of the door will have to wait a little longer. Considering I’ve been slacking on the façade job, pretty sure no one will notice the unpainted trim…

(almost) done

Mid-Strip

For the Why Did They Paint Over This? file:

Fireplace Cover Detail

I decided to take a break from stripping the bedroom walls and strip the front parlor fireplace cover. This poor thing  has been relegated to the basement since before we bought the house, as the previous owner replaced it with one of those awful Home Depot brass monsters. Here it is in its gaudy paint scheme (which incidentally matches the paint scheme of our front parlor/living room. So. Much. Muppet Flesh paint!)

Fireplace Cover before

I wasn’t expecting much from this cover, until the paint started coming off. Unlike the one in our bedroom, which is just black cast iron, this one has a little something-something going on:

Fireplace Cover Mid Strip

5 months, 23 days (and counting)

It’s been 147 days since we last occupied our bedroom. It all started back in August, when we treated ourselves to some professional help and had all the woodwork in our bedroom stripped. Our paint-caked walls were a casualty of the ferocious paint removal activity, and the room looked like an alien murder site. What started as 2-week project, has morphed into a monster of a redo – actually, I think it’s more aptly an undo, since we’re trying to undo what has been done to the space over the years and restore it to what it once was.

Alien Wall

This is what happens when ZipStrip drips down your walls.

After a full on chemical assault, details like this appeared.

But it’s totally worth it: after a full on chemical assault, details like this appeared.

Since the room was already an empty hot mess, we decided to tackle the ceiling next, and a bigger mess was made. (Never underestimate the filth that hides in a 120 year old house. Nothing can prepare you for that). Because the plaster was beyond saving, everything came down to the bare joists.  The ceiling was leveled and dry wall went up. (I intensely dislike dry wall, but that’s fodder for another post). Once the ceilings were closed up and the first layer of joint compound was applied,  we hit a bit of a morose patch and not much happened. Didly squat. Zilch. Nada. We camped out in the rear parlor and our lovely victorian home now resembles a very messy dorm room.

Things finally got back on track this weekend, when we tackled the walls and started removing all the evidence that an extra terrestrial being was slayed here. The advice we were given was to skim coat the walls, which basically means applying a thin layer of joint compound over the entire wall. I didn’t much like that idea, because just knowing all of this grossness would forever live beneath our pretty walls really bothered me.

Damaged plaster, filth from the ceiling demo, and splotches of paint stripper.

Damaged plaster, filth from the ceiling demo, and splotches of paint stripper.

The hot mess in all of its glory.

The hot mess in all of its glory.

Since my experience with removing paint from the brownstone façade was pretty straight forward, we figured it would be a total cake walk to strip the walls back to the plaster. Our old friend PeelAlway1 was called back into service. Ignoring all advice to work in manageable chunks, and still under the delusion that this would be easy, we decided to tackle one whole side of the room.

This is what more or less 4 gallons of paint stripper look like.

This is what more or less 4 gallons of paint stripper look like.

In a sign of uncharacteristic restraint, I decided that perhaps we should save that little sliver of wall above the fireplace for another time. About 18 hours later, it was time for this:

A glimmer of plaster somewhere back there

A glimmer of plaster somewhere back there

A previous resident of our home must have been a pink enthusiast: the house is pink on the outside, and at one point, it was pink on the inside too. Removing the paint from the interior walls proved to be much more difficult than I originally thought. Given the smooth surface of the wall, the paint will not let go without a fight. And fight we did. After about a half day worth of scraping, brushing and picking, most of the paint is gone. We’ll need another spot treatment for the stubborn patches and the wall trim. 3 guesses as to what we’ll be doing next weekend…

Stubborn paint and cracks galore

Stubborn paint and cracks galore

Update-ish

With the weather getting cooler stupid cold, the work outside has slowed  stopped. October/November were not particularly productive because work (as in we need to fund this restoration by actually working)  got in the way. Here is where we left things off:

Facade

The garden level is mostly done, but there are still some stubborn patches, primarily where the stone is deteriorating. It’s particularly bad where there are patches on the brownstone. I have yet to find a good method of removing paint from cement (at least I think it’s cement – I can’t tell for sure since it’s covered in paint).

Facade2

Not surprisingly, we are STILL waiting for estimates from the contractors for the stripping and repairing of the brownstone. Somehow, I have a feeling I’m in this for the long haul and I best get cracking and learn how to patch the stone myself.

Stubborn paint

photo

Progress is slow but steady, with a good portion of the paint on the garden level gone. For most part, it’s a pretty straight forward process: apply the goop, cover with paper, wait, scrape, wash. Repeat if necessary. But since this is a learn-by-doing type of project, I found out that removing paint from where the stone has been patched is  nearly impossible. It takes a combination of Peel Away 1 and Peel Away 7, and still the results are ‘meh’ at best. You can see splotches of stubborn pink on the far right of the wall on the top of the stoop, and also under one of the parlor windows. It simply does not want to go away. I’ve experimented with dwell times and it seems that a minimum of 24 hours is necessary. In some cases, 48 is actually better. Rain doesn’t seem to be a problem, so long as the area is covered with the paper stuff.  Just to be safe, I tape up the edges with painter’s tape.

The exposed stone in the photo has not been washed with the citric acid neutralizer yet, so you can still see the white-ish film of alkalinity in some spots. I figured once the garden level wall is finished, I’ll neutralize all at once, since until then it gets constantly splashed and gunked up.

It’s been fairly tedious do get this far, yet it’s also quite satisfying to pull huge chunks of paint off.  The fact that the neighbors constantly remark on my stubbornness to take on this project also means I need to see it through – at least up to where I can safely reach. I am hoping that by Sunday the lower portion of the wall (from the parlor windows on down) will be finished. Fingers crossed!

Weekend projects by crazy people

A  comment from a neighbor pretty much sums it up: “I always see you here, working. Never partying.  Just working.”

Before

I’m pretty sure the neighbors think I’m absolutely certifiable. Stripping a stone façade is really not a typical DIY project. People usually hire professionals to do that, and methodology aside, I do understand why.  Passers-by provide random words of encouragement, usually punctuated with “that’s a lot of work,” or “this would go a lot faster if you hired someone.” No shit!

This past Sunday over the course of 8 hours, I managed to strip about 18 sq feet of stone. At first glance, seems like a worthy amount, until you realize that it’s really a drop in the bucket. Not accounting for windows and doors, the area of the façade is 558 square feet – give or take.

Some of the paint came off super easy, yet there are patches of stubborn pink that will need a second application of PeelAway. Damn you pink paint!

SlowProgress

The angle of the sun makes it difficult to see any progress. Behold my amazing Photoshop skills! Yellow denotes done-ish. Click to enlarge. 

But wait! There is more!

Because we have two major projects going at the same time (hence the crazy people part) while I scrapped and scrubbed, the hubs worked on leveling the bedroom ceiling beams. The question of the day was “level it to what?” Under normal circumstances, you’d level to gravity: something is either level or it’s not – simple as that. But  nothing is ever as simple as it should be, at least not at our house. As is the case with many old buildings, ours settled over time and the floors are no longer level. The Pink Lady has a noticeable dip towards the center, common to brownstones. It used to drive me crazy and I wanted it gone, but I’m so used to it now I don’t really notice it anymore. Call it charm. Call it being realistic.

The previous fake ceiling was leveled to gravity, making the moldings look super crooked.

Old Ceiling


If we leveled the new ceiling to gravity, then leveled the floors, we would have to open the walls and adjust the all the door openings (2 regular doors and the massive double pocket door), or else the doors wouldn’t close). That just seemed too big of a job in the grand scheme of things.

So reality rears its ugly little head again, and since the dip is normal and is not affecting the structural integrity of the house, we decided to level the ceiling to the floor. By having everything crooked together, it will appear straight. Basically we’ll be mimicking the original ceiling (minus the sag in the middle).  Cooky plan, I know – but it seems like the best option.

After the required number of trips to the hardware store, the uttering of a lot of profanity, and a few beers, we are perhaps a teeny tiny bit closer to being done.

Another day, another project (and a post with terrible photos).

A normal person may look at what projects need to be done and prioritize accordingly. A normal person may look carefully at the options available and make sure not to overburden themselves by taking on more than they can handle. A normal person will finish a project before starting a new one.

Well, normal people we are not.

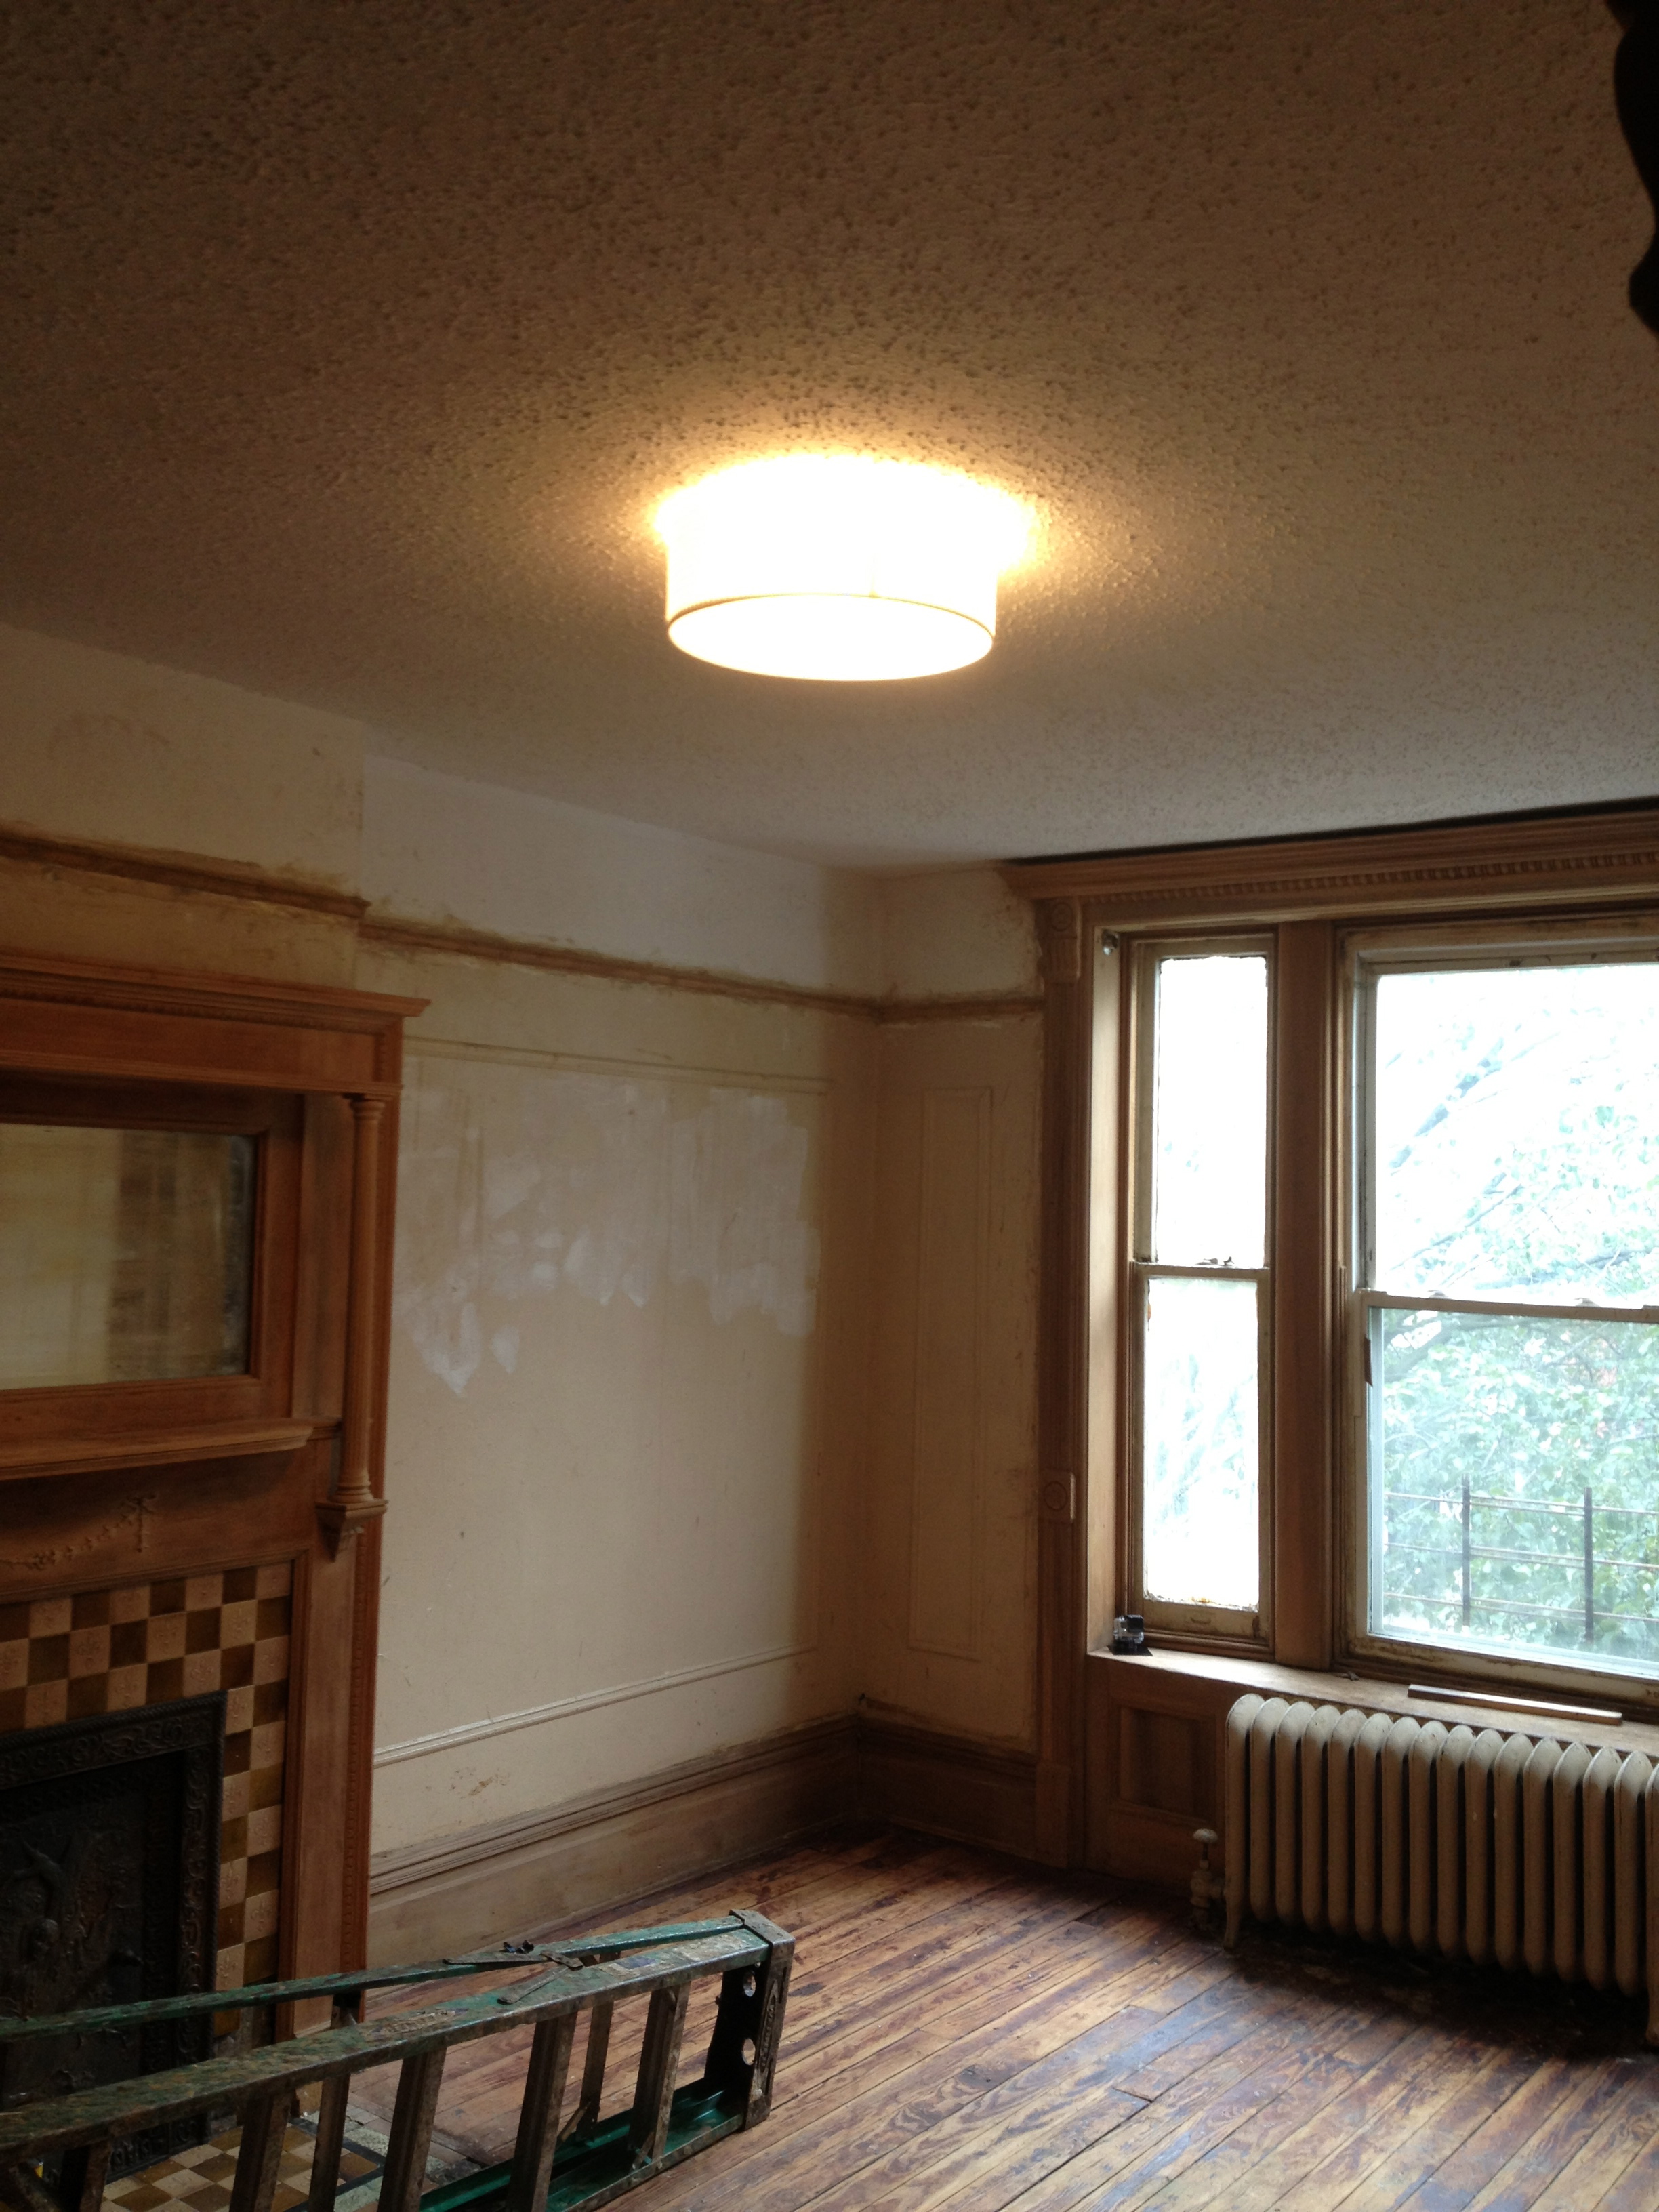
Over labor day weekend, we tore out the bedroom ceiling. A cheap patch job of installing a false dry wall ceiling (and covering it with popcorn) robbed the room of its original height – plus it left us wondering what lurked above it.

Old Ceiling

This is how it used to be (pardon the cell phone photos, but in possibly what was the only case of good judgment here, we did not bring the big camera in with us).

Half gone

Dry wall pulled down, you can see the old ceiling through the 2x4s

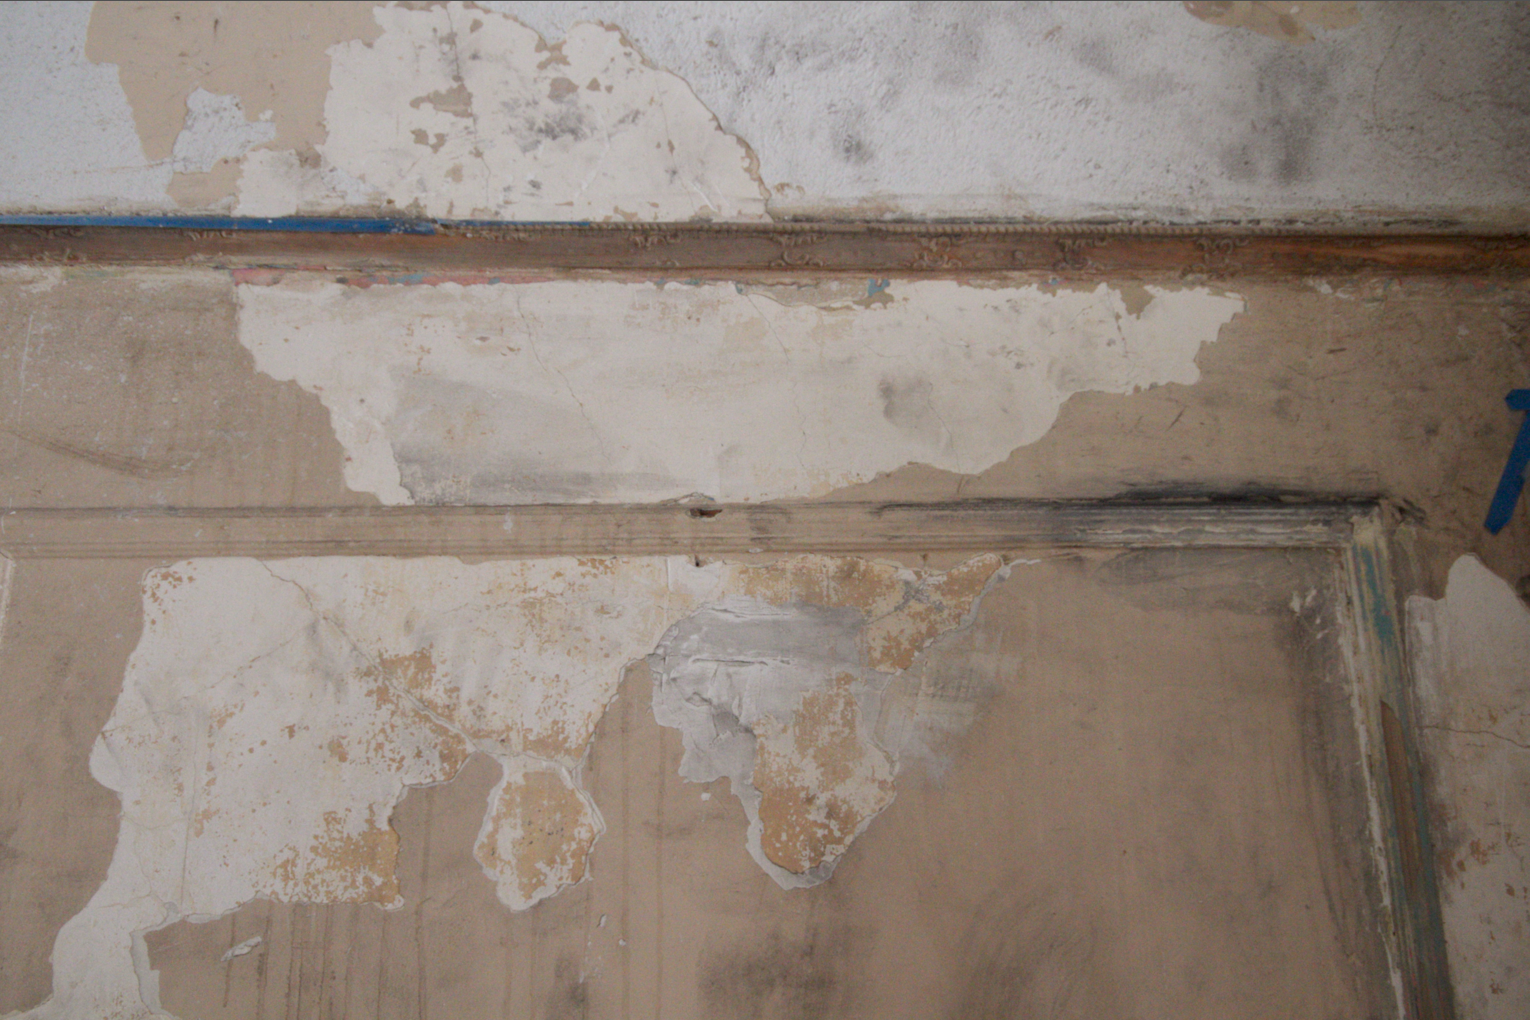
Turns out the damaged original ceiling was still up there, minus a big chunk of plaster right in the middle. It was severely bowed towards the center of the room, which is probably why the plaster fell off. There were signs of water damage. Fun!

Just a little bit of plaster missing...

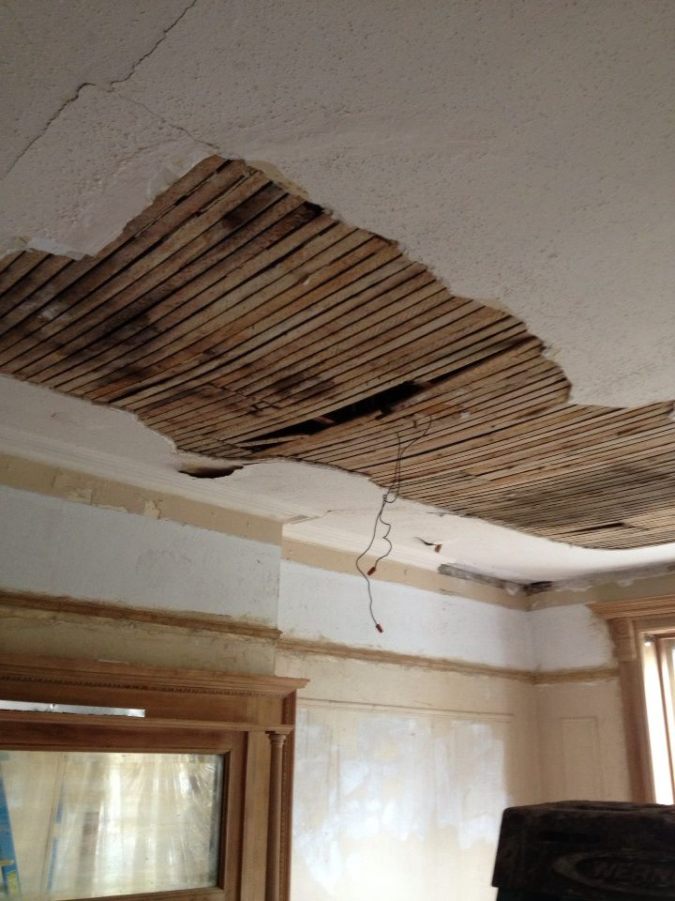
Just a little bit of plaster missing… And seriously – what’s up with all the popcorn?

After we removed both ceilings and the original lath, we discovered that the support structure  was compromised: the strips of wood attaching the ceiling to the roof had come lose over the years.

lath

Presented without comment

Open ceiling

Open ceiling, cockloft above.

With the ceiling gone, we had a good look at the space above – more like a crawl space than an attic, it’s called a cock loft (and yes, because I’m totally immature I can’t say it without giggling). It’s kinda interesting to see the structure from above: the sky lights, some strange built-in alcoves. The filth up there is indescribable, the dirt is nearly impossible to wash off the skin. I suppose that’s what 120 years of dust, coal, cigarette smoke, and old fart residue looks like. Absolutely gross.

Dirt

This photo doesn’t fully capture how dirty we were. And by the way, the Facetime camera on the iPhone is absolutely awful!

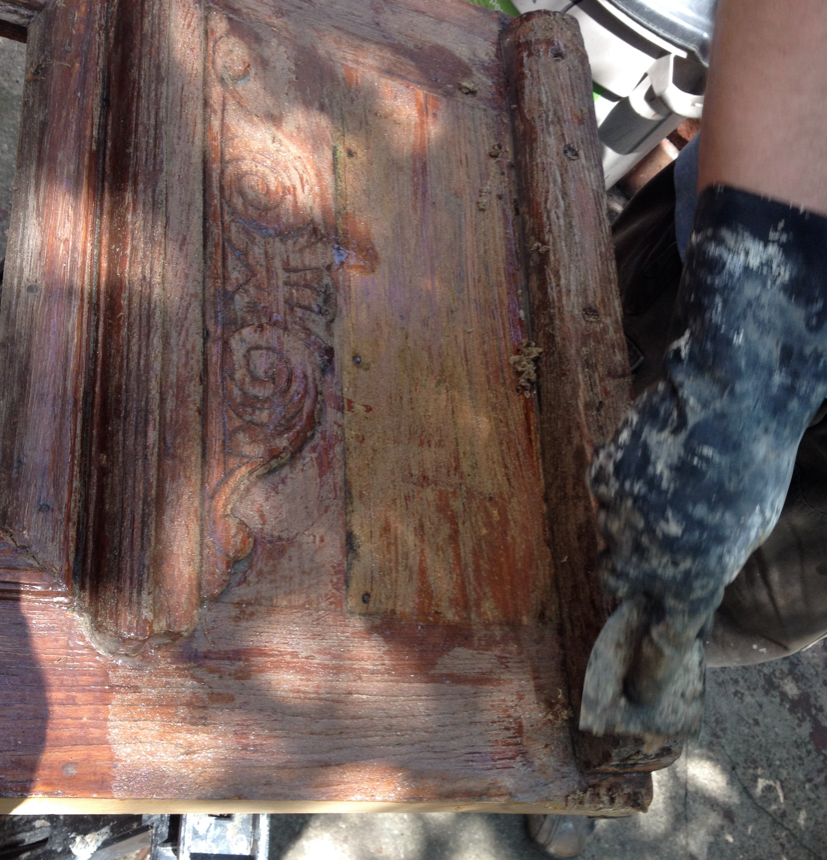
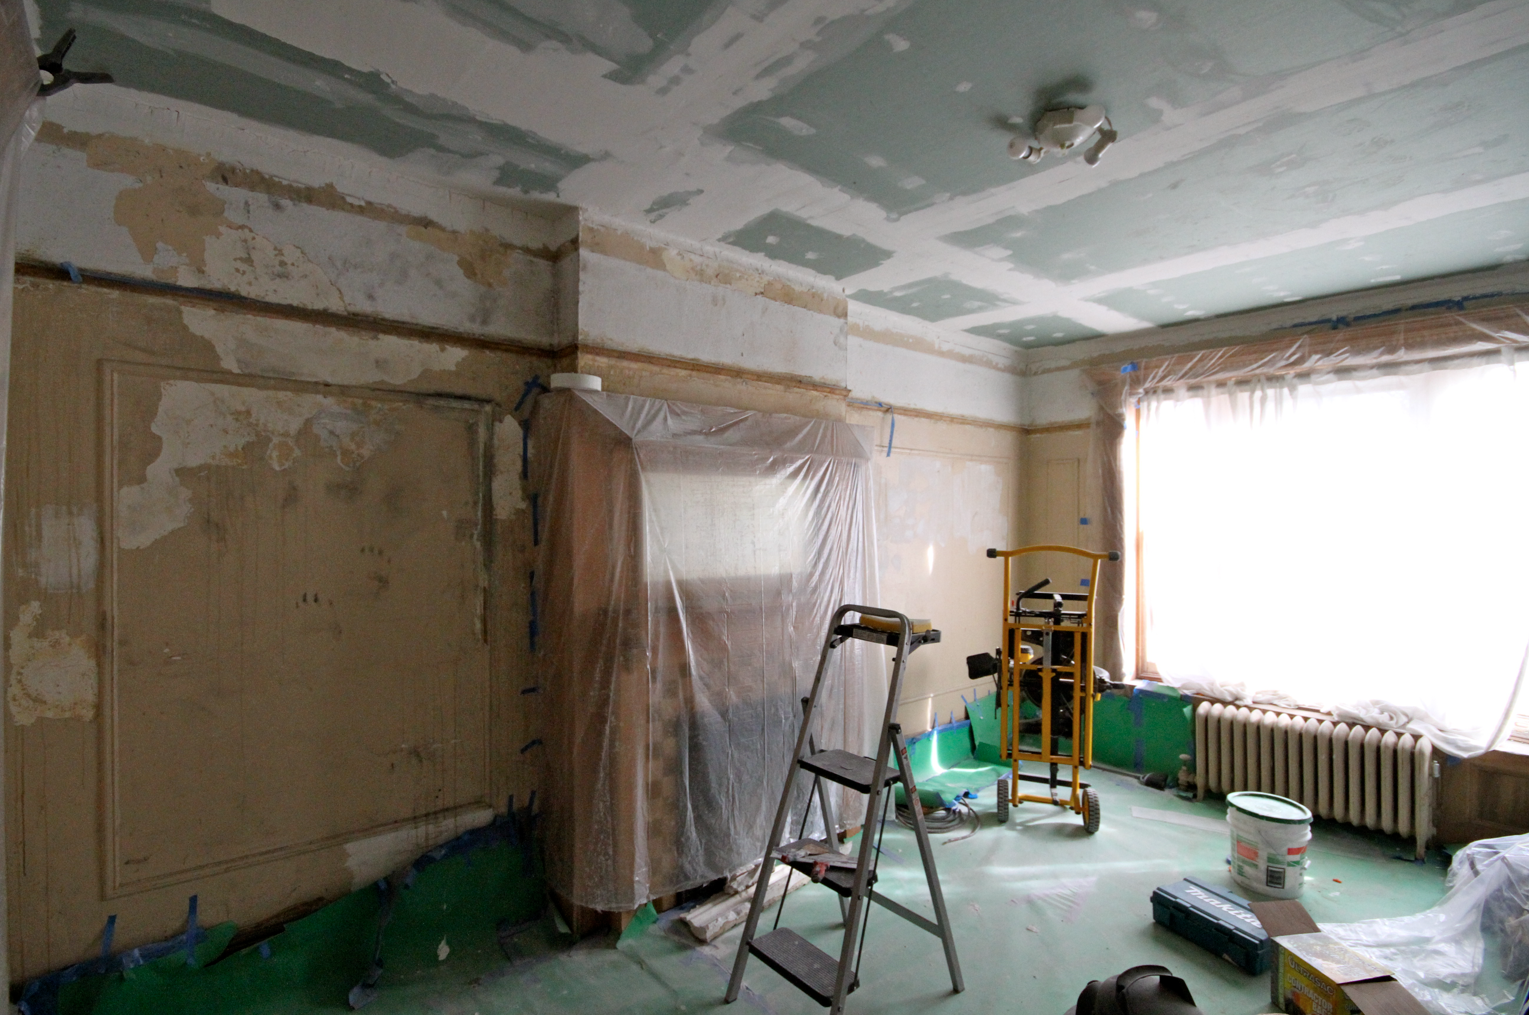
The space is now ready to be re-built. We saved a piece of the ceiling molding so that we can restore it in the new ceiling. Sadly, most of it was gone so we’ll have to rebuild from scratch.

Moulding chunk

It was a total bummer to have to remove the moulding, but most of it was already gone. What was left did put up a good fight. We will use this chunk as a template for the restoration.

Since all the prep work has been done, you’d think we’d finish it off quickly. That is where you’d be wrong. This past weekend was dedicated to working on the stoop railing and doing a test stripping of the brownstone. Why? Well, winter is coming and it needs to be done. The stoop has been the Hubs pet project during the summer. Amidst finishing grad school, the crazy rains of June and the sweltering temps of July, progress has been slow. Happy to report one whole side has been stripped and coated with primer.

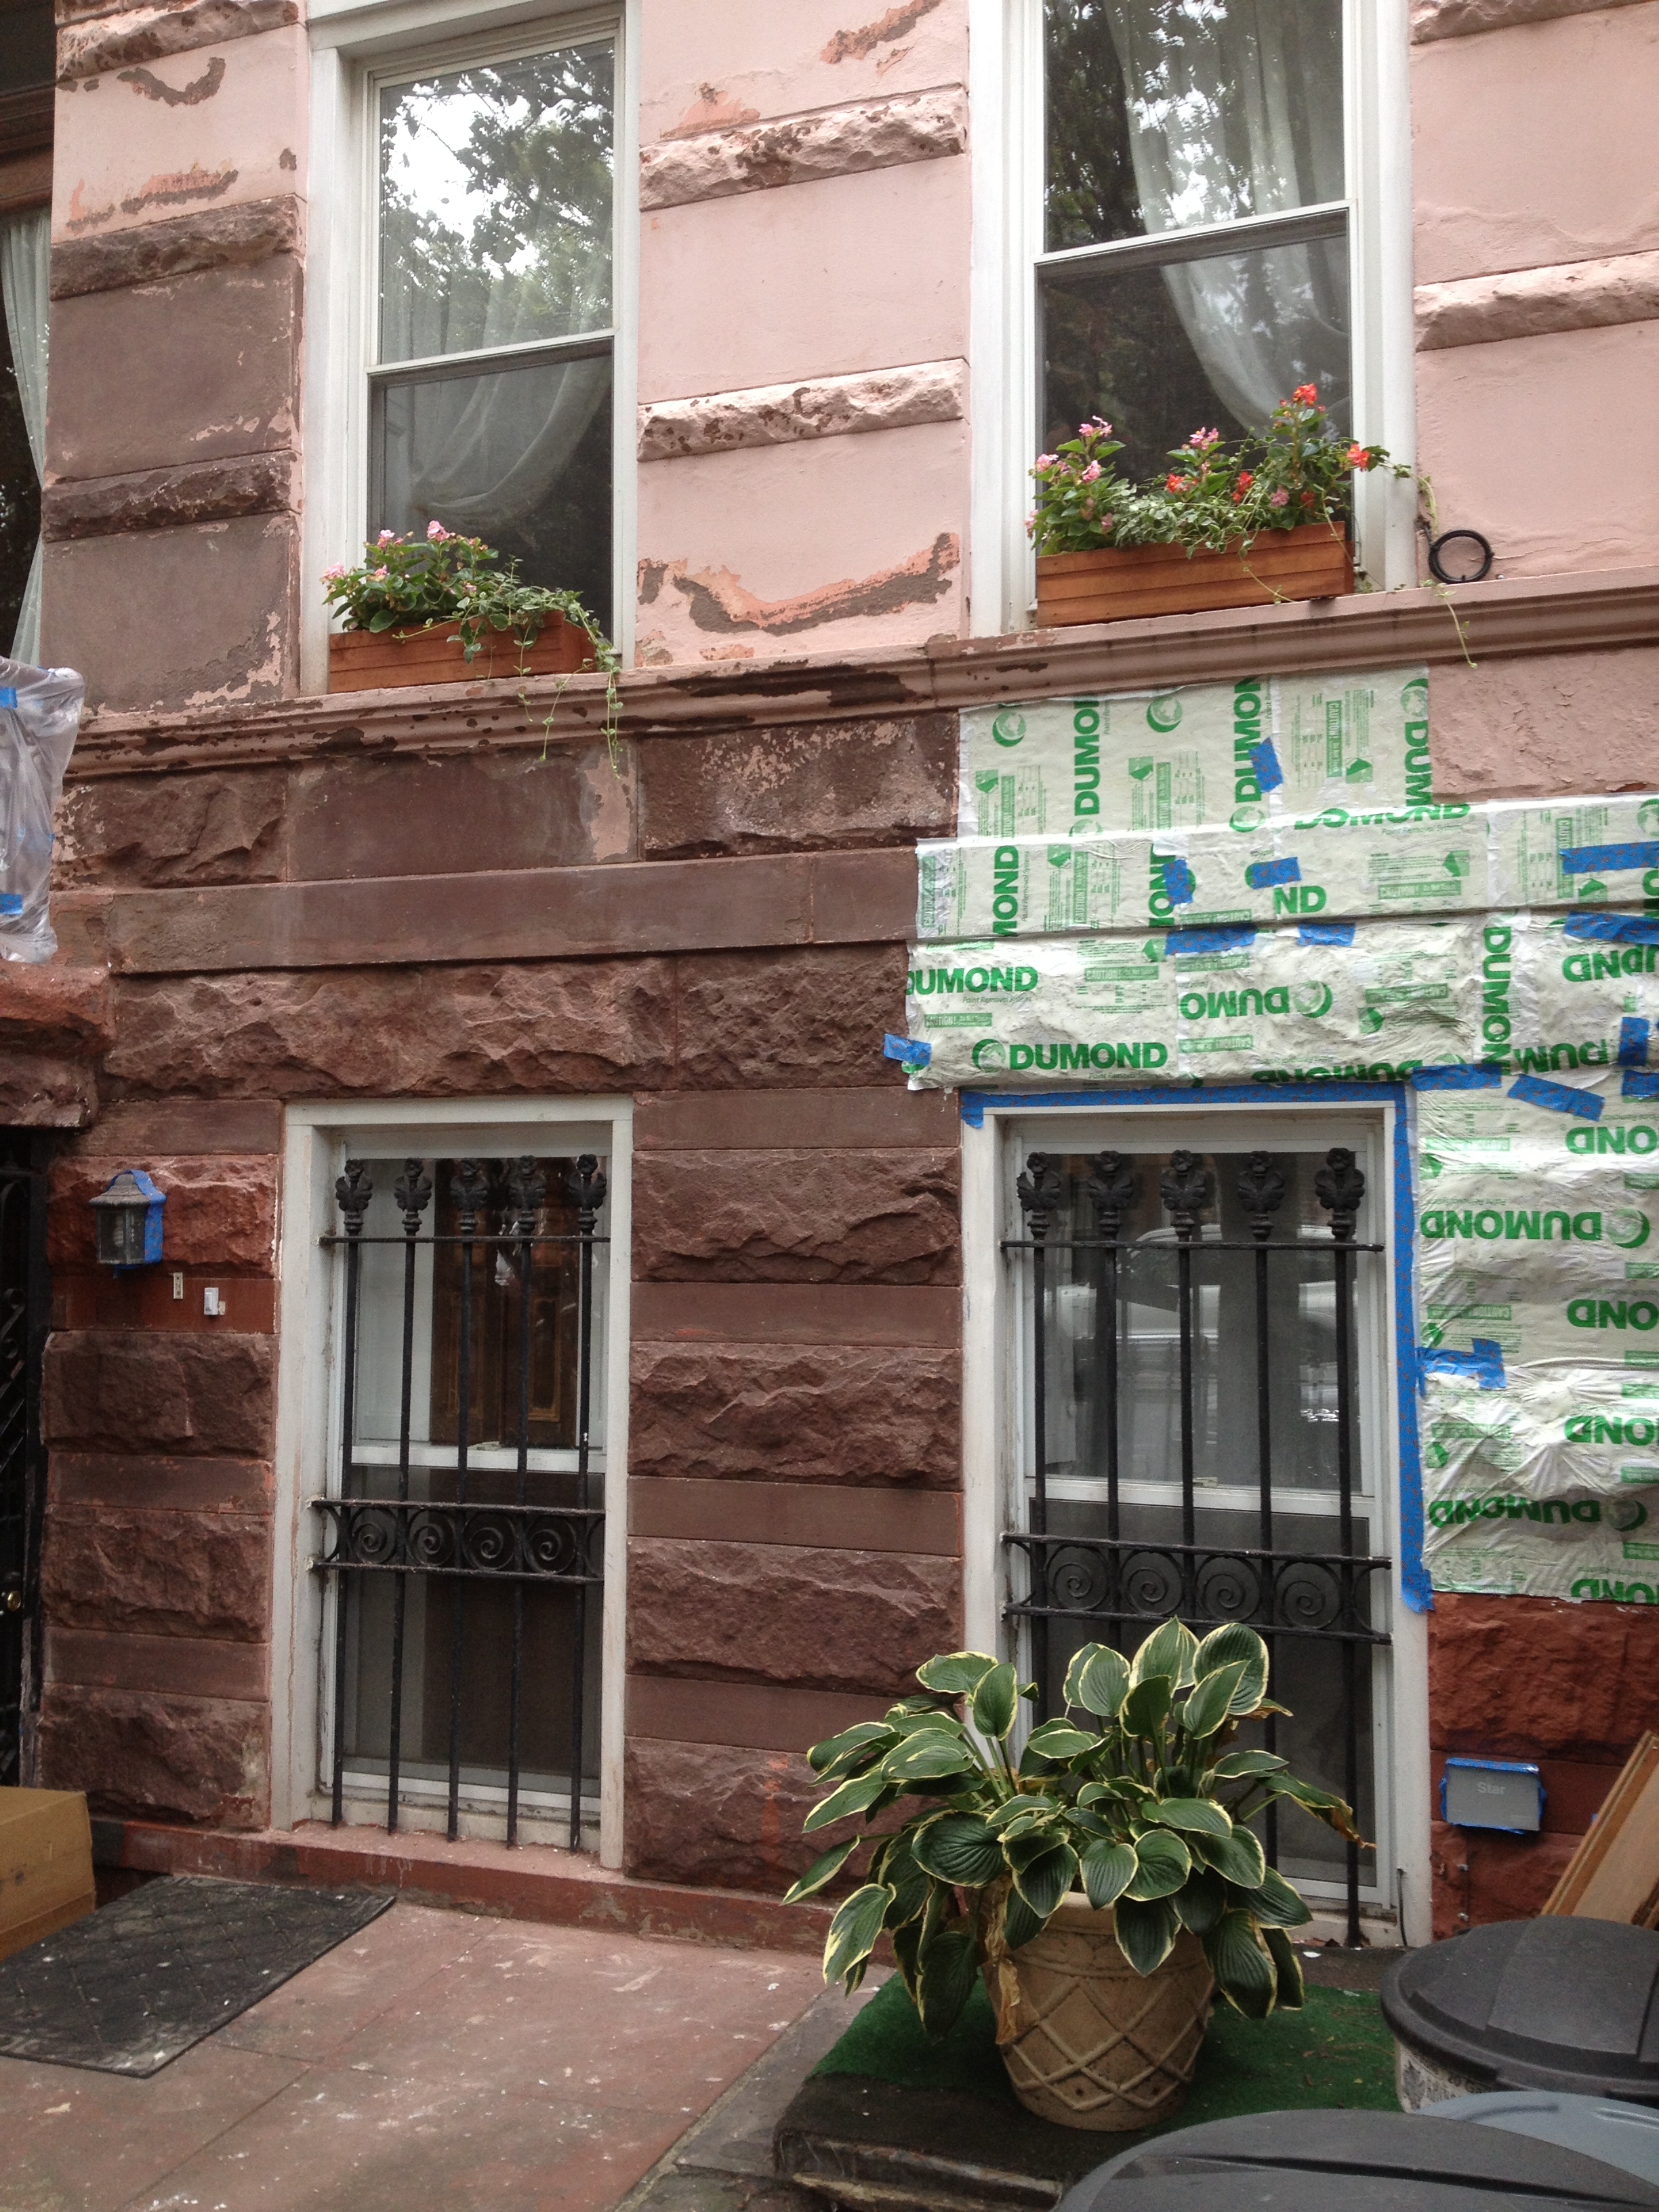
As for the masonry, we’re having a hard time finding someone who will strip/repair the brownstone the in the way we feel it should be done.   So I decided to do some tests and see if I could do it myself.

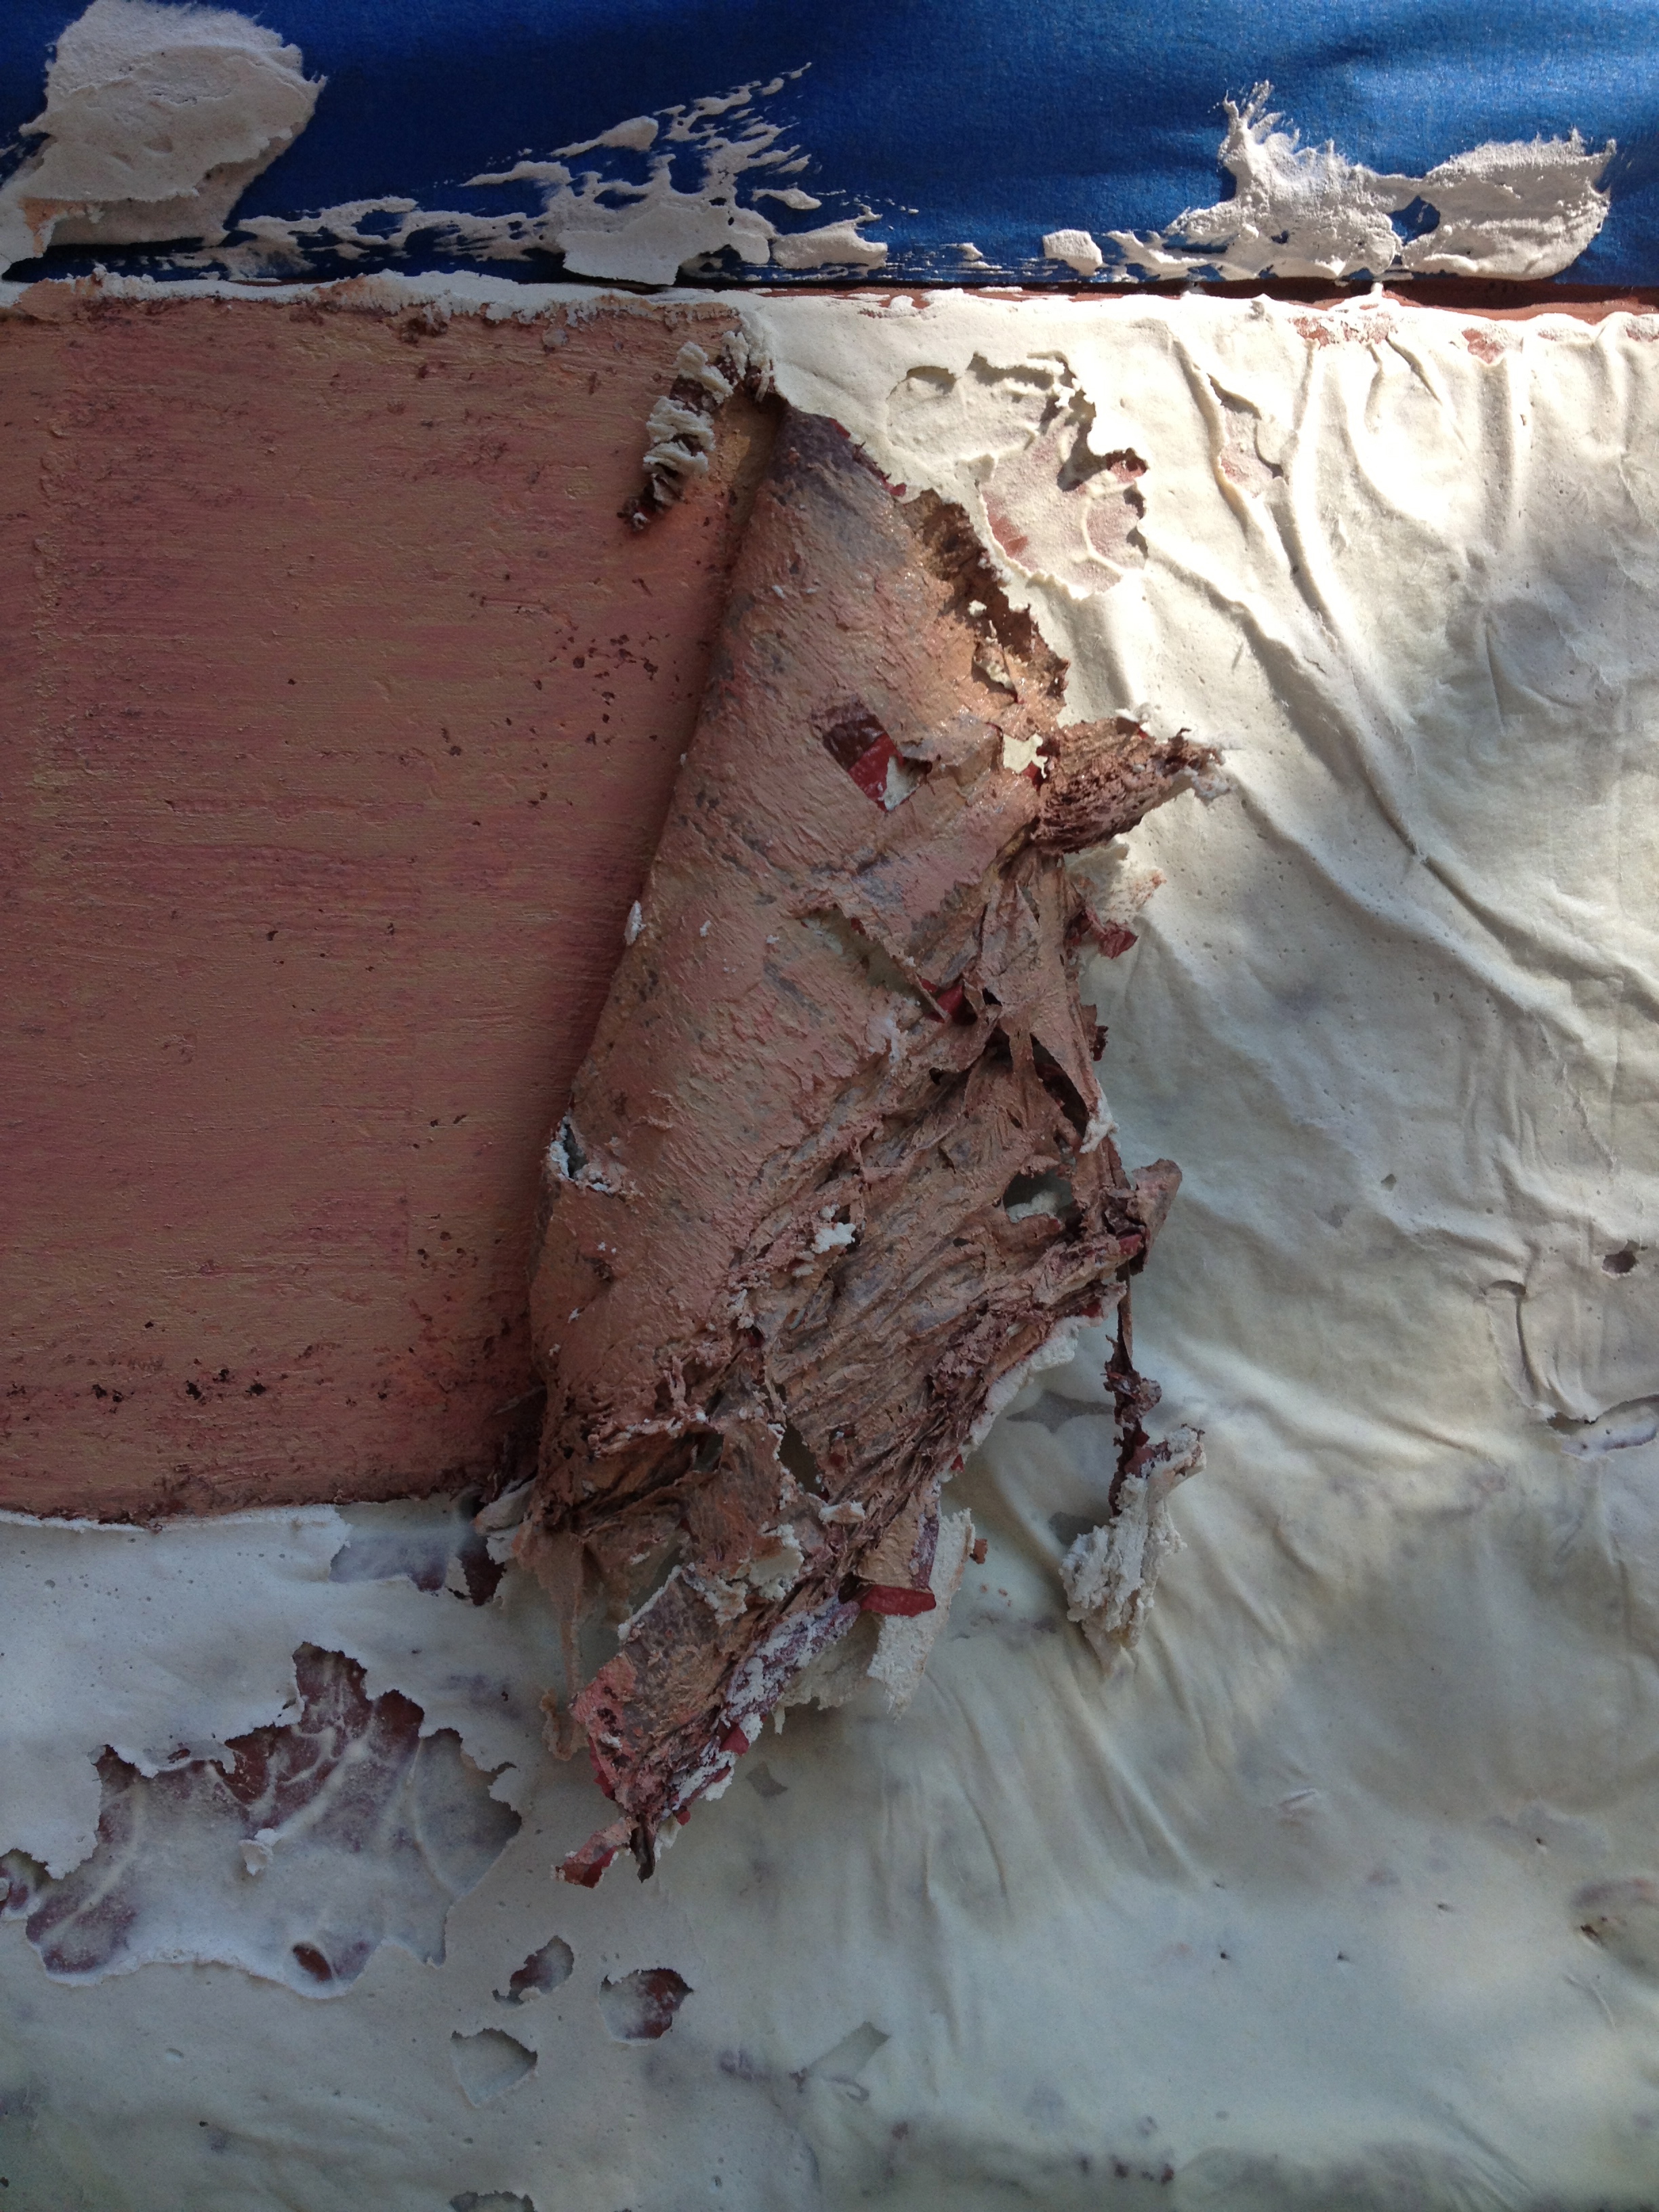
Cue stripping test #1: Some PeelAway 1, a bit of time, some water and some citric acid later – voila! Brownstone without paint.

IMG_1454

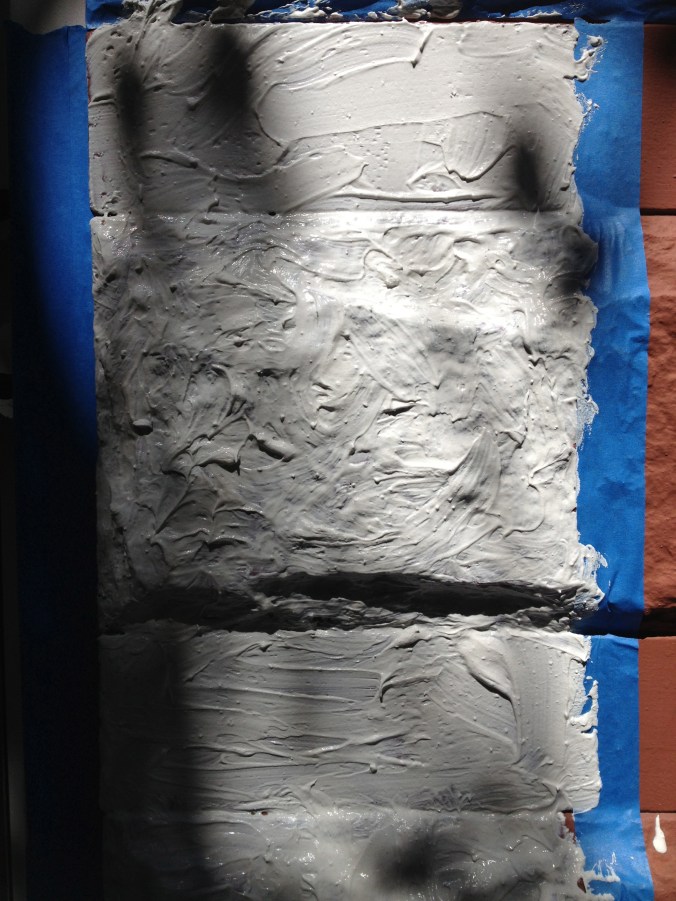
Step 1: apply layer of PeelAway that is at least 1/8 of an inch think. Kinda like frosting a warm cake. Got a bit melt-y…

IMG_1456

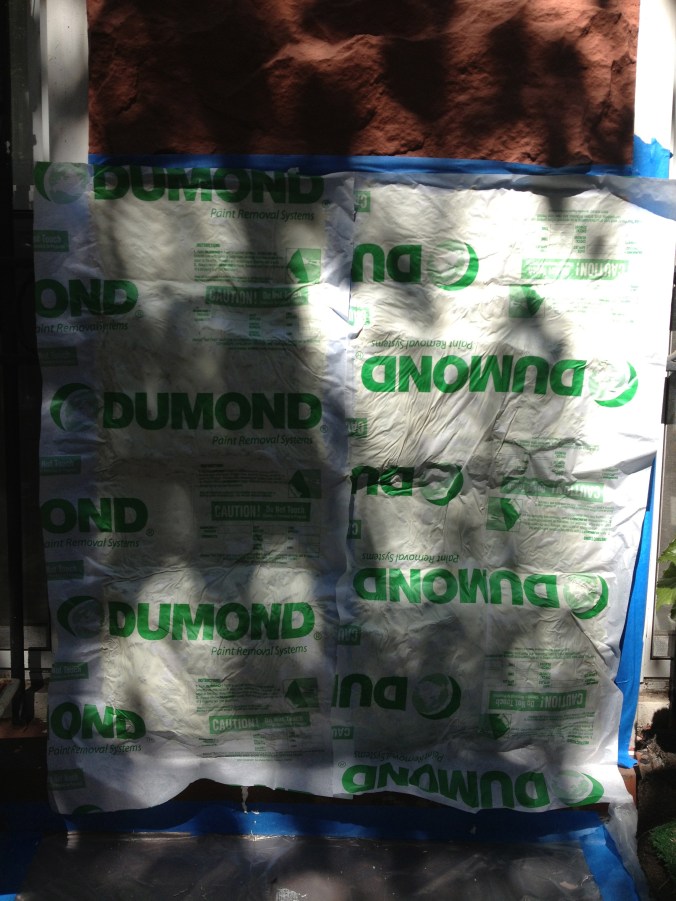
Step 2: Cover with the nifty paper provided. And wait.

IMG_1462

Step 3: remove the goop and wash. And wash. And wash. Then spritz some citric acid and wash again.

IMG_1474

And there you have it: stone (mostly) free of paint.

My biggest problem is that I’m super afraid of heights and I have no idea how I’ll get to the second and third floors….